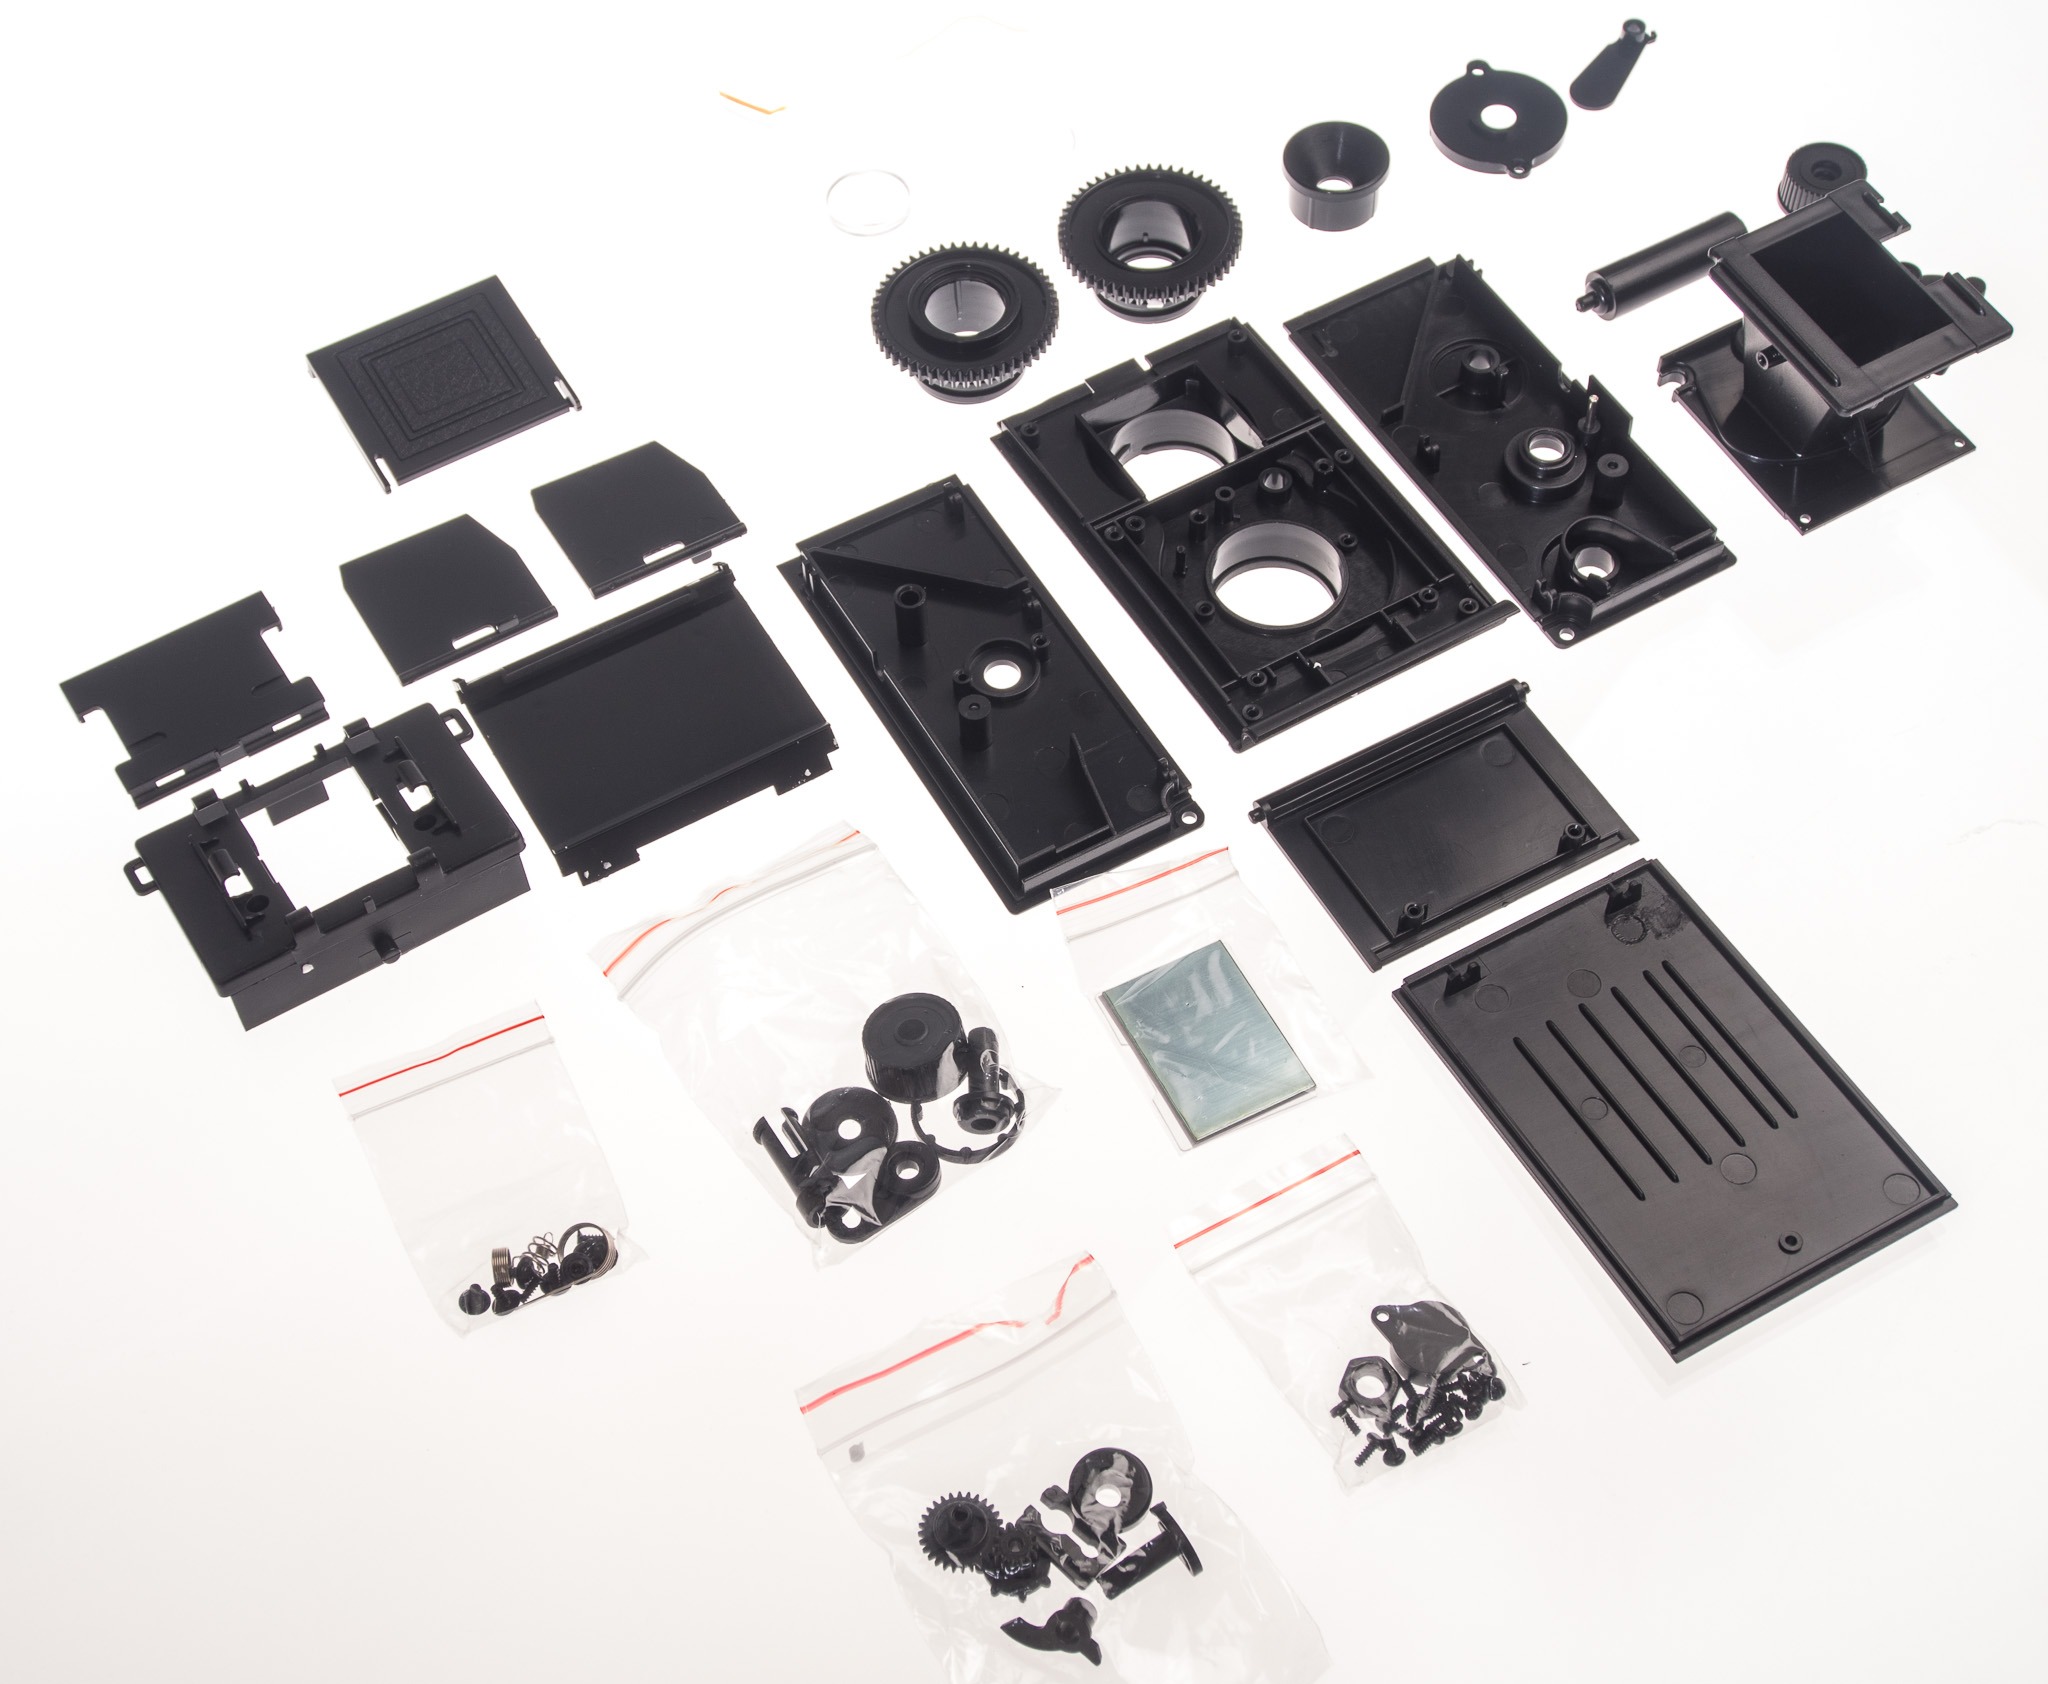
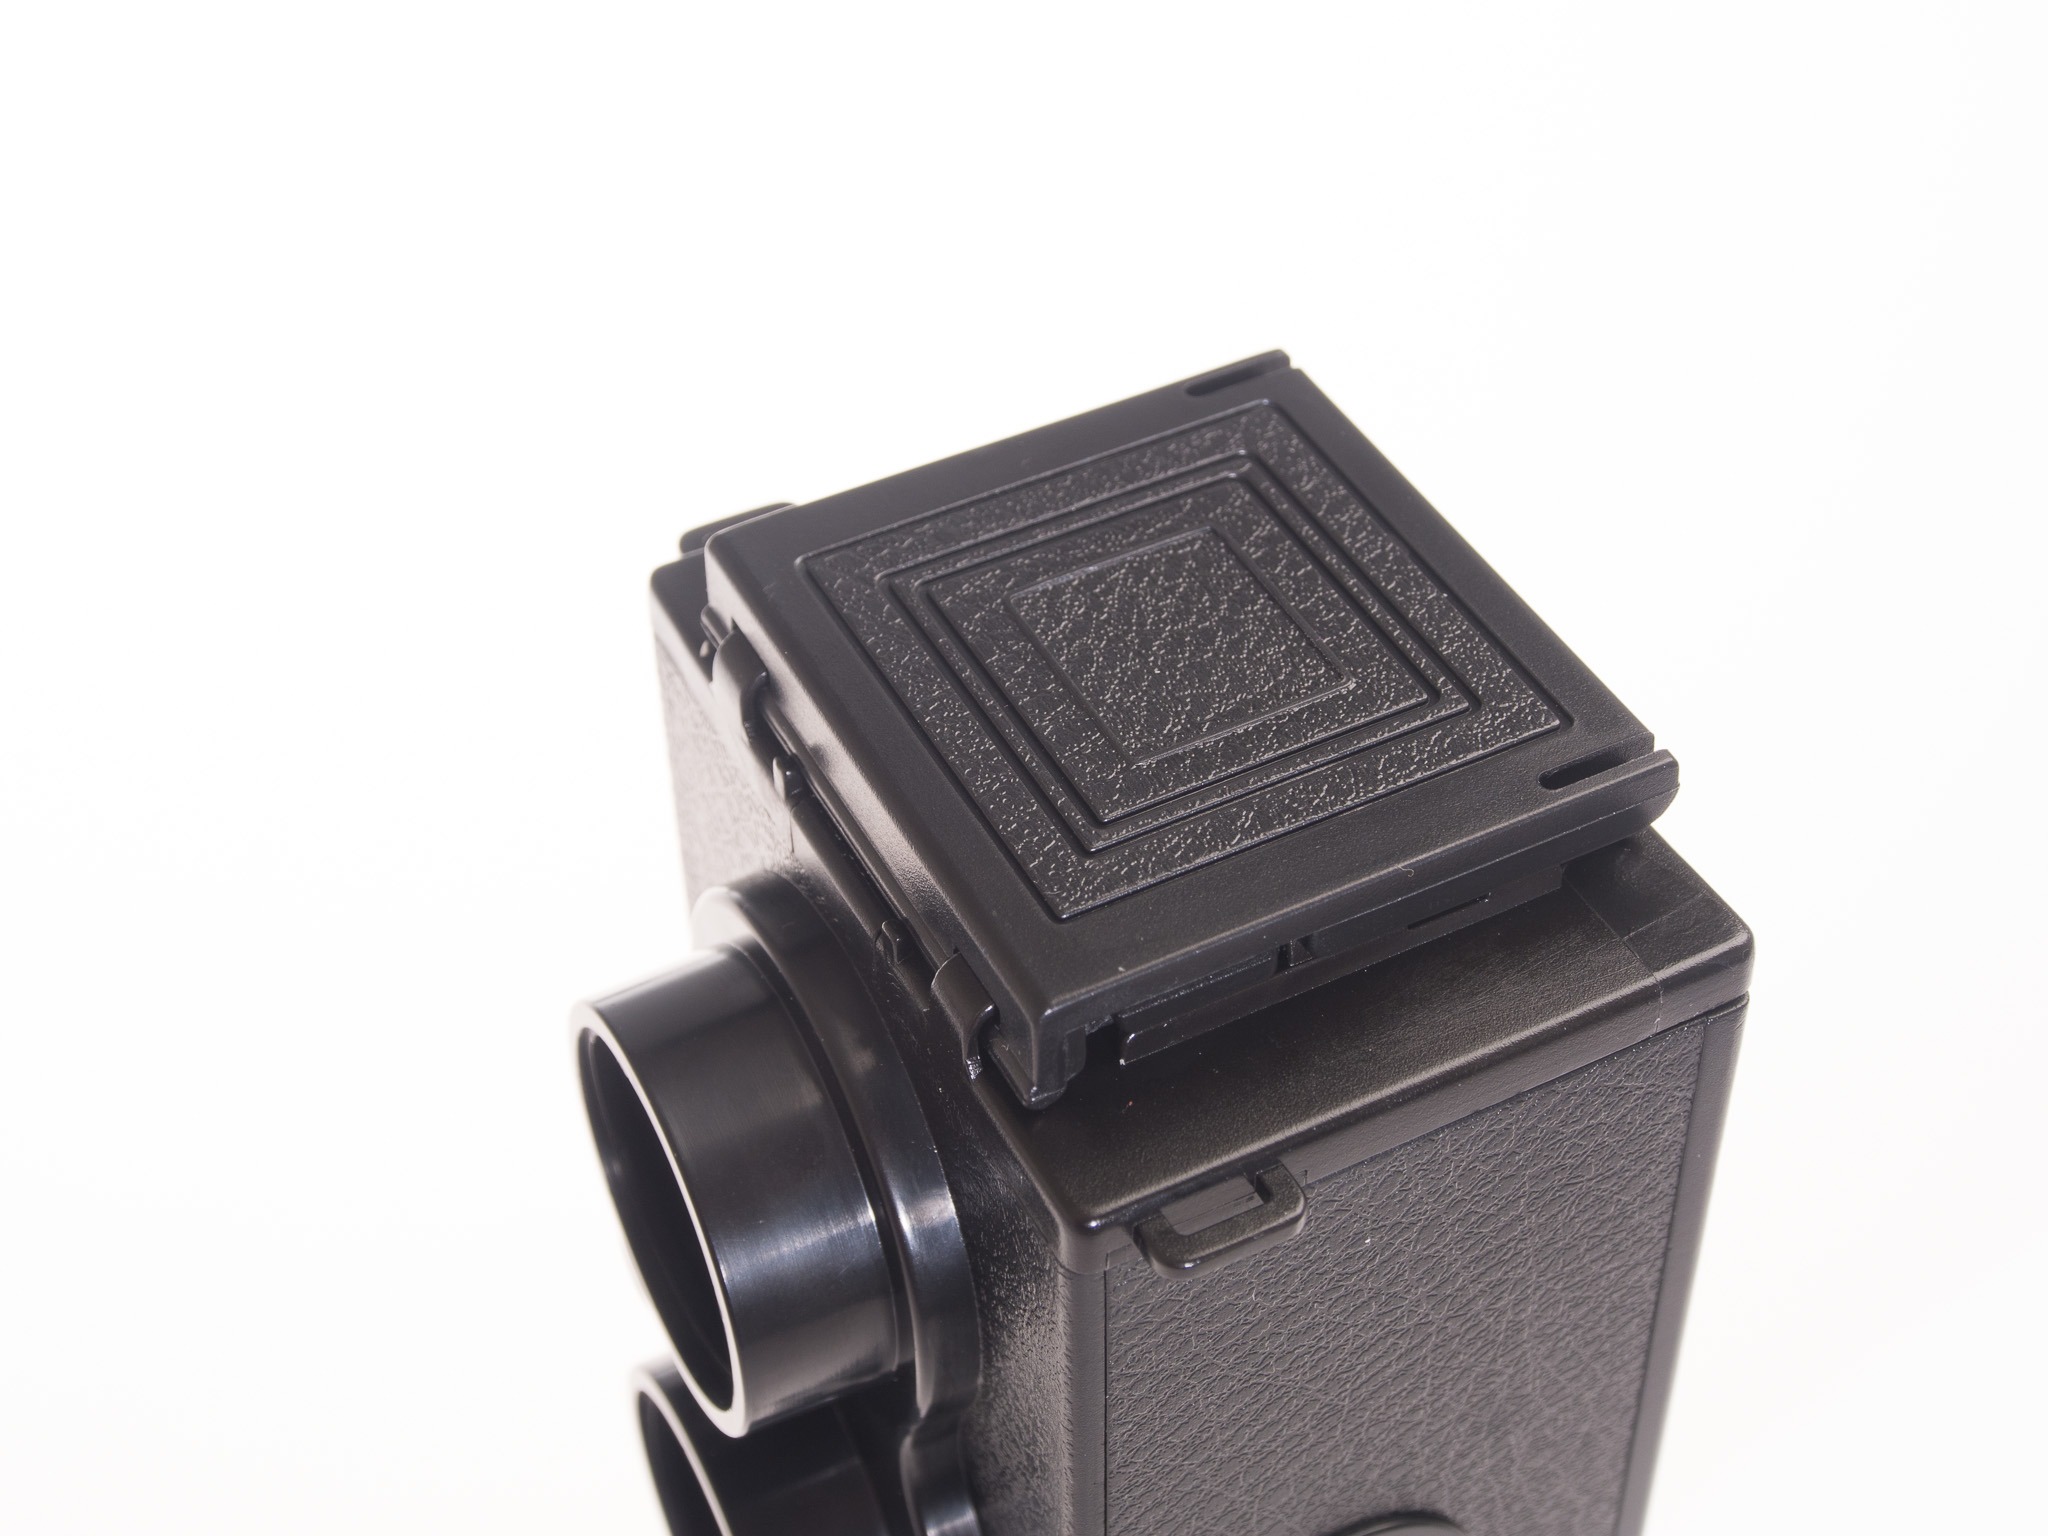
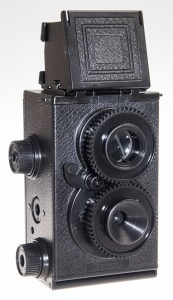
Haynes Classic Camera Kit – Gakkenflex reboot
Haynes now sells the Recesky/Gakkenflex film camera kit – here’s how to make it
Lomography is built, in part, upon the foundations of low-cost cameras made, for the most part, in Hong Kong and China. The trusty Diana and Holga have proven popular for decades, and an ever-expanding pool of designs has ensured that Lomography‘s product range is rarely stale.
You don’t need to go to the Lomography shop to get some funky lo-fi analogue images, though – Haynes recently added a ‘build your own camera’ kit to its range of fun, educational gifts – the sort of stuff that’s popular around father’s day and for secret santas.
The Haynes Classic Camera Kit HTLR14 (around £20, Amazon) is, if not absolutely identical to the Recesky one, very closely related – most of the comments in this review will apply.
Back in 2013, Lomography were marketing a DIY camera, the Konstructor – but a little funky twin-lens reflex camera has been doing the rounds for somewhat longer. Originally appearing as part of a magazine – Otona no Kagaku or “Science Of Adult” in 2009 (Vol 25 -October), the Gakkenflex cost around $40 when the nearest comparable TLRs were almost 3x the price.
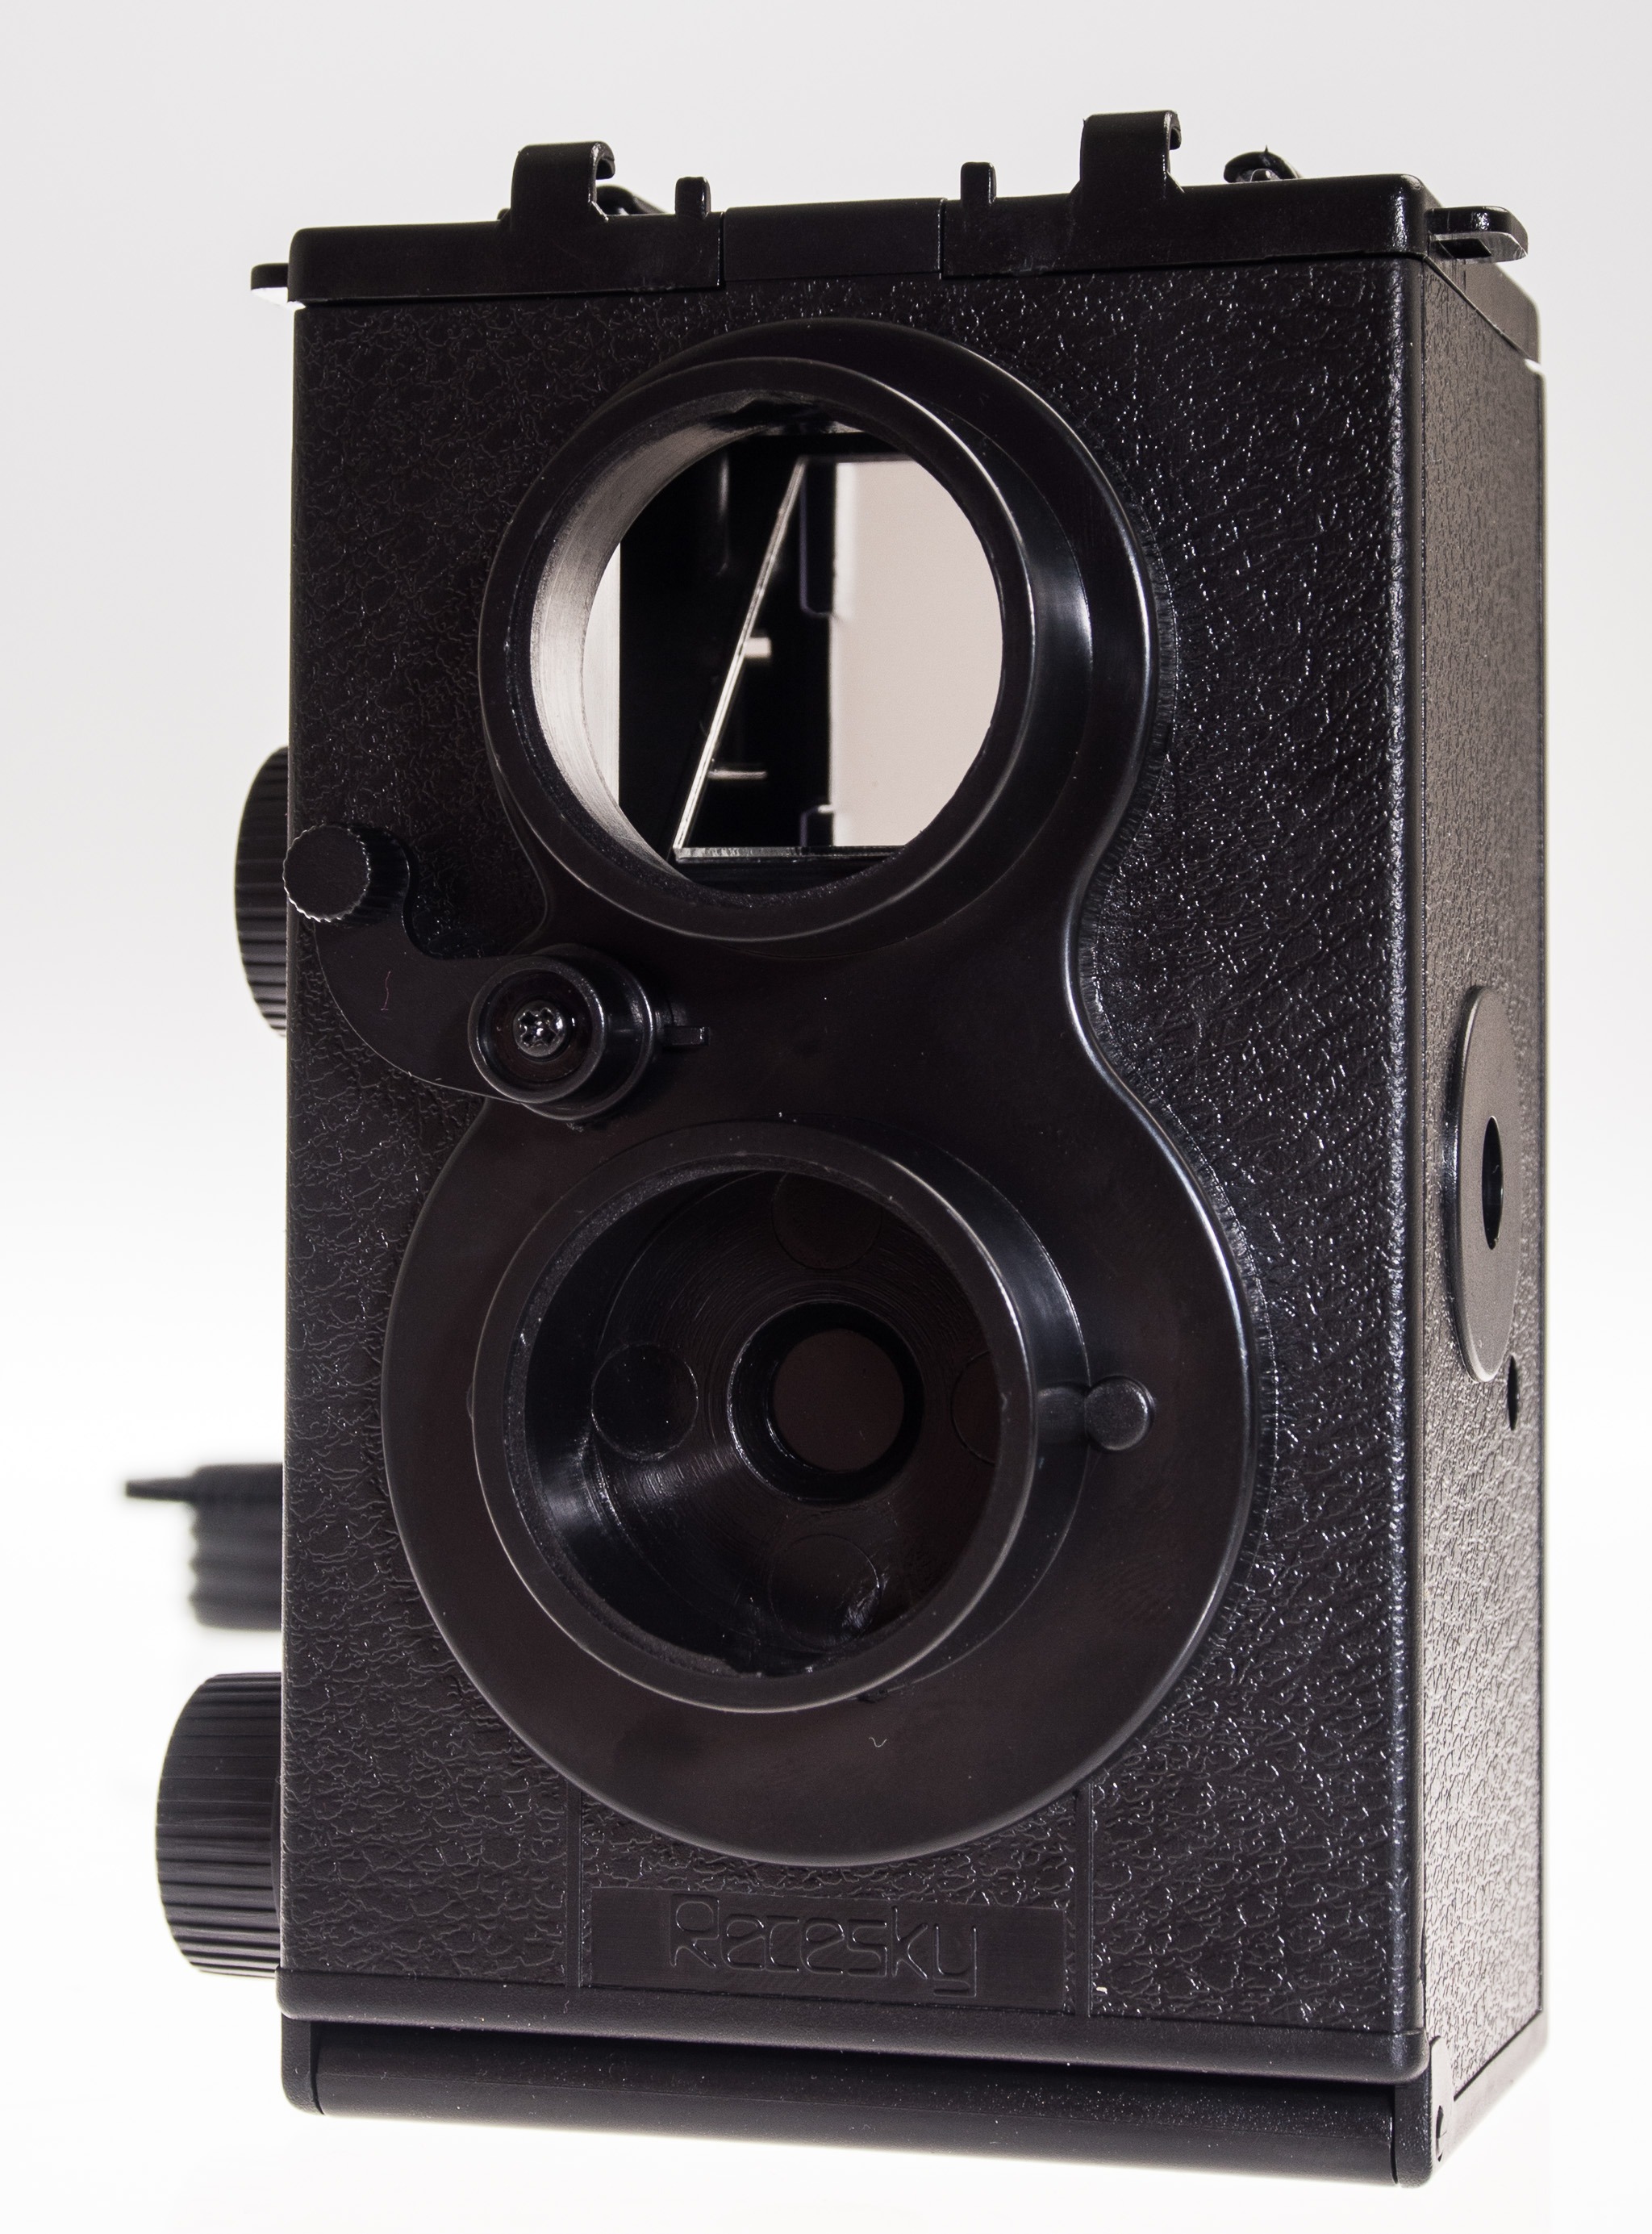
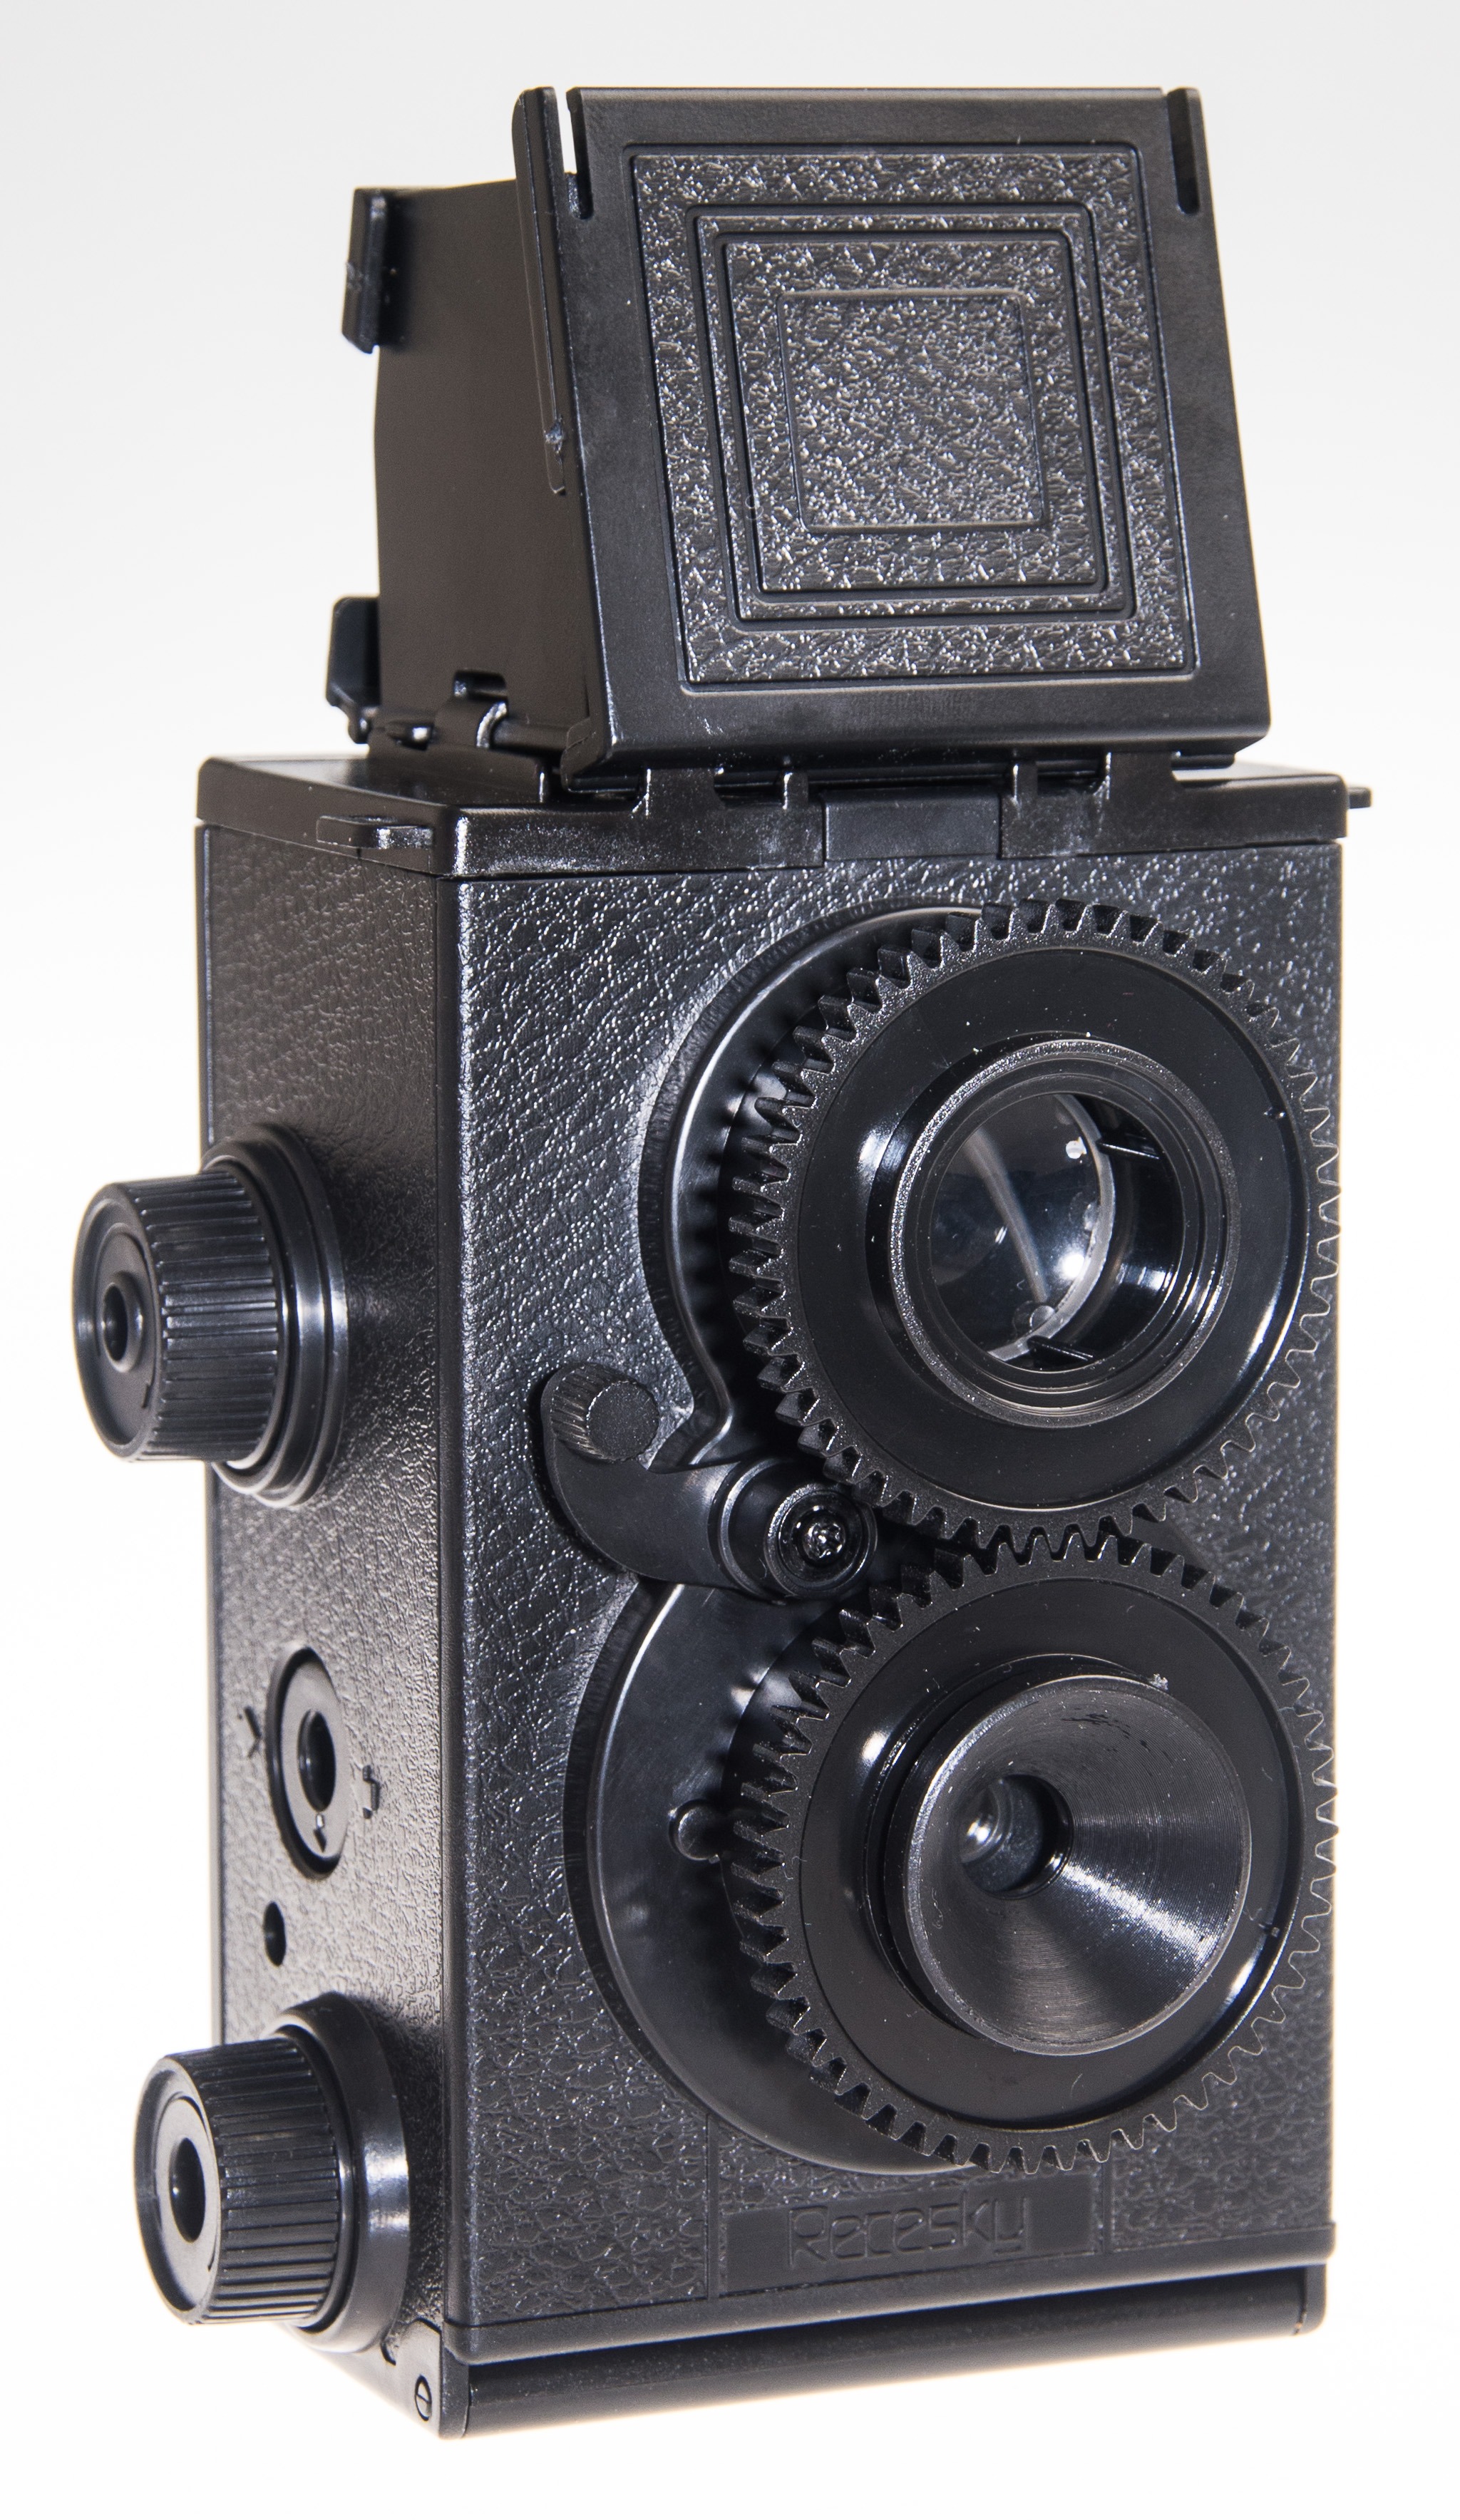
Now eBay has become home to the “Recesky” camera kit – and whaddya know, this little beauty looks surprisingly similar to that Gakkenflex. The sample I have here I bought for under £8 including shipping from China… and here’s how to put it together…

Gakkenflex cameras are now commonly available through Amazon and eBay for extremely low prices – between £8 and £20 typically, depending on the bundle – and provide an amusing diversion as well as an unusual analogue camera for enthusiasts.
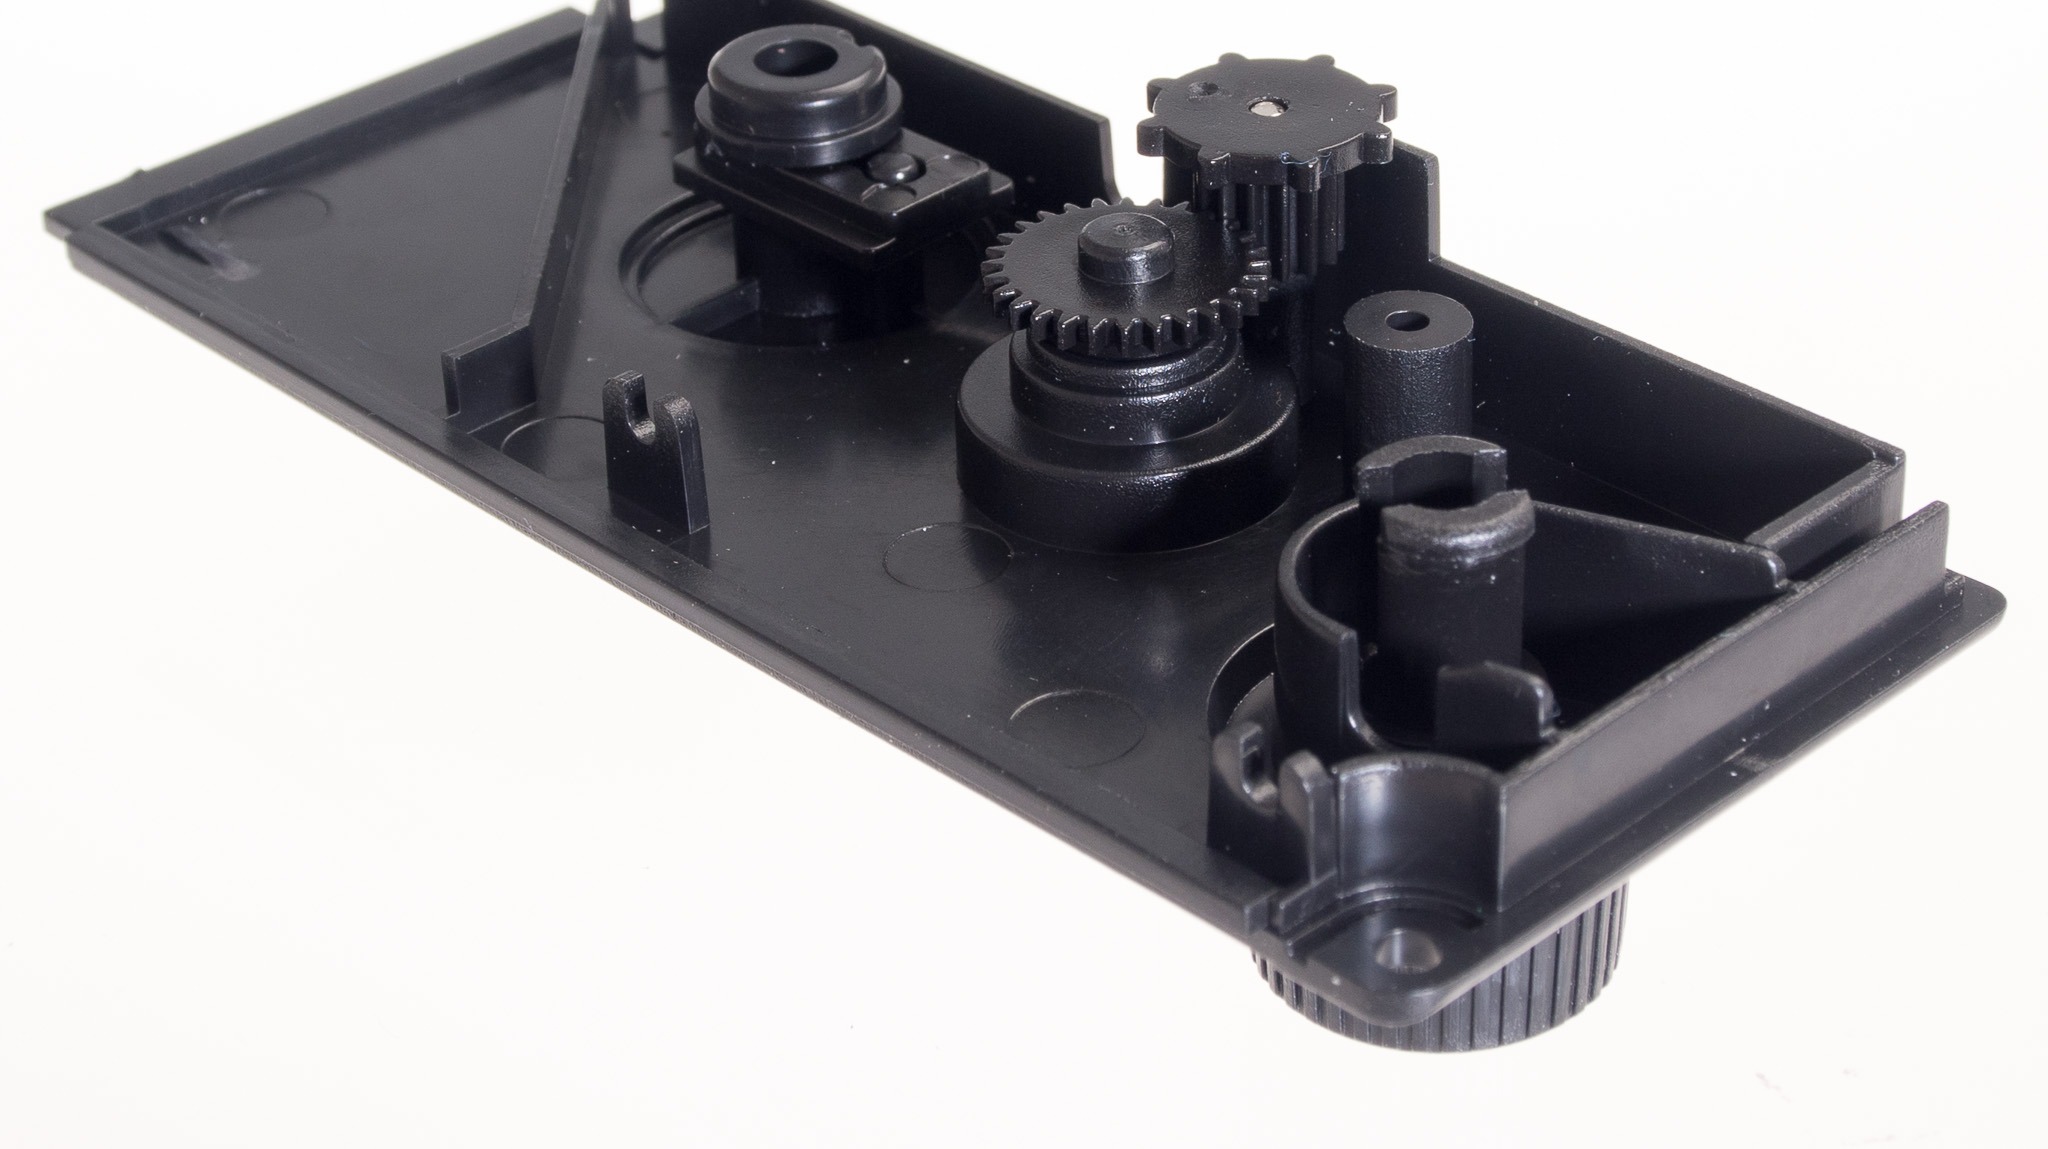
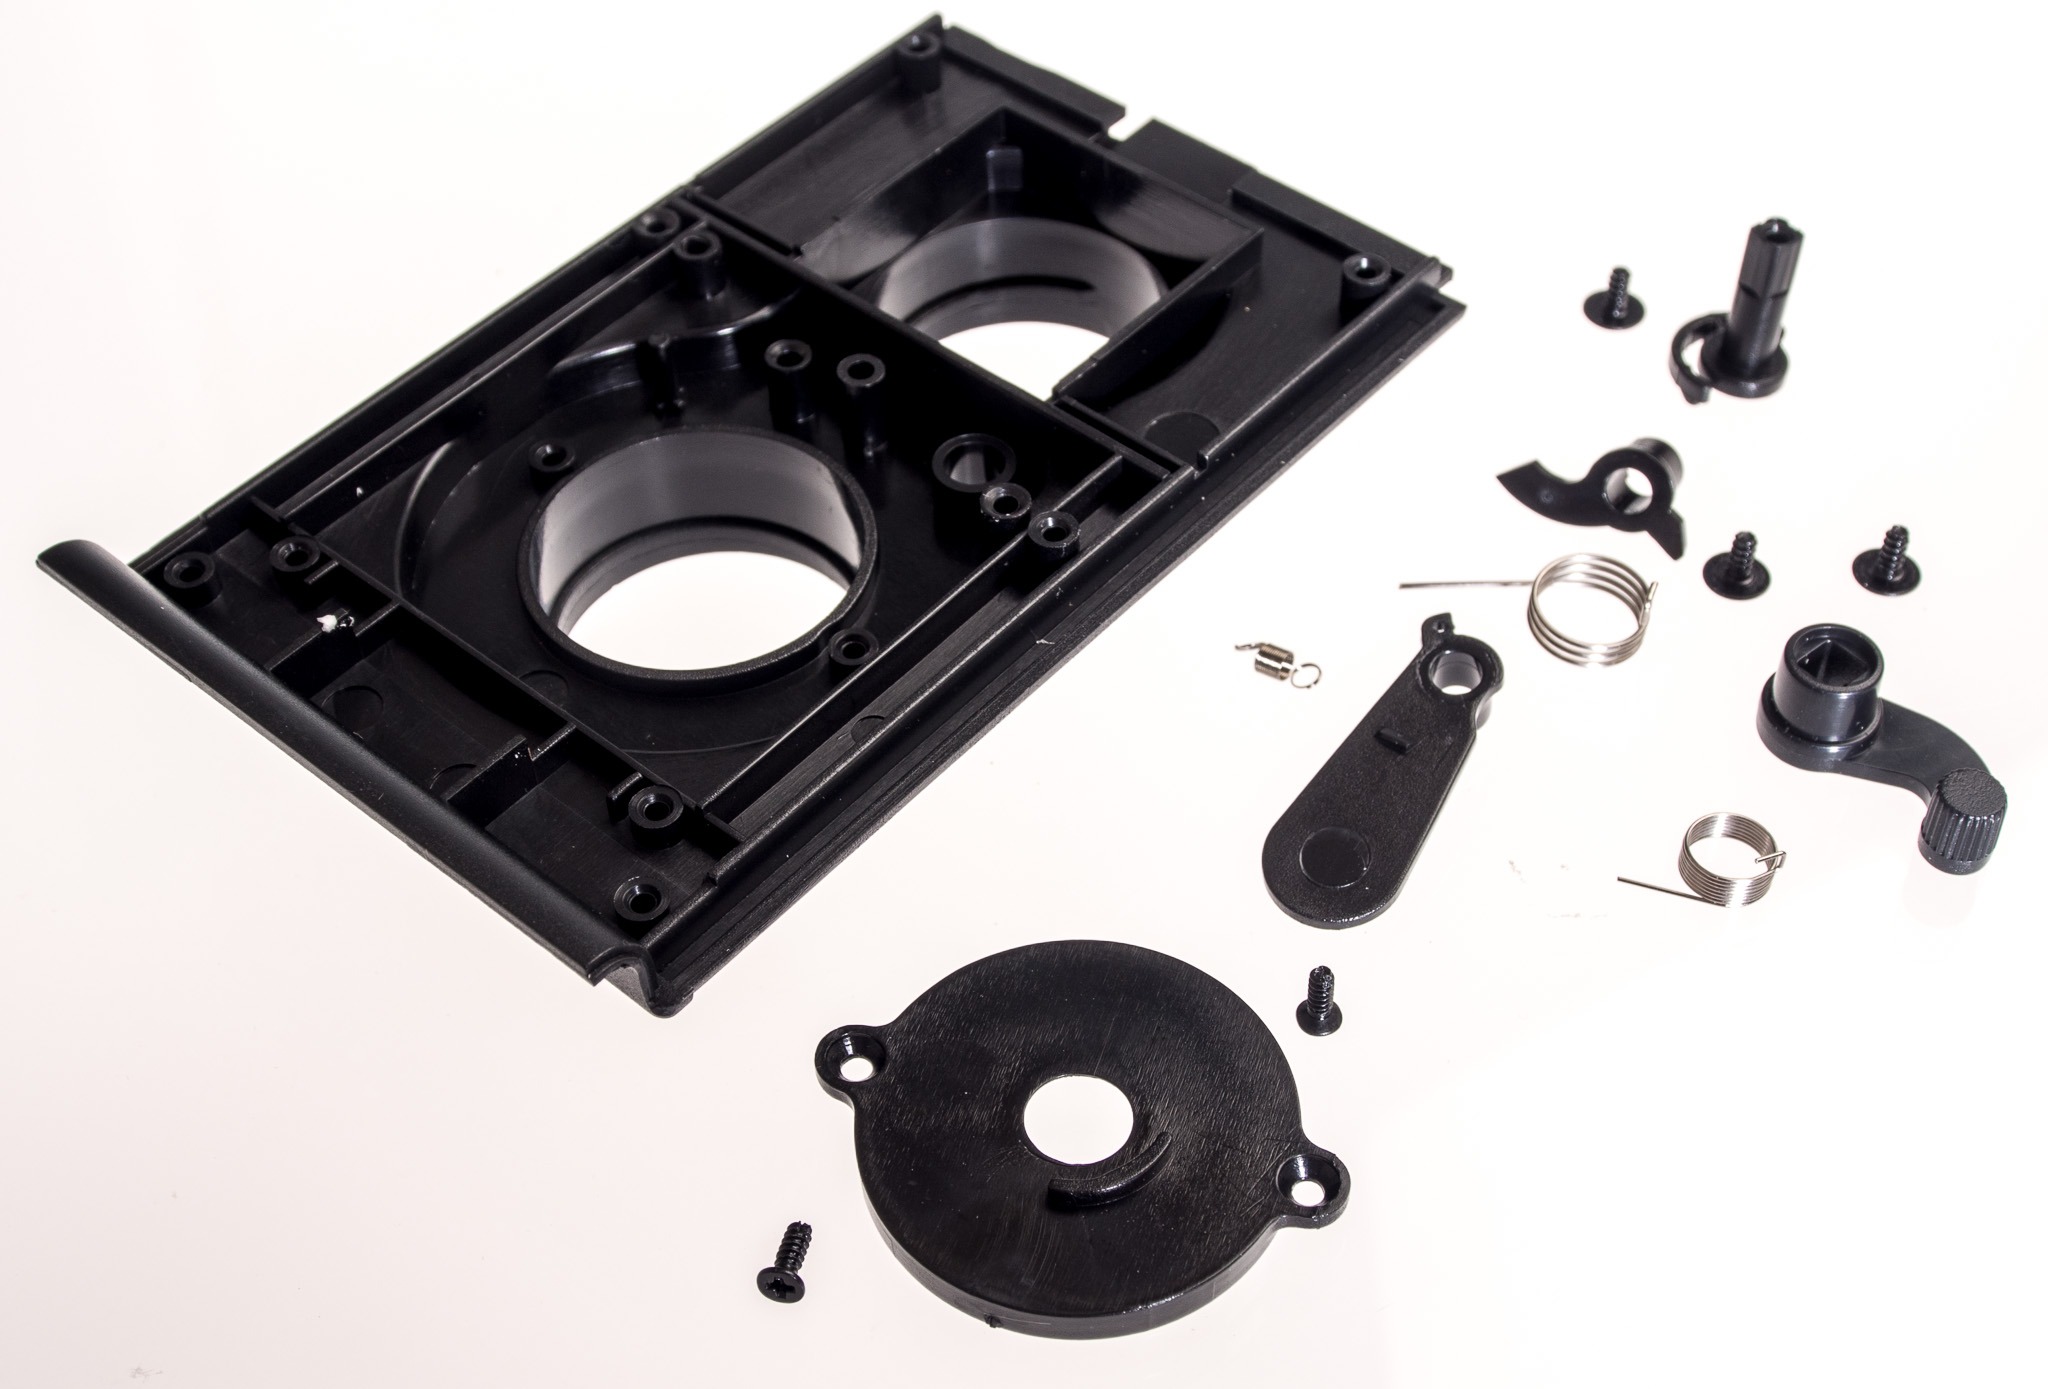
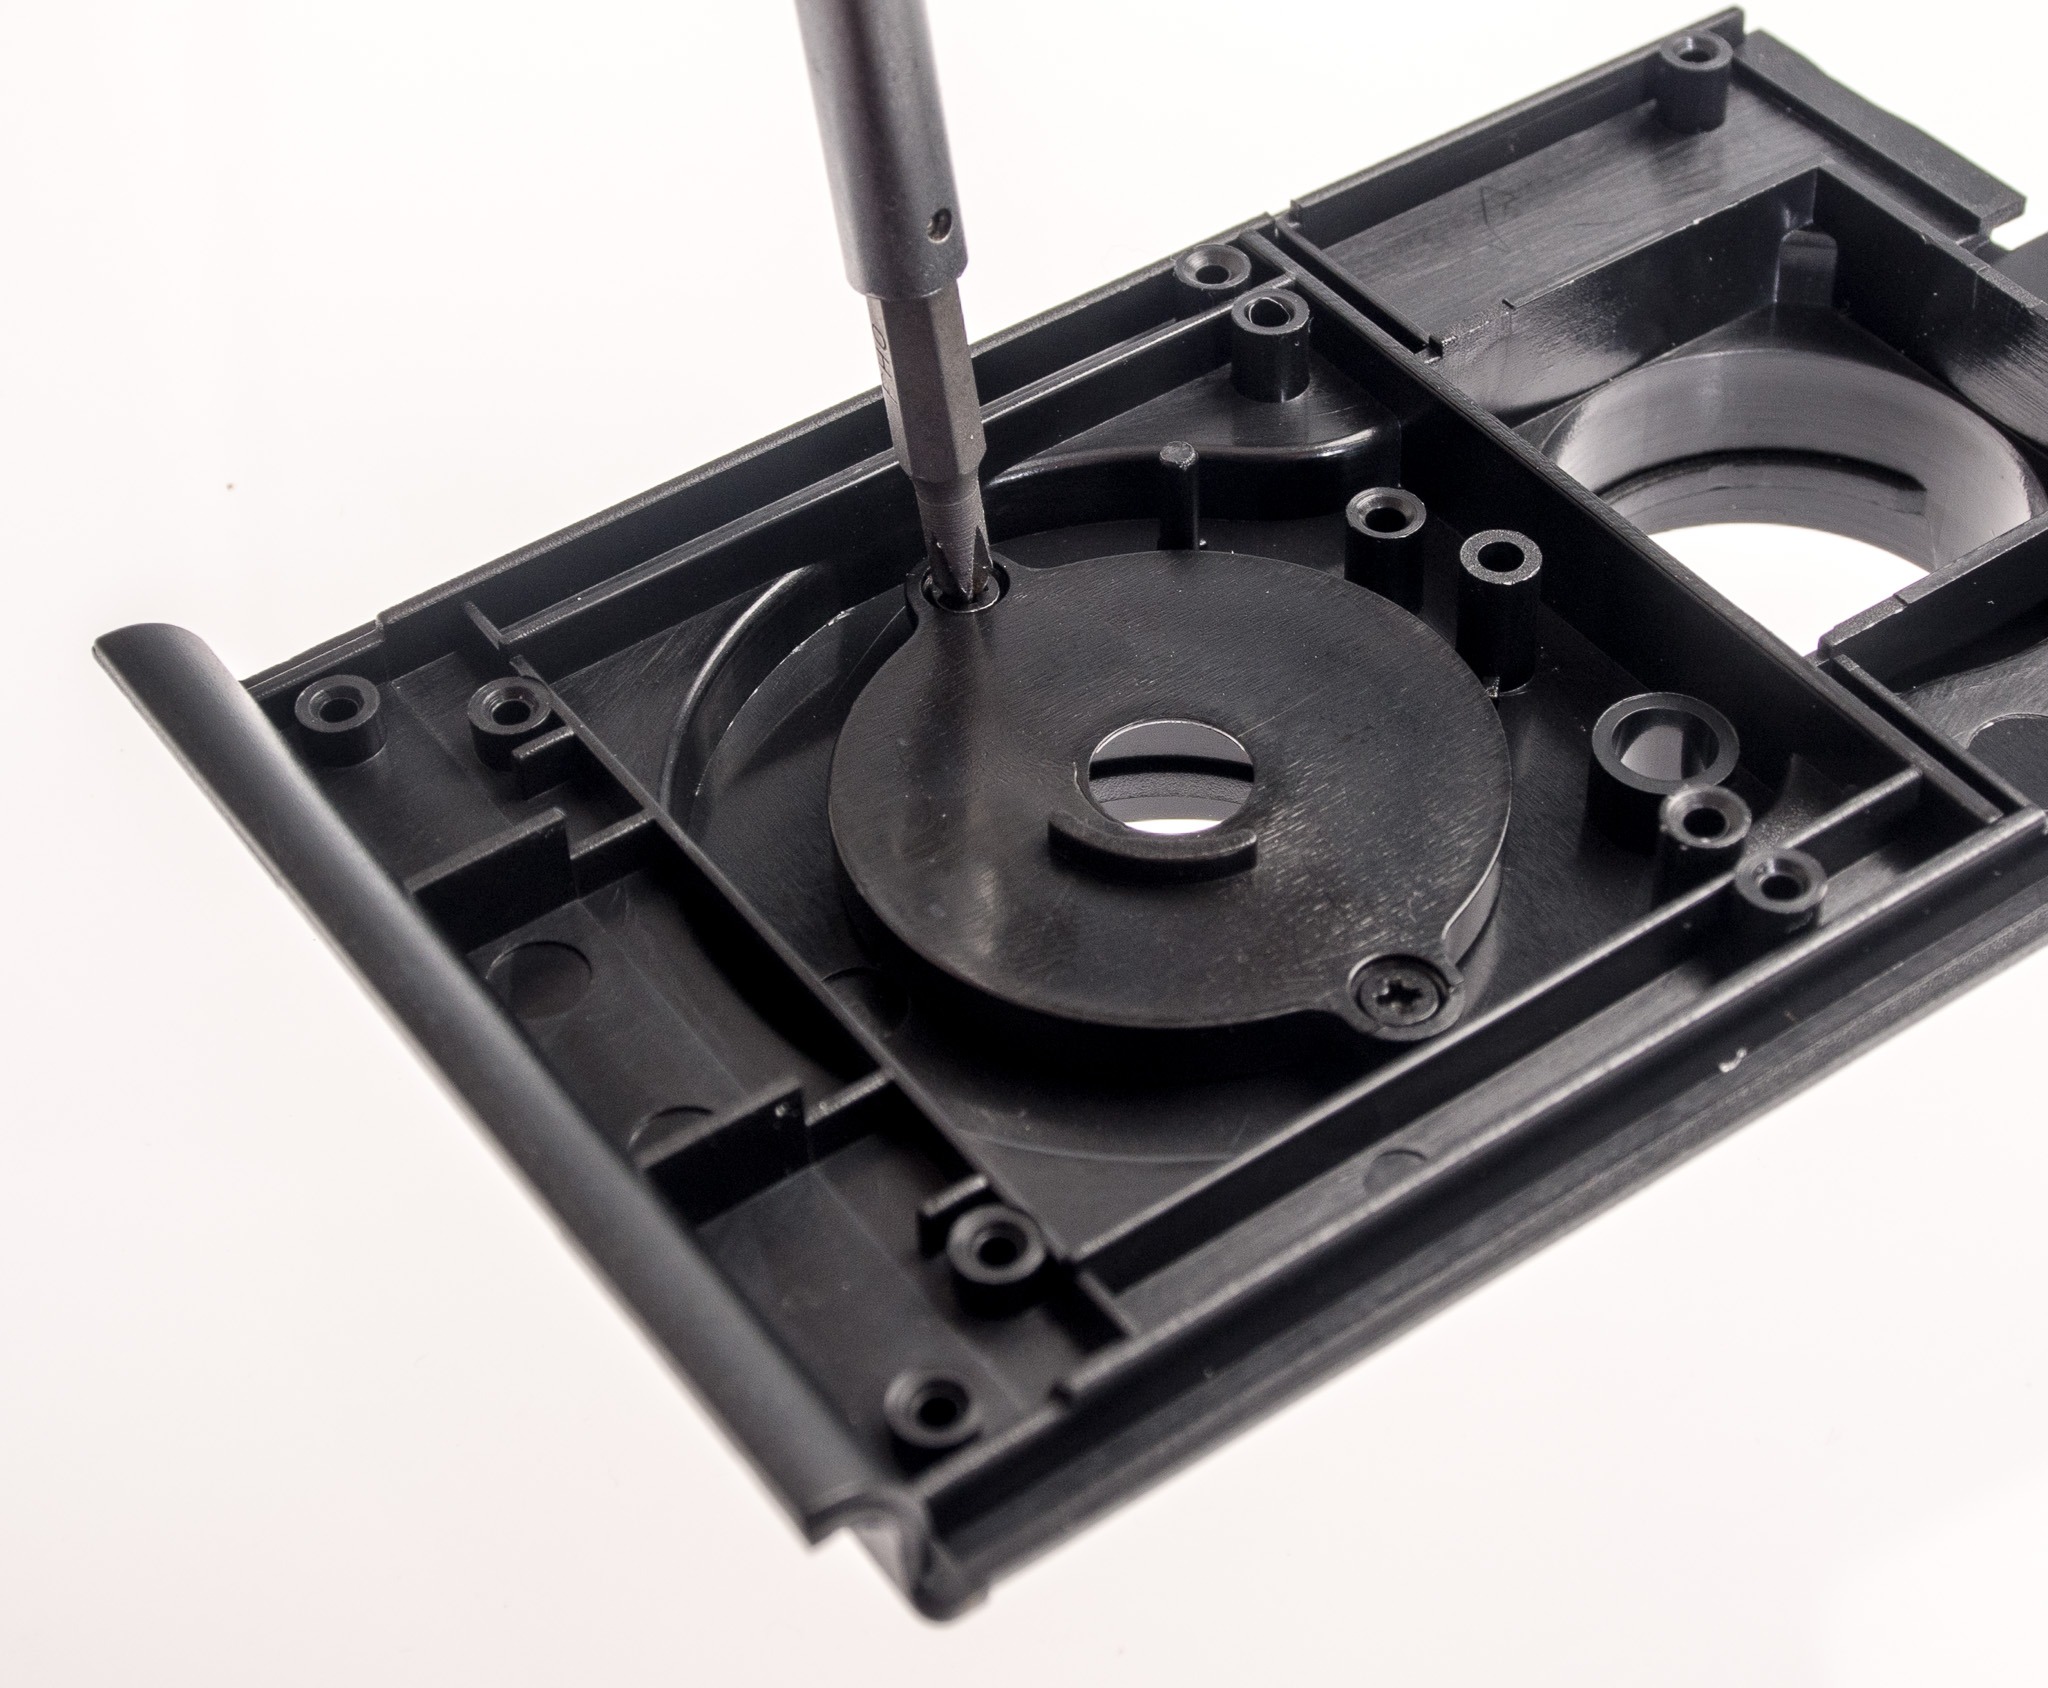
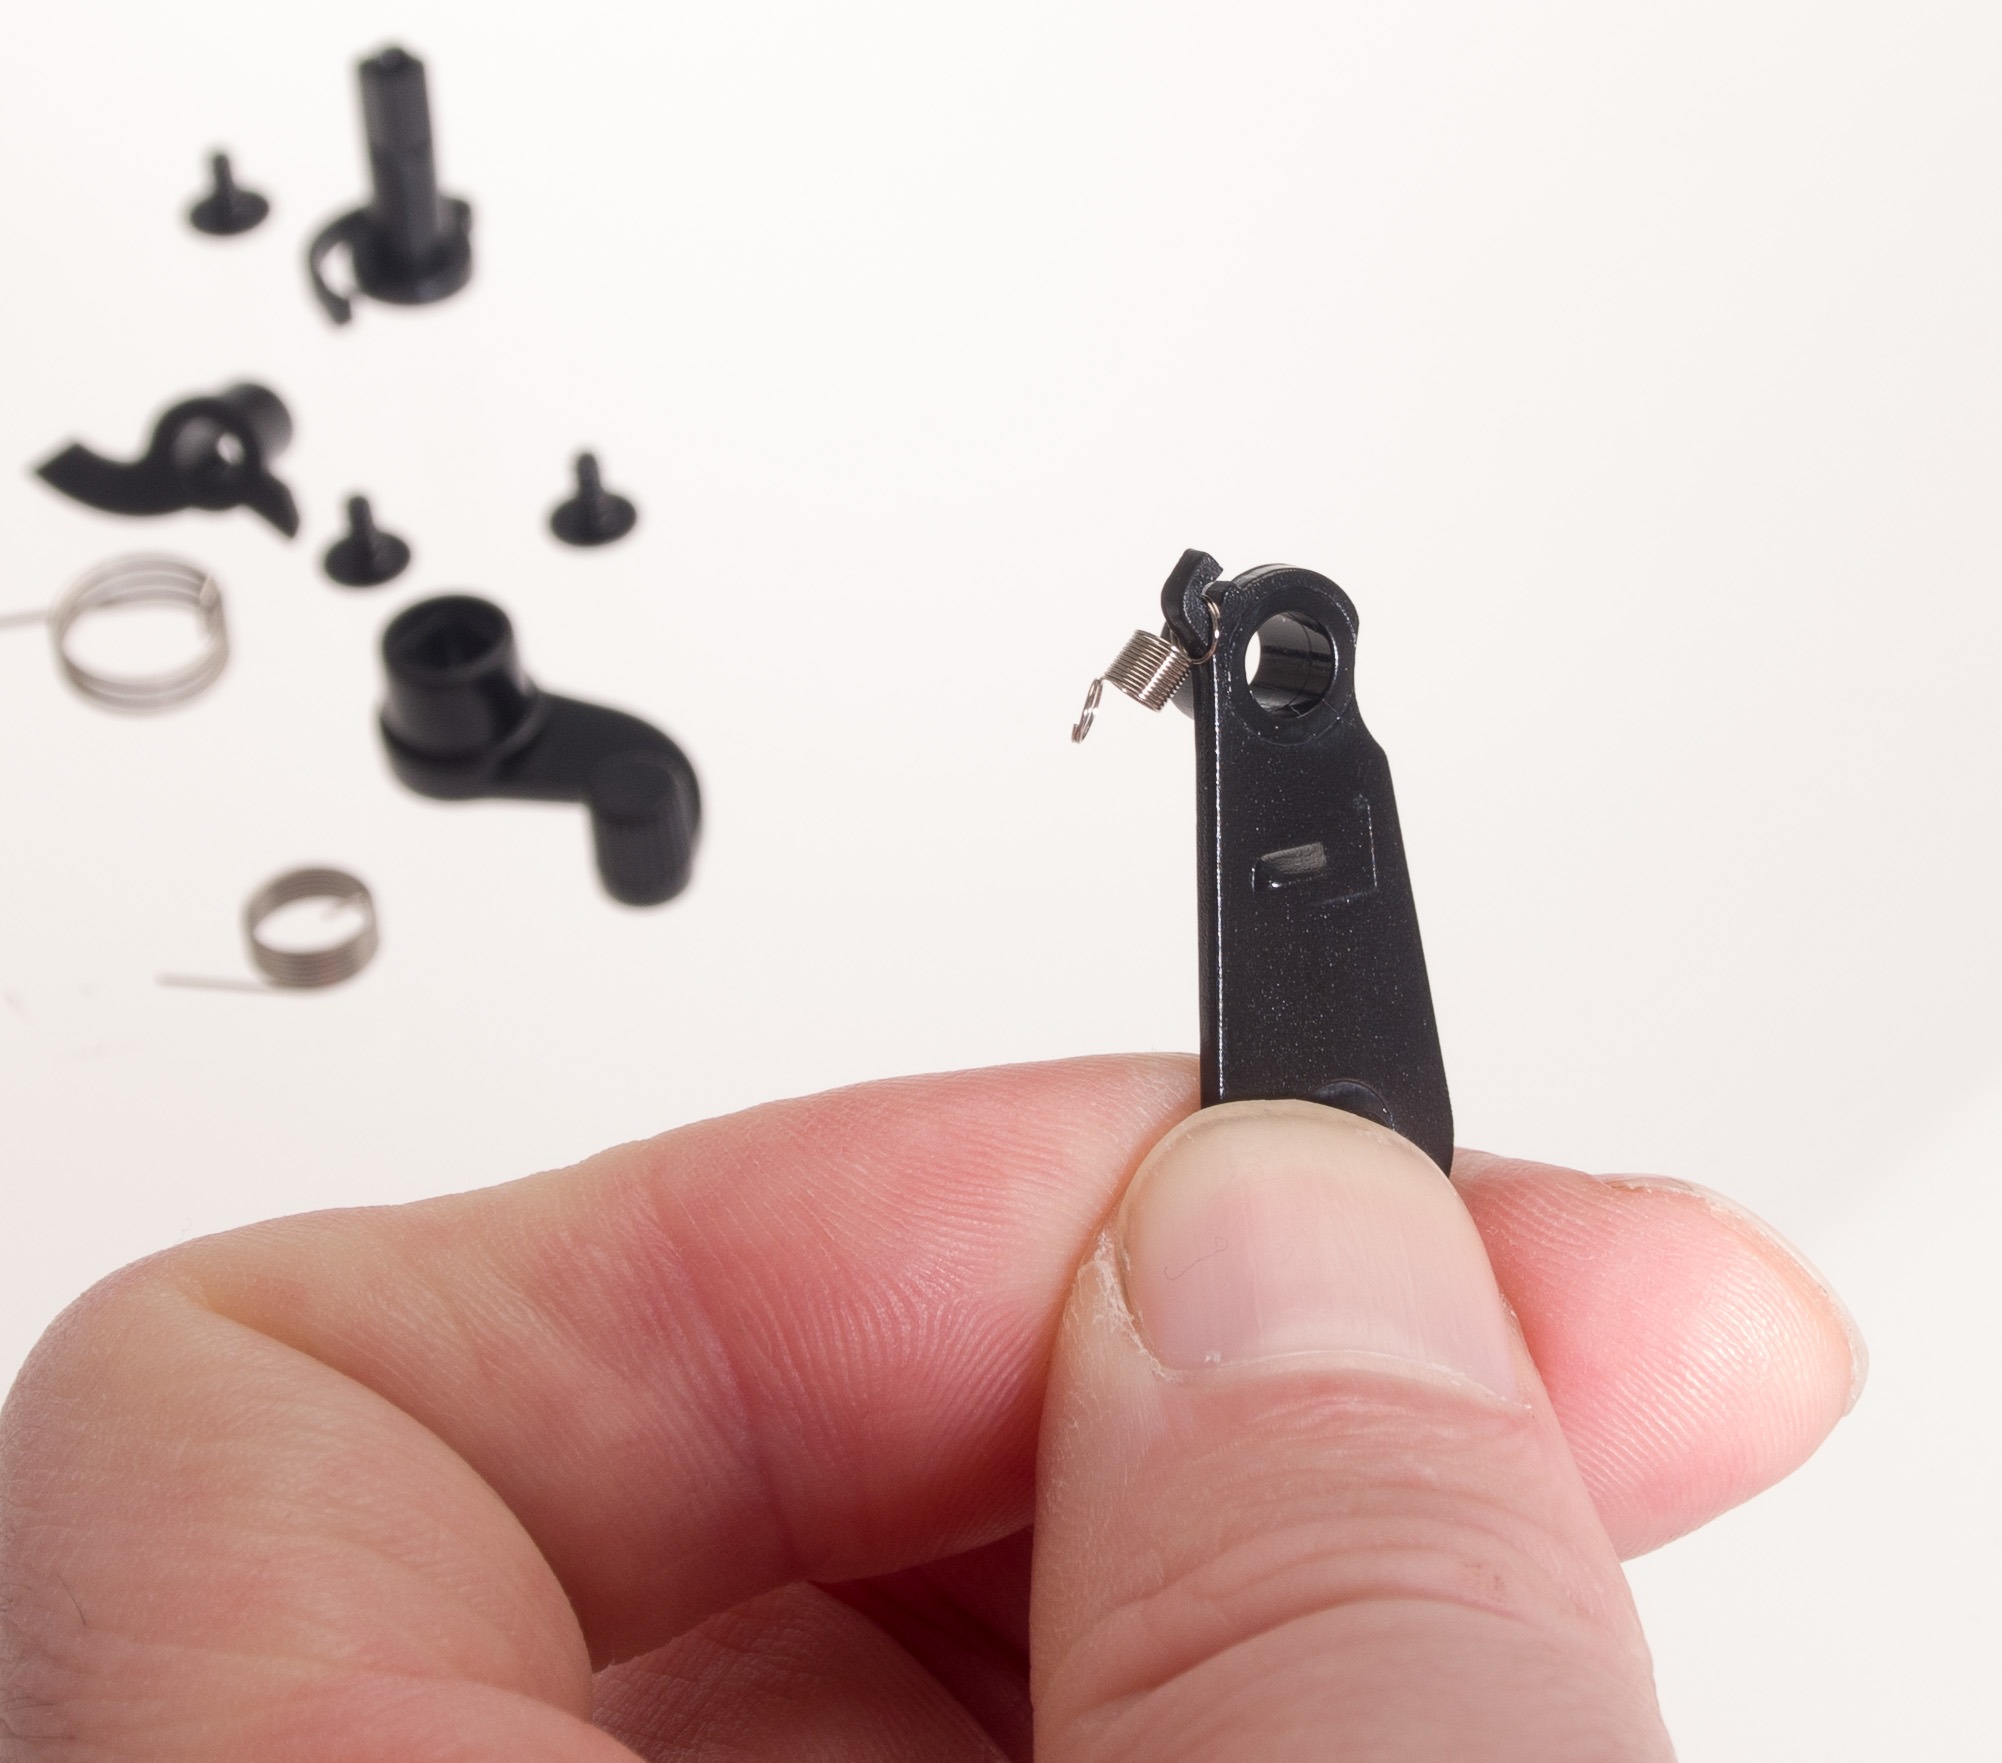
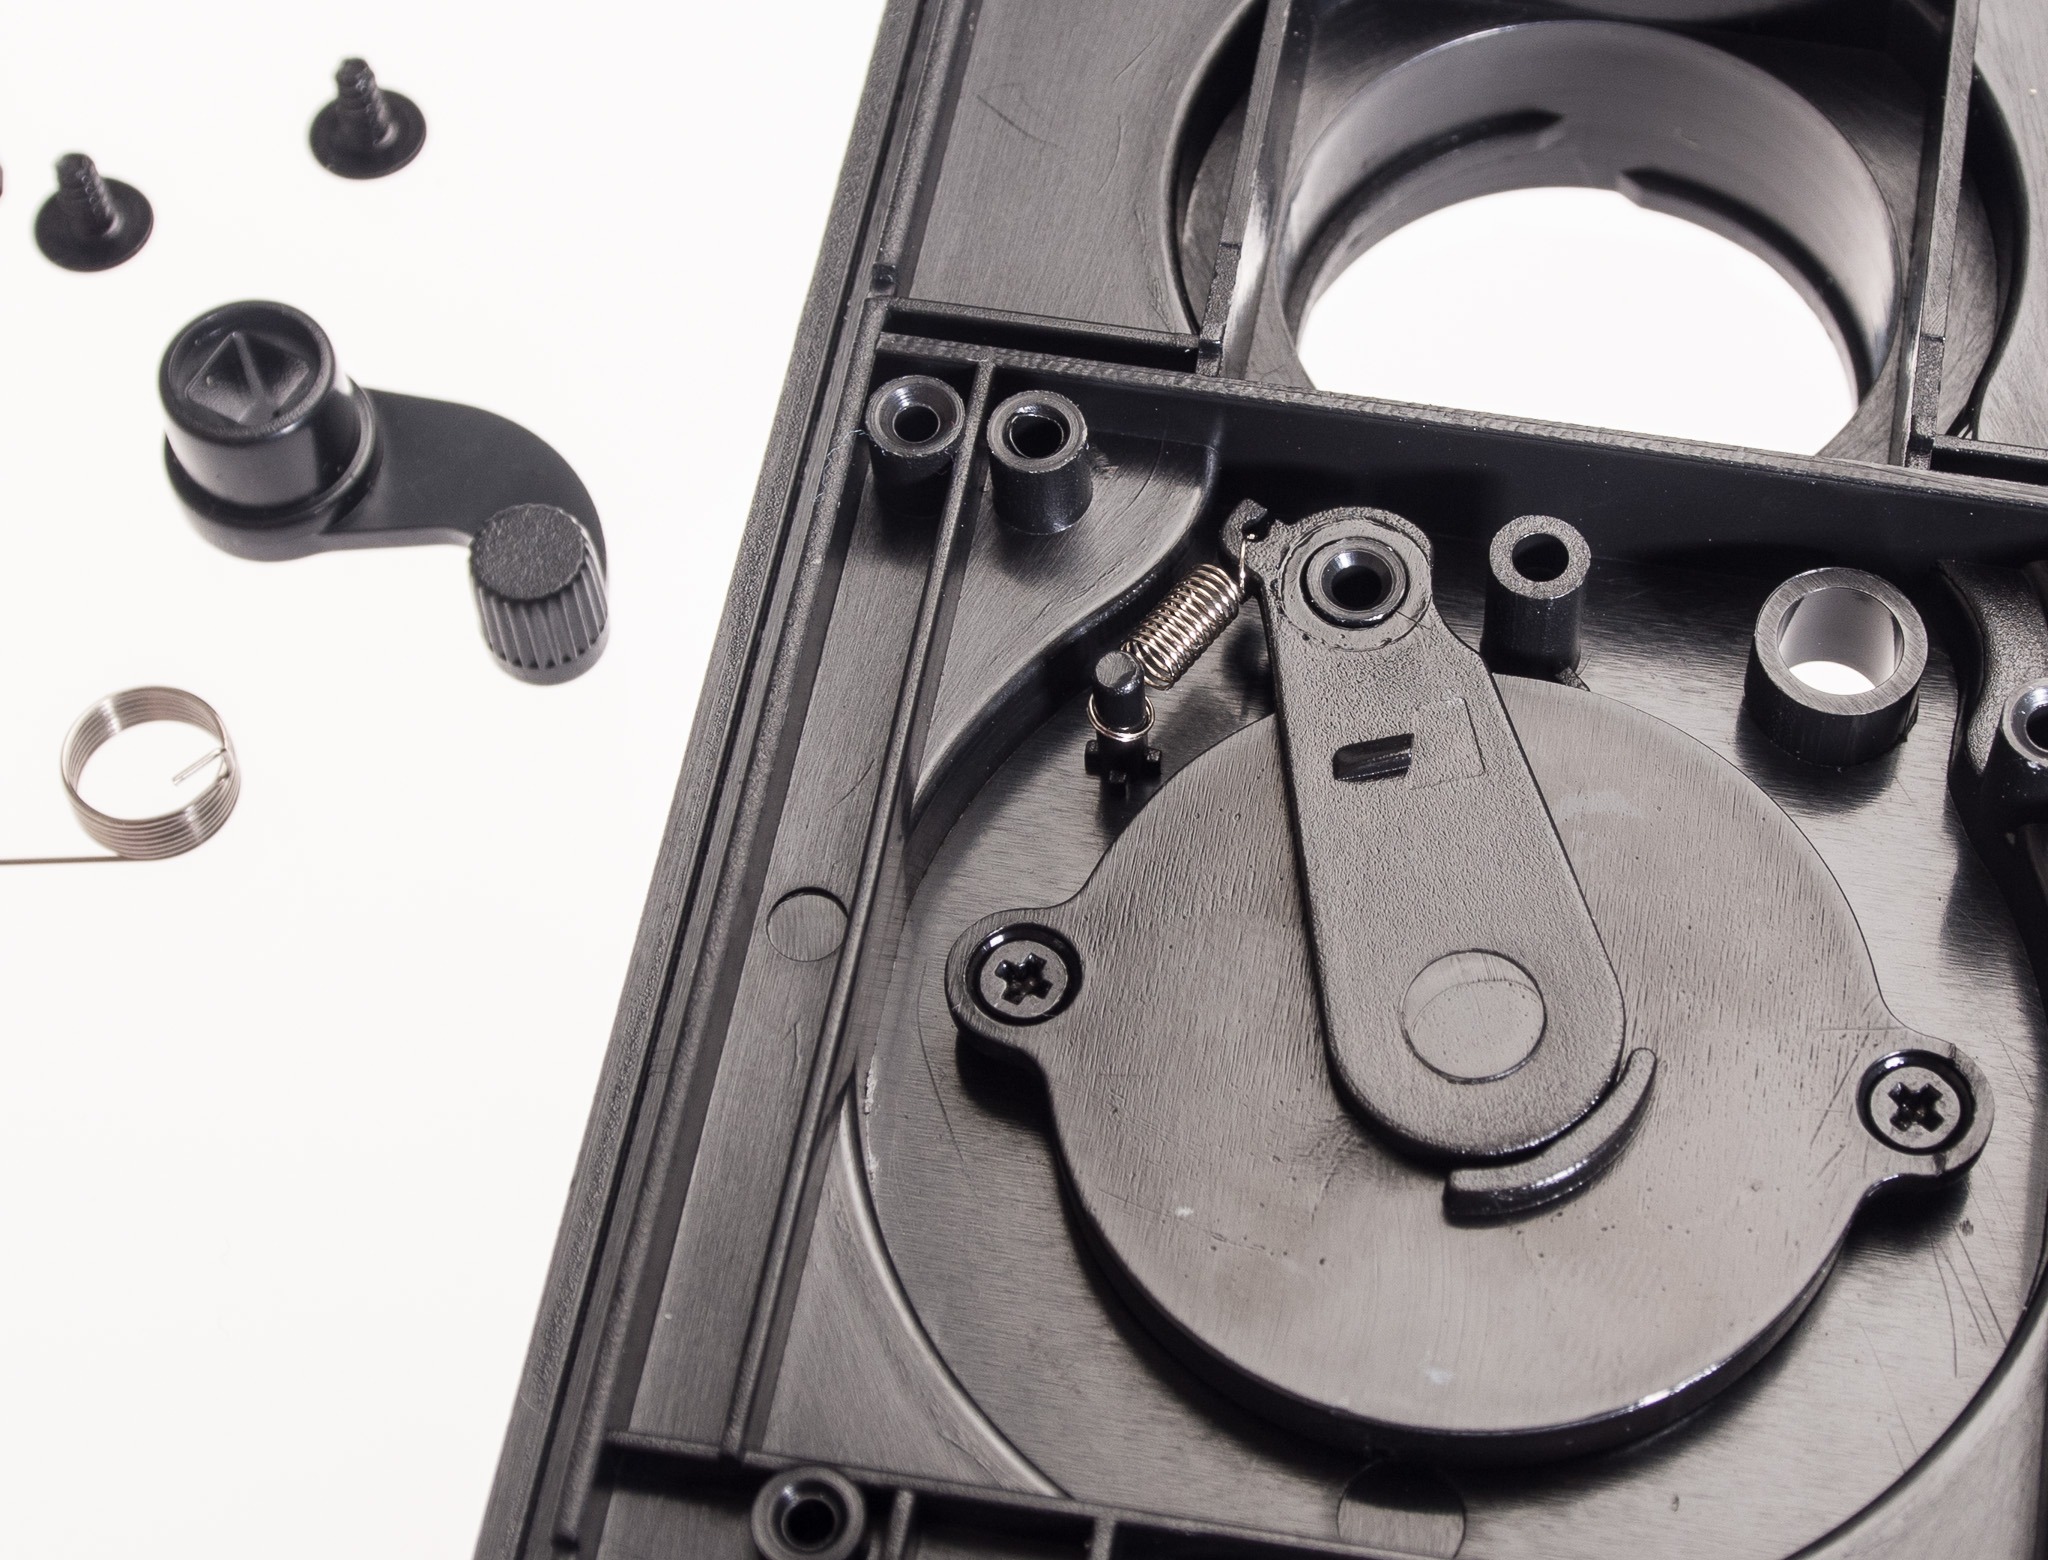
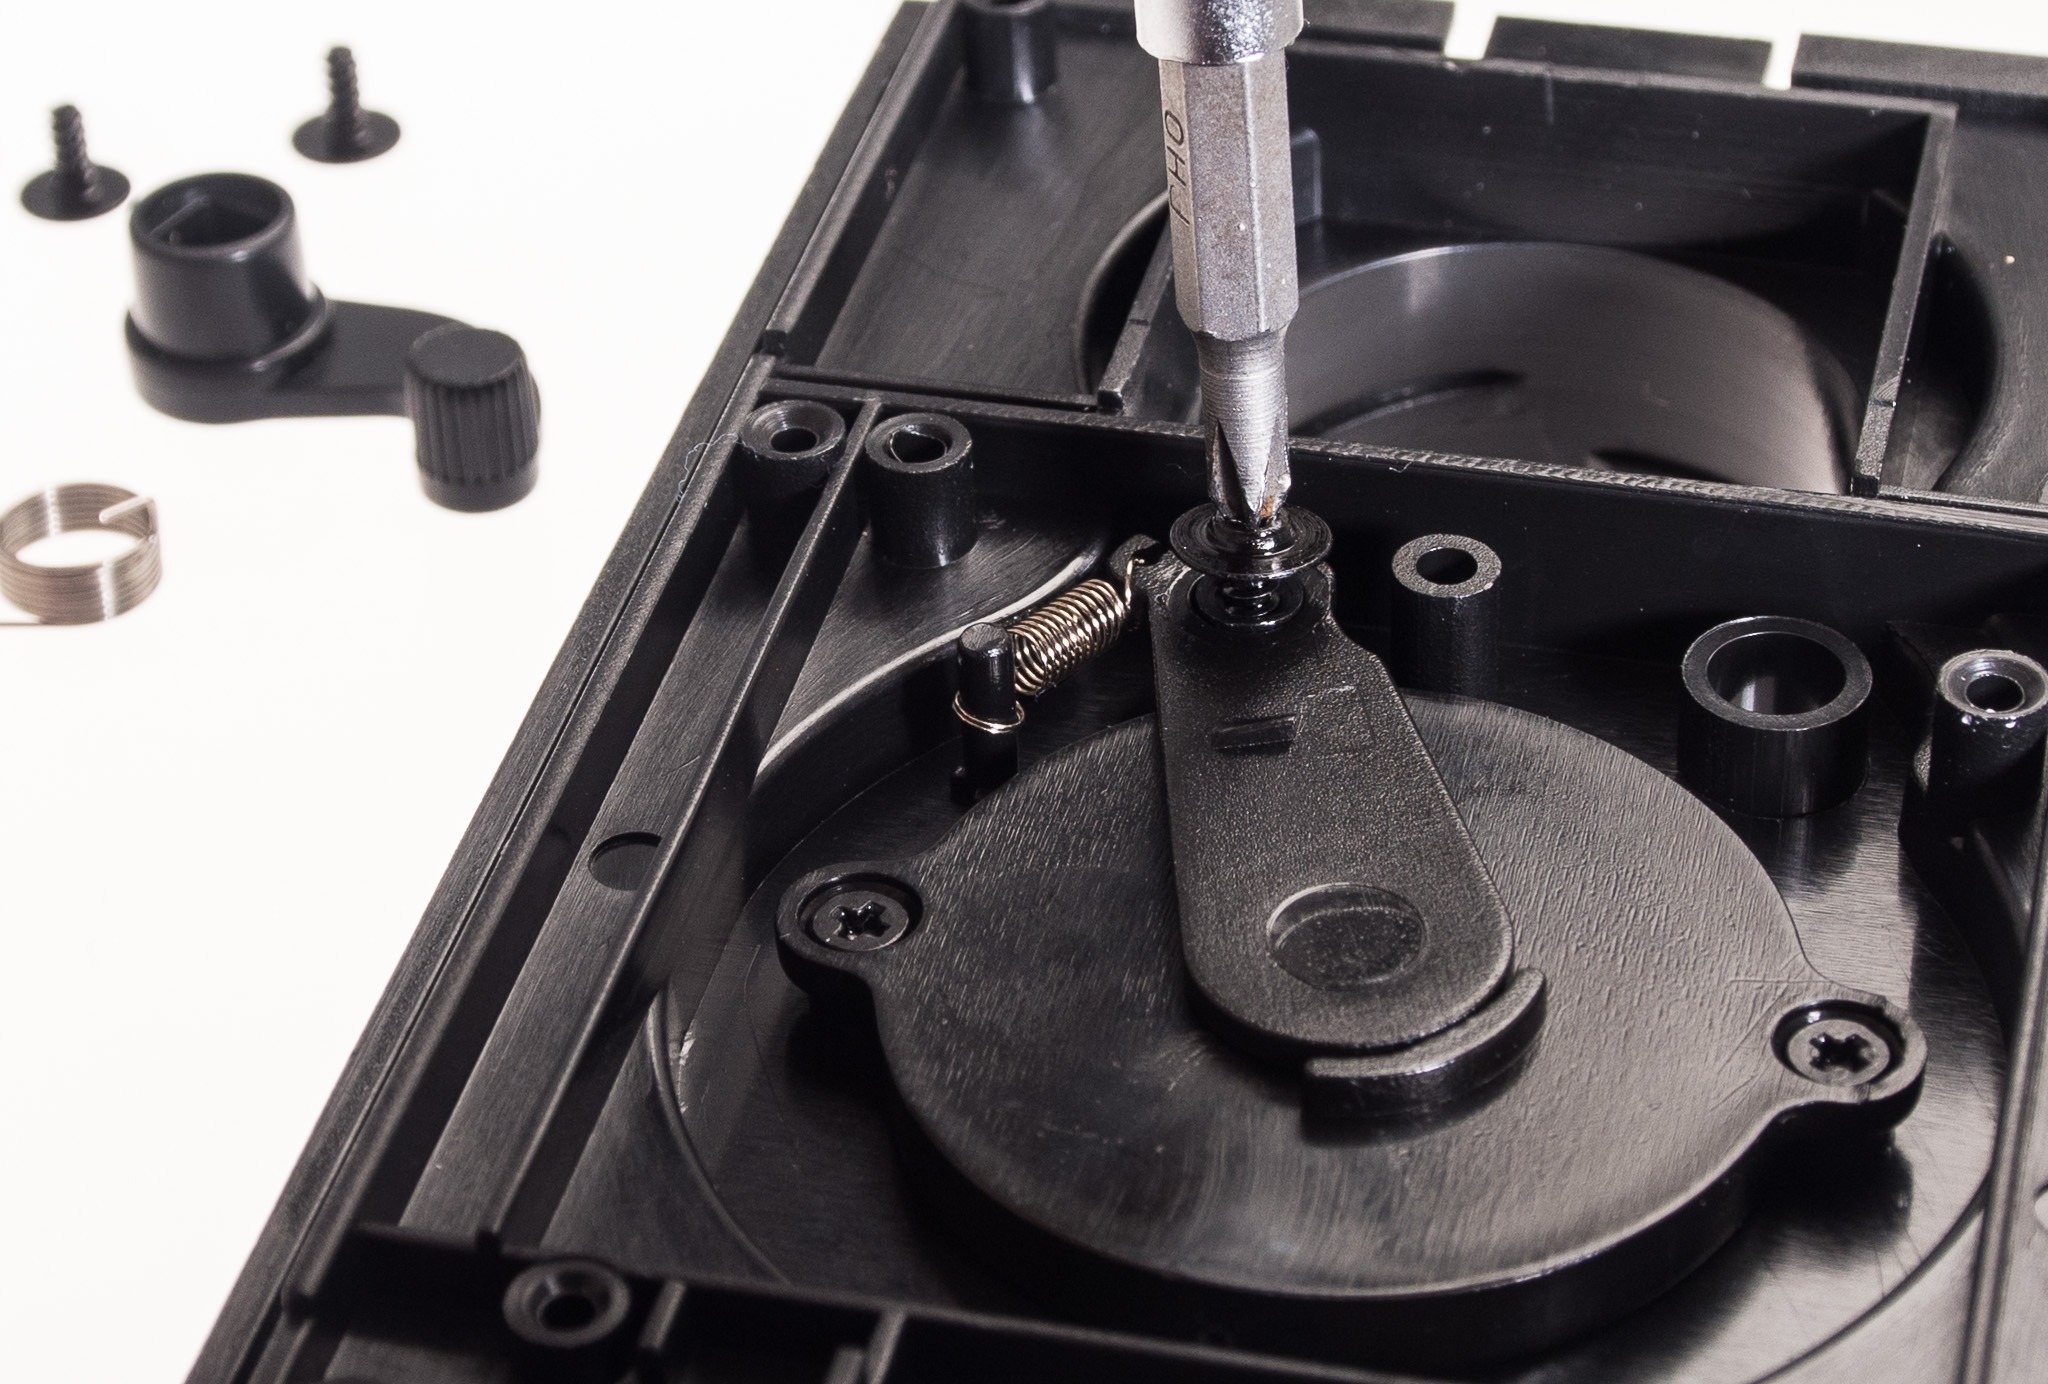
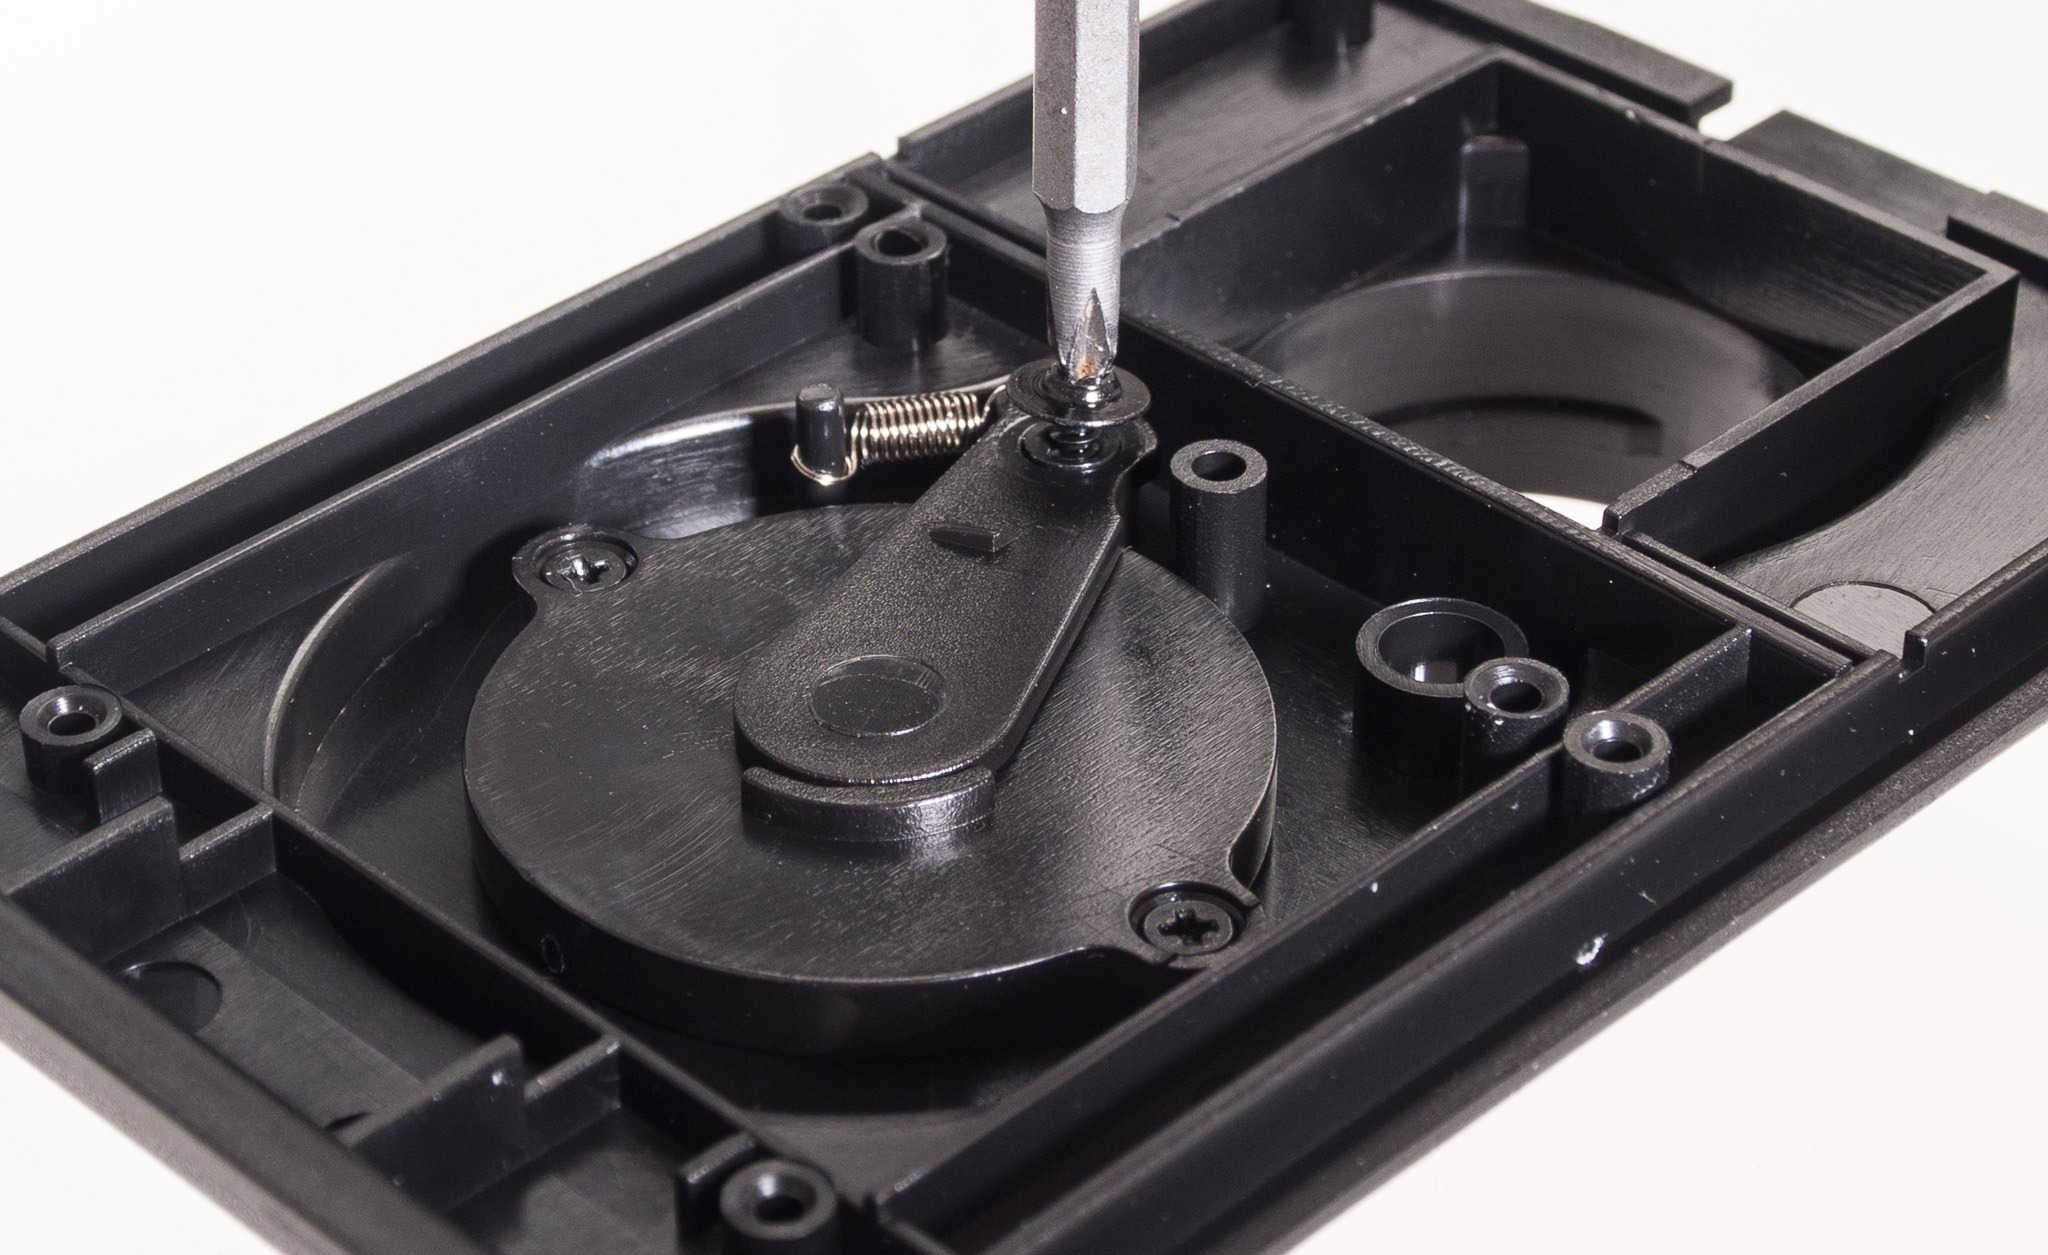
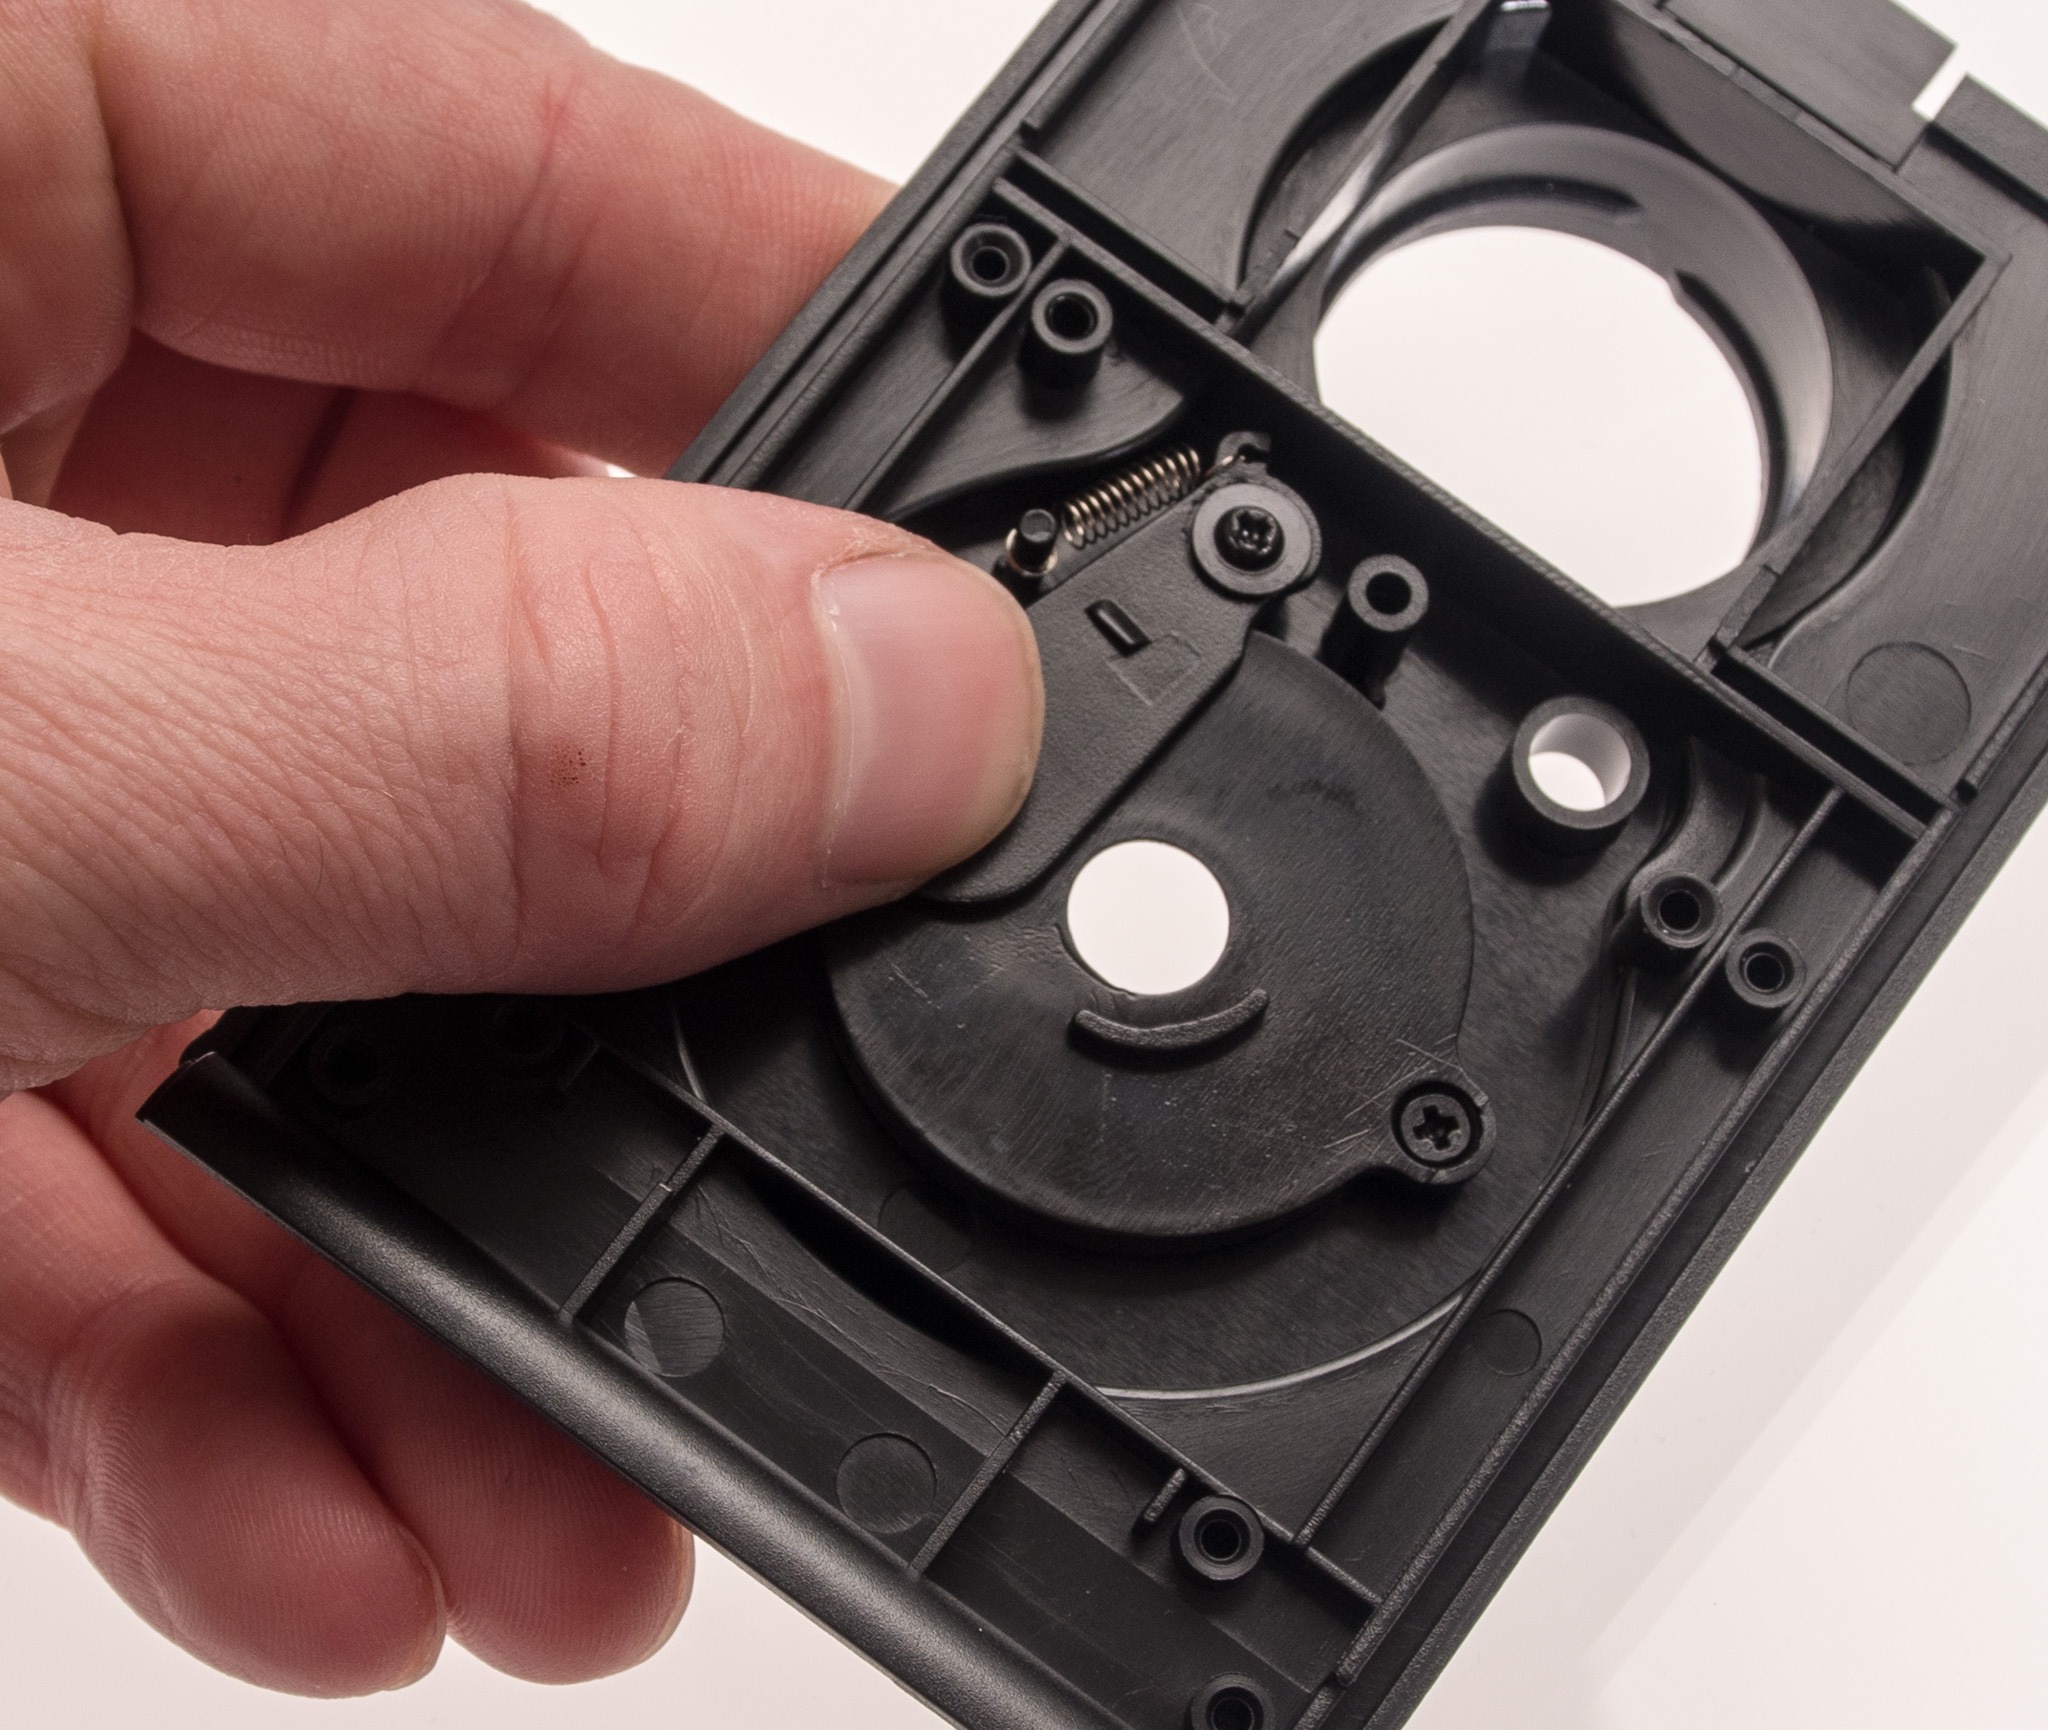
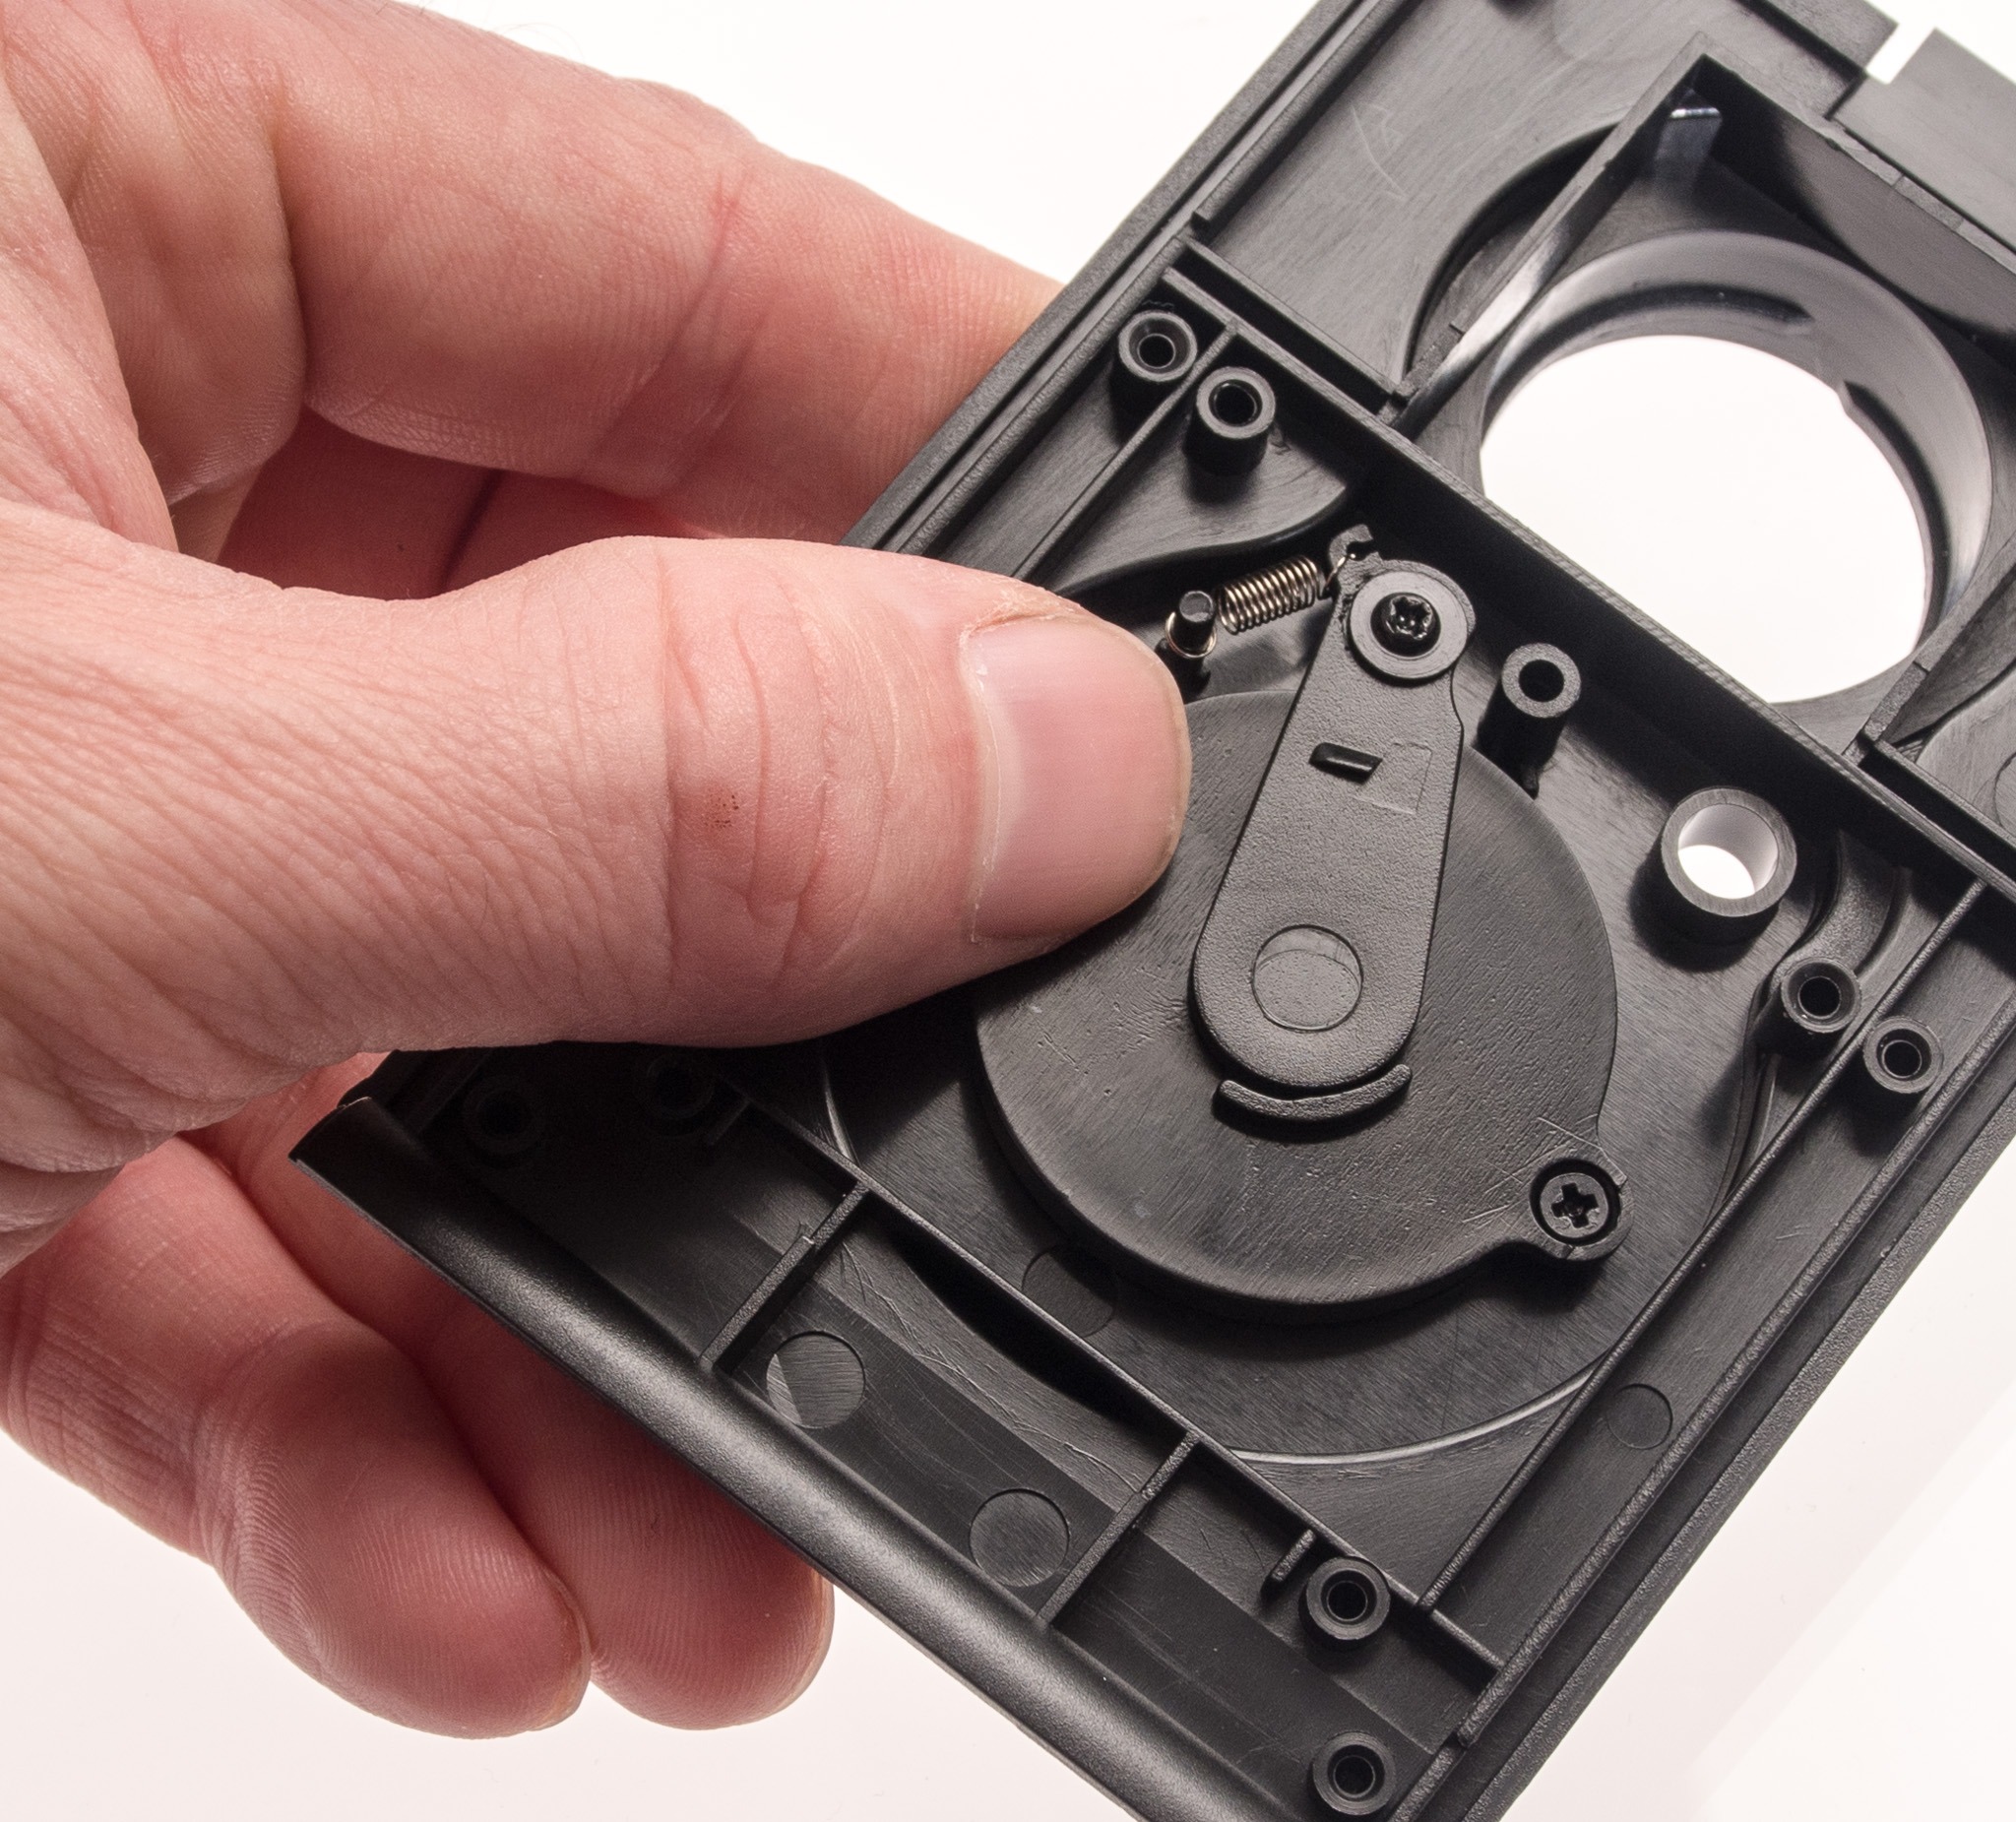
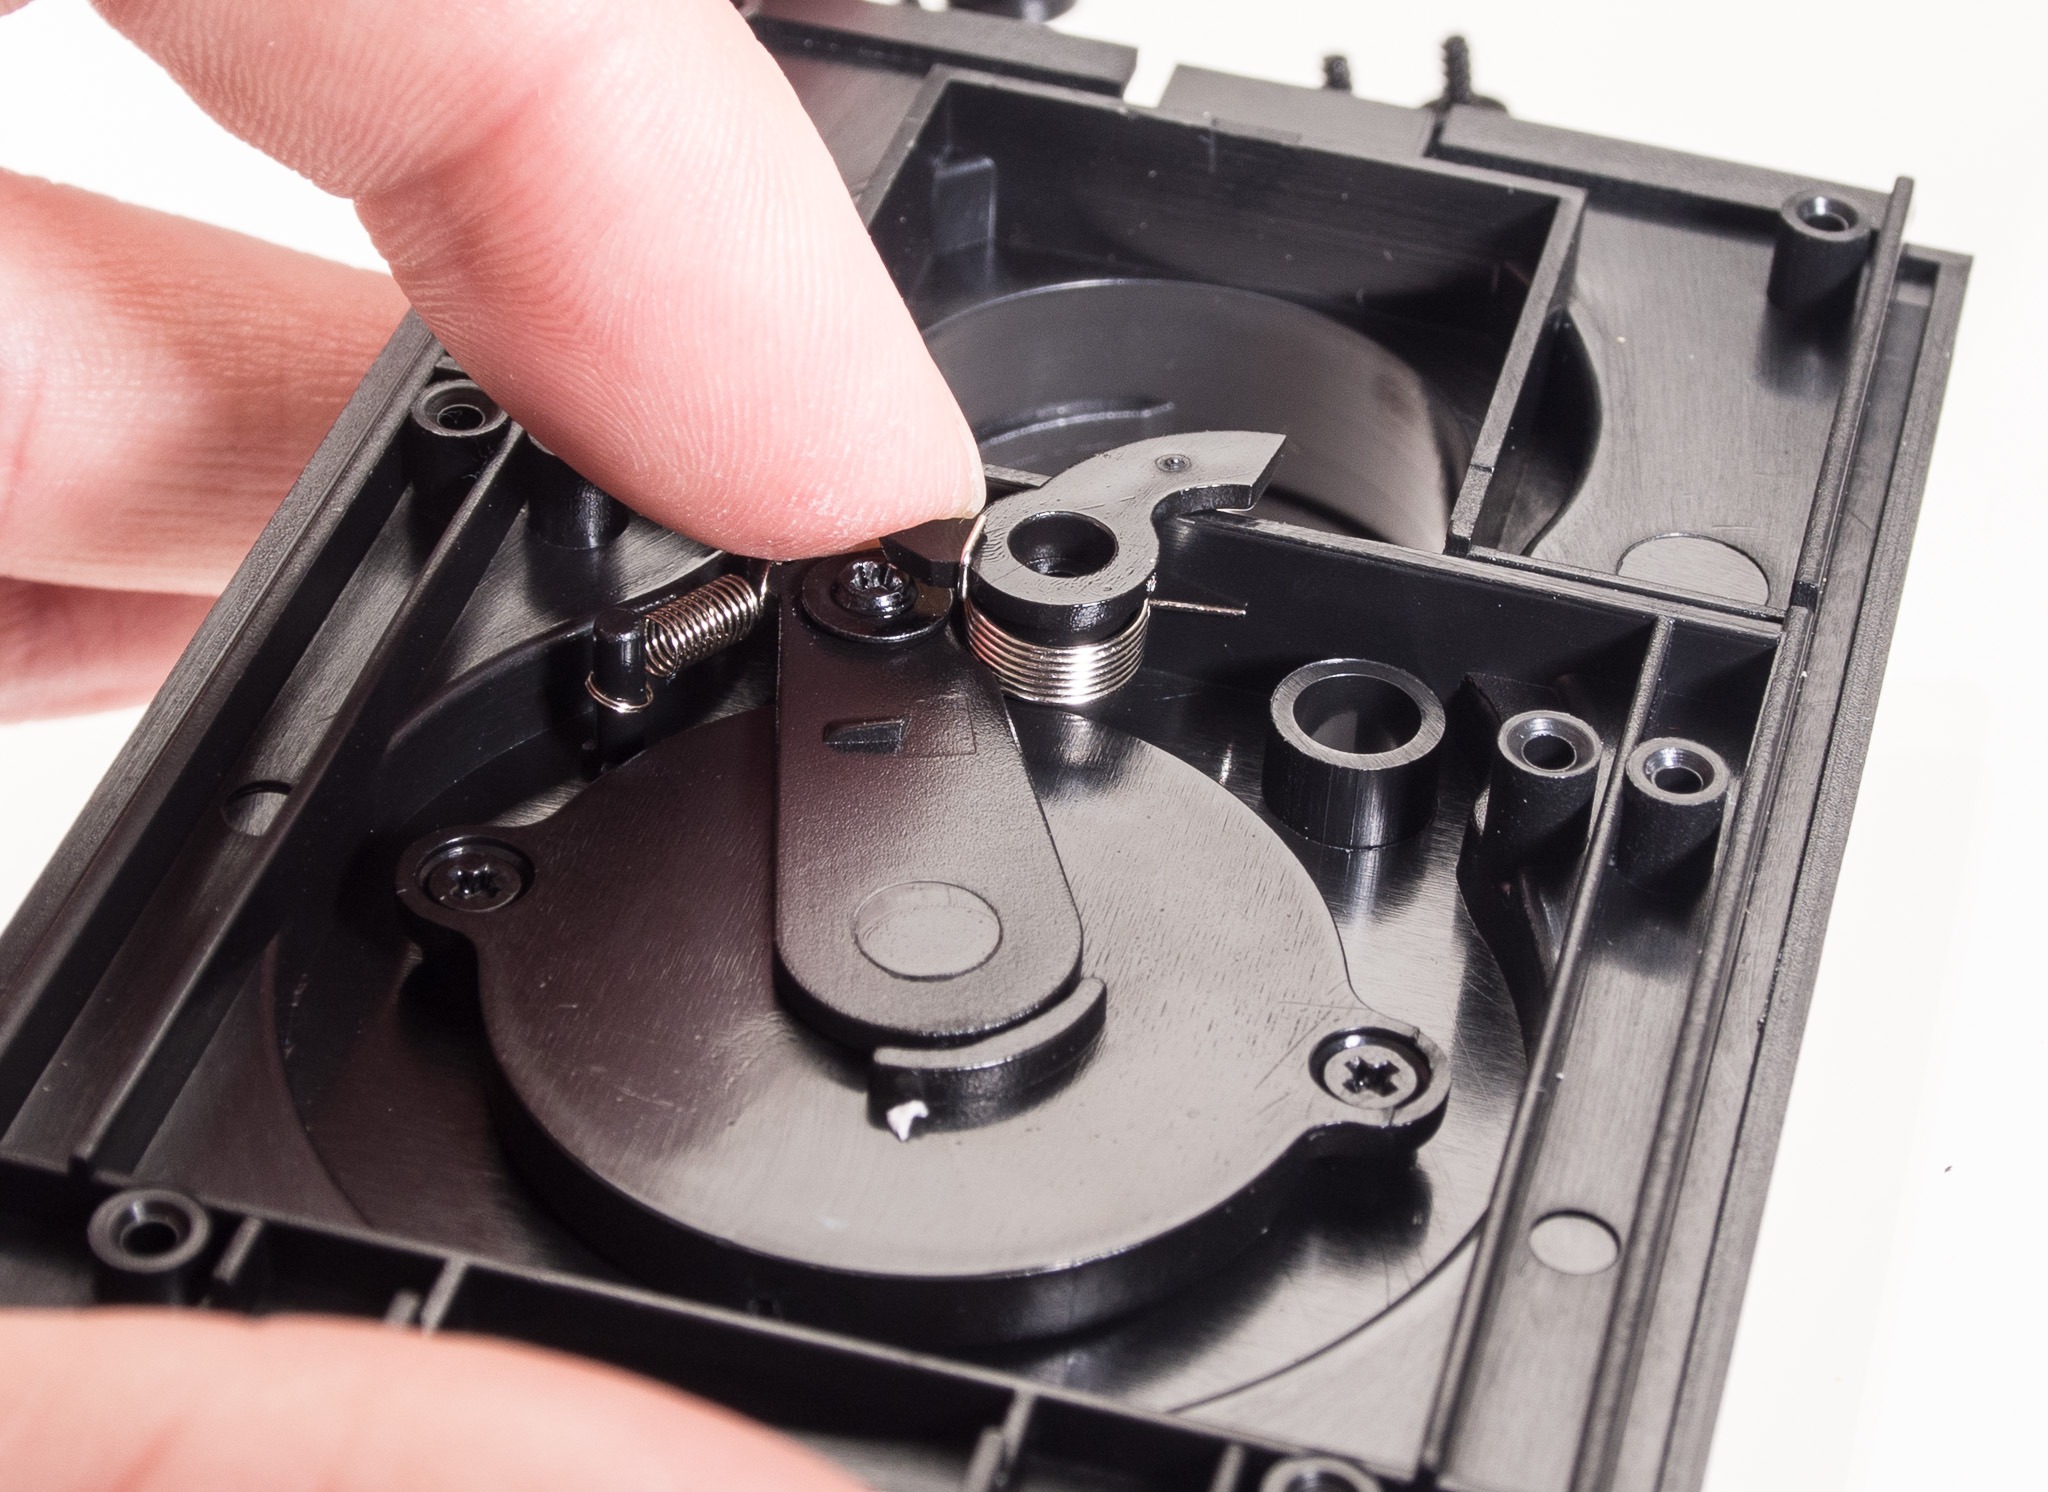
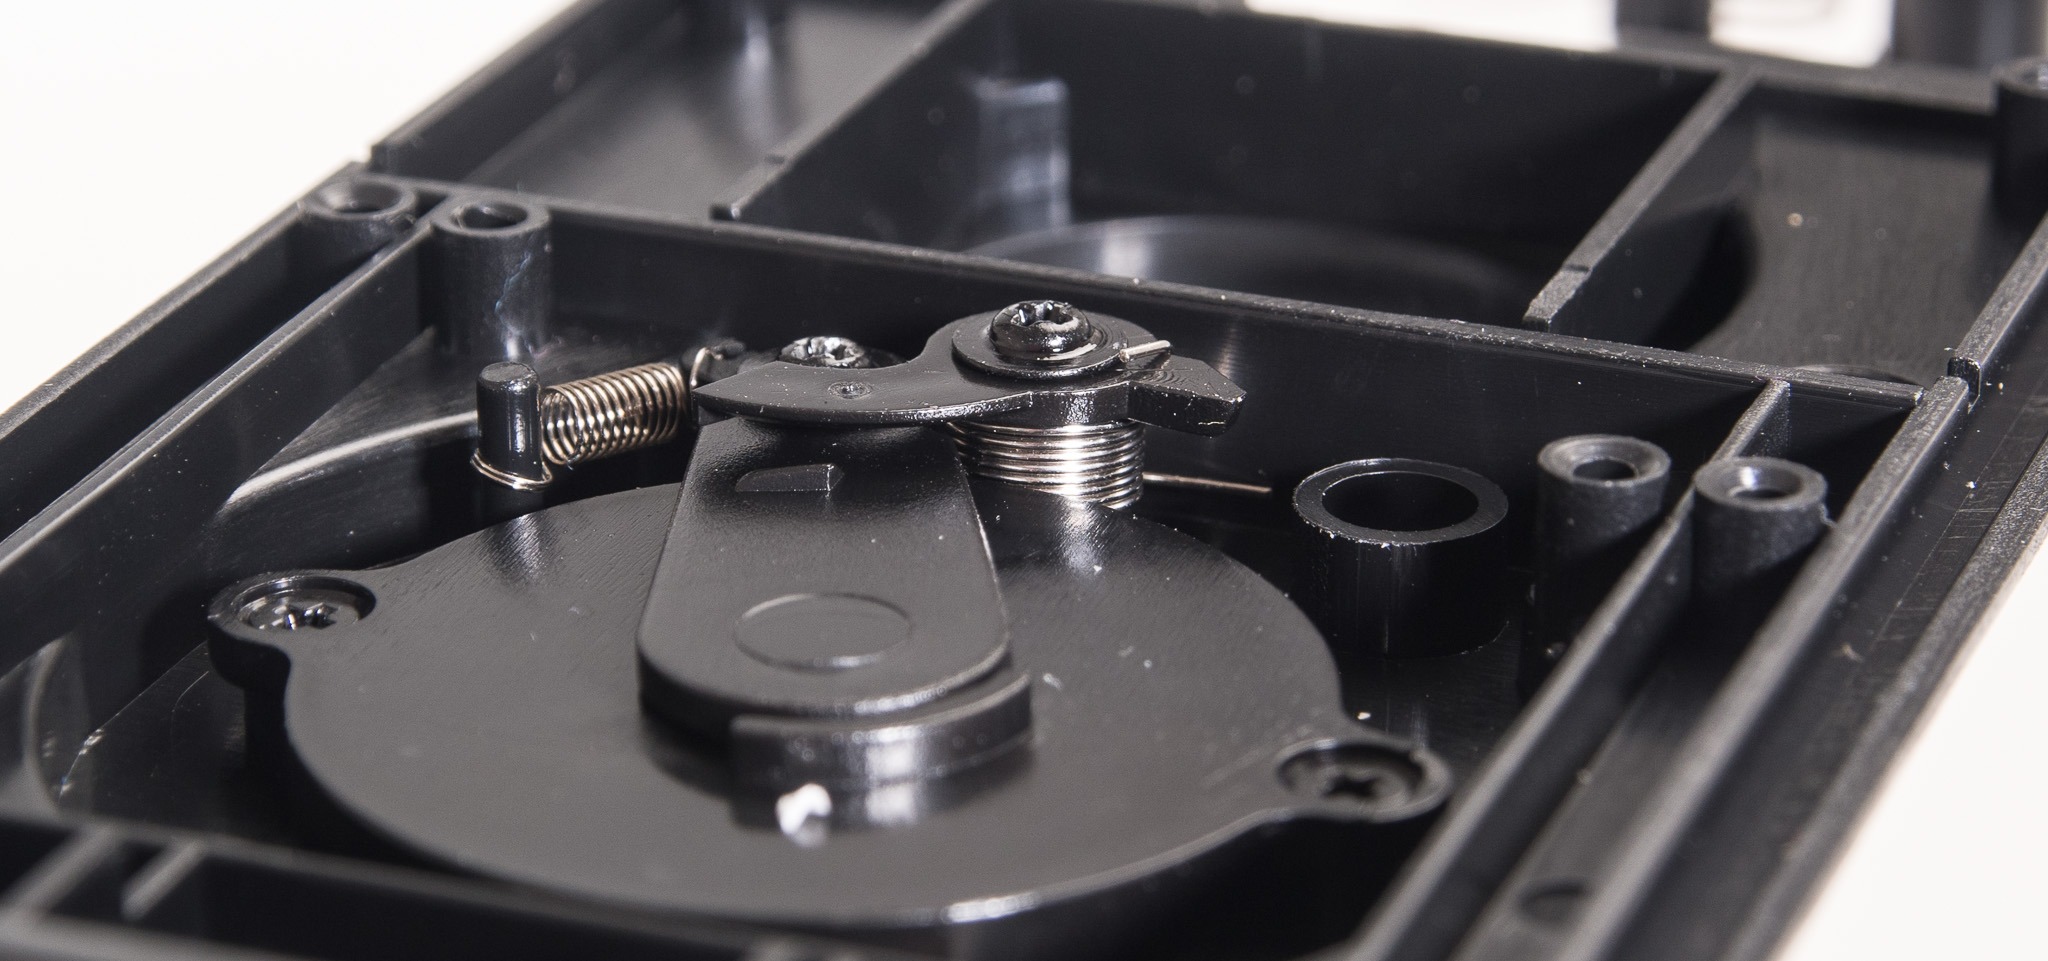
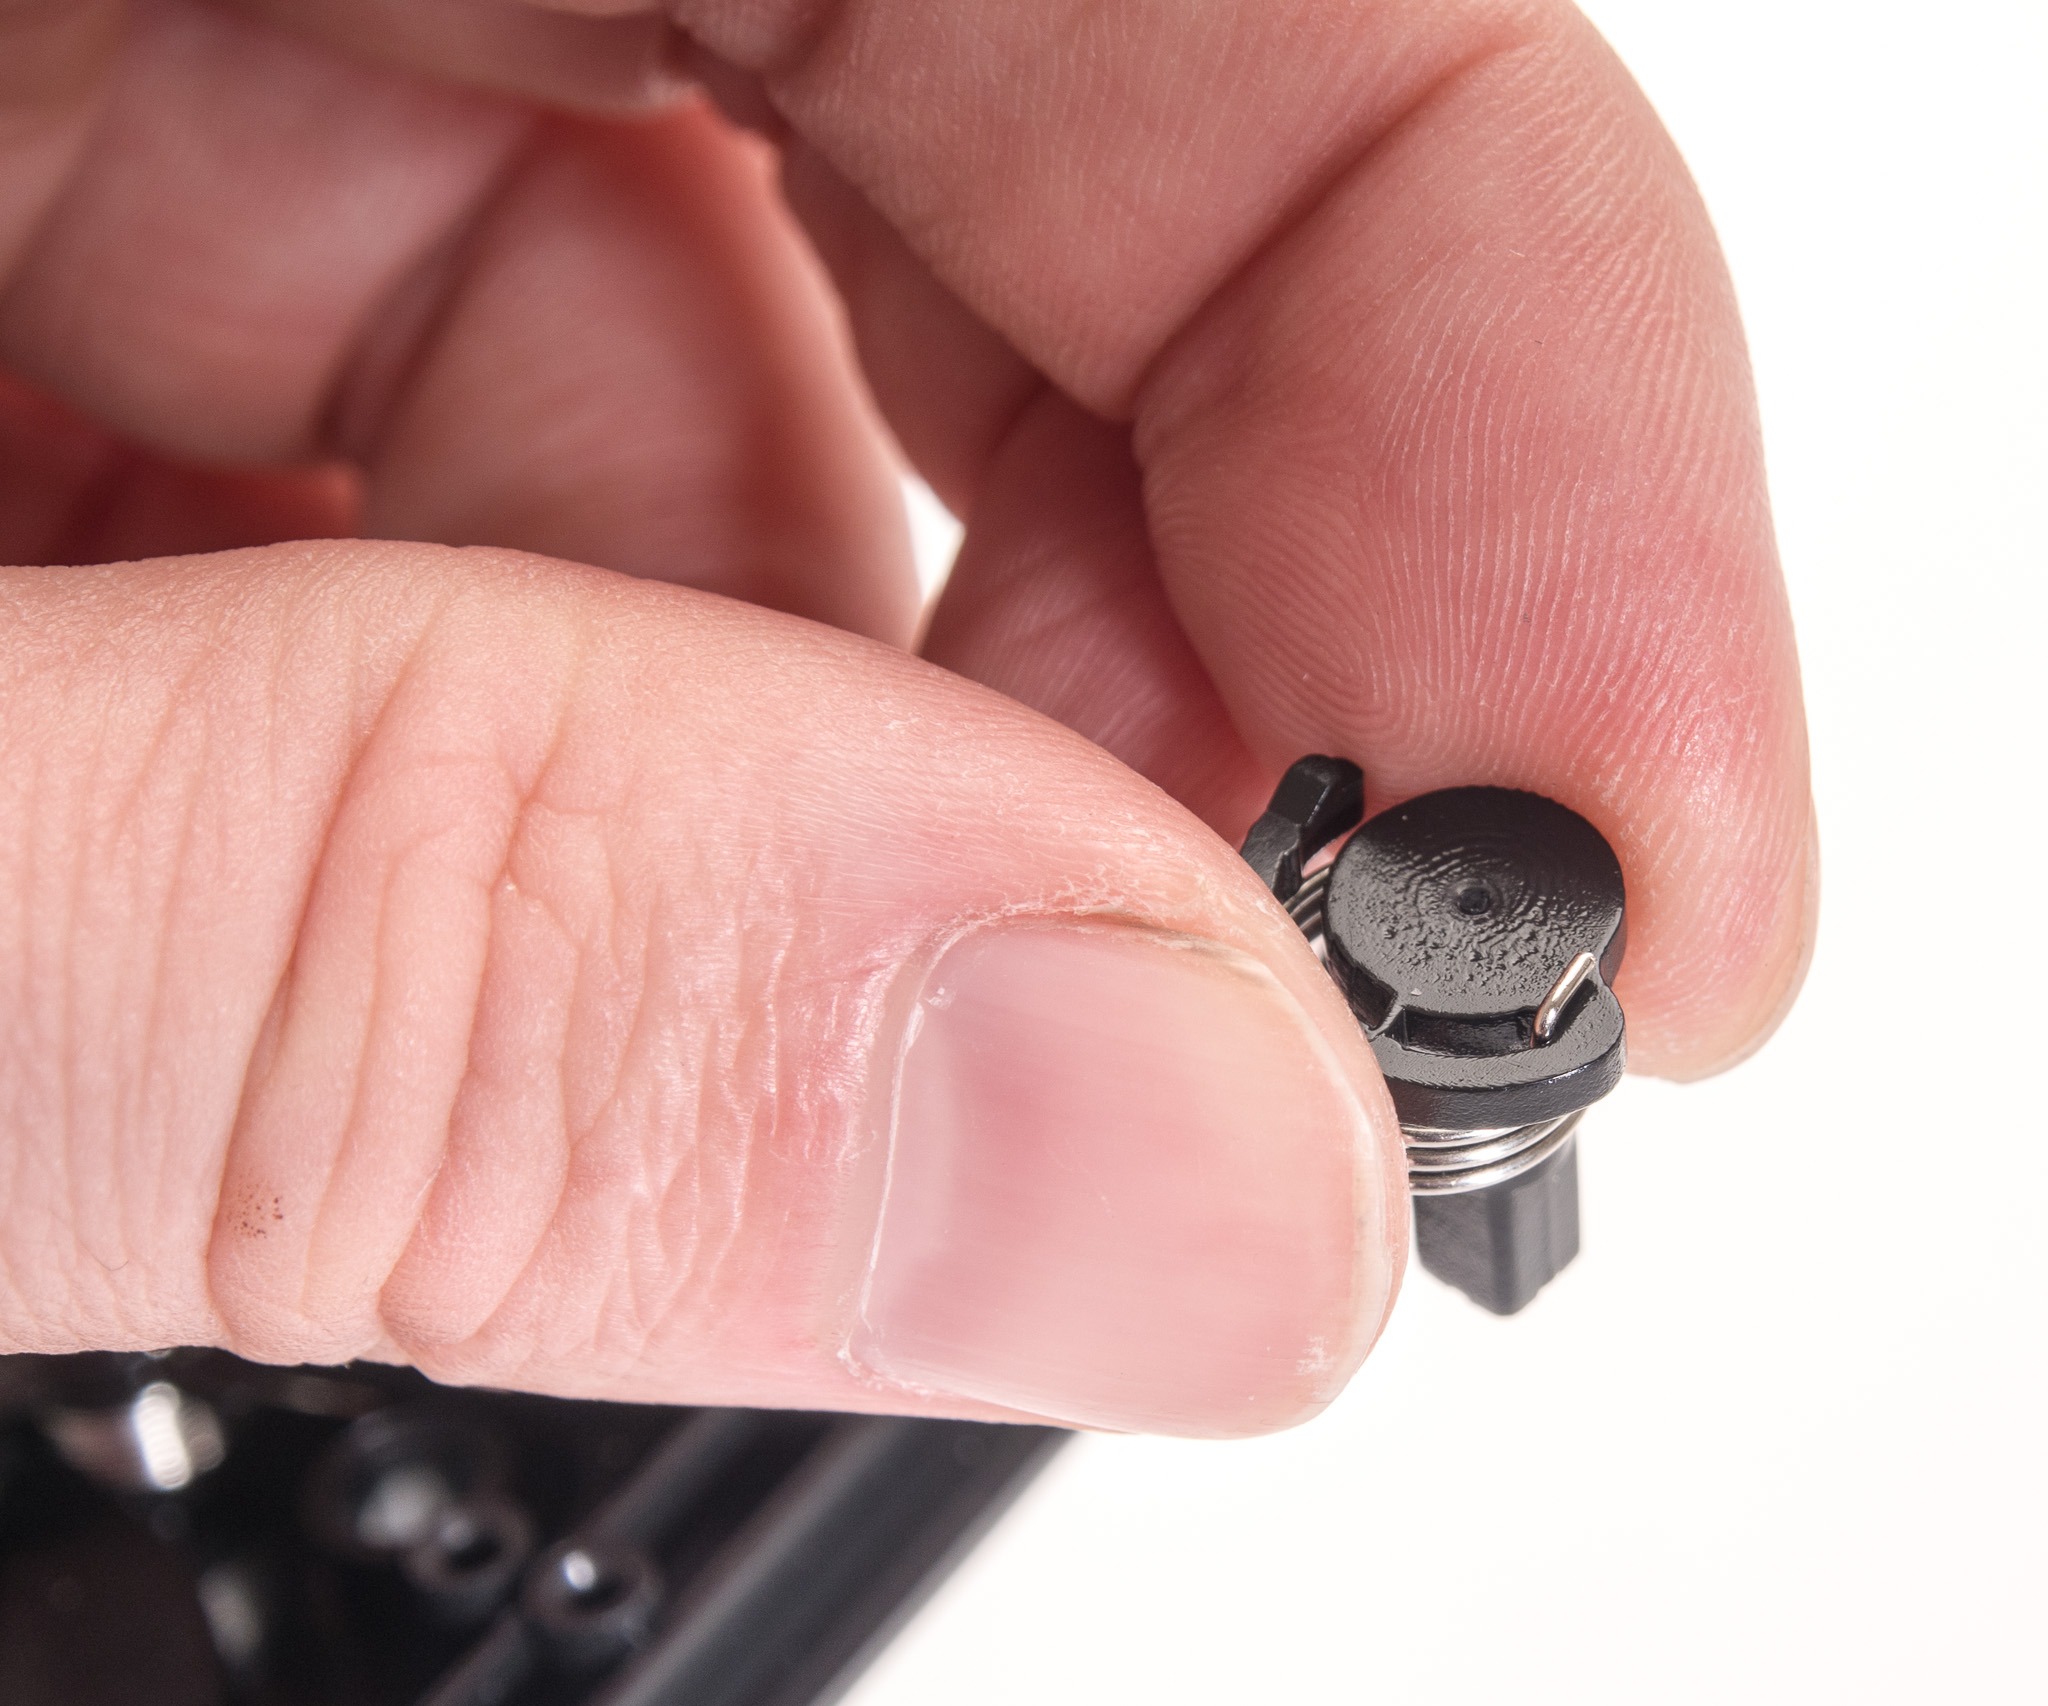
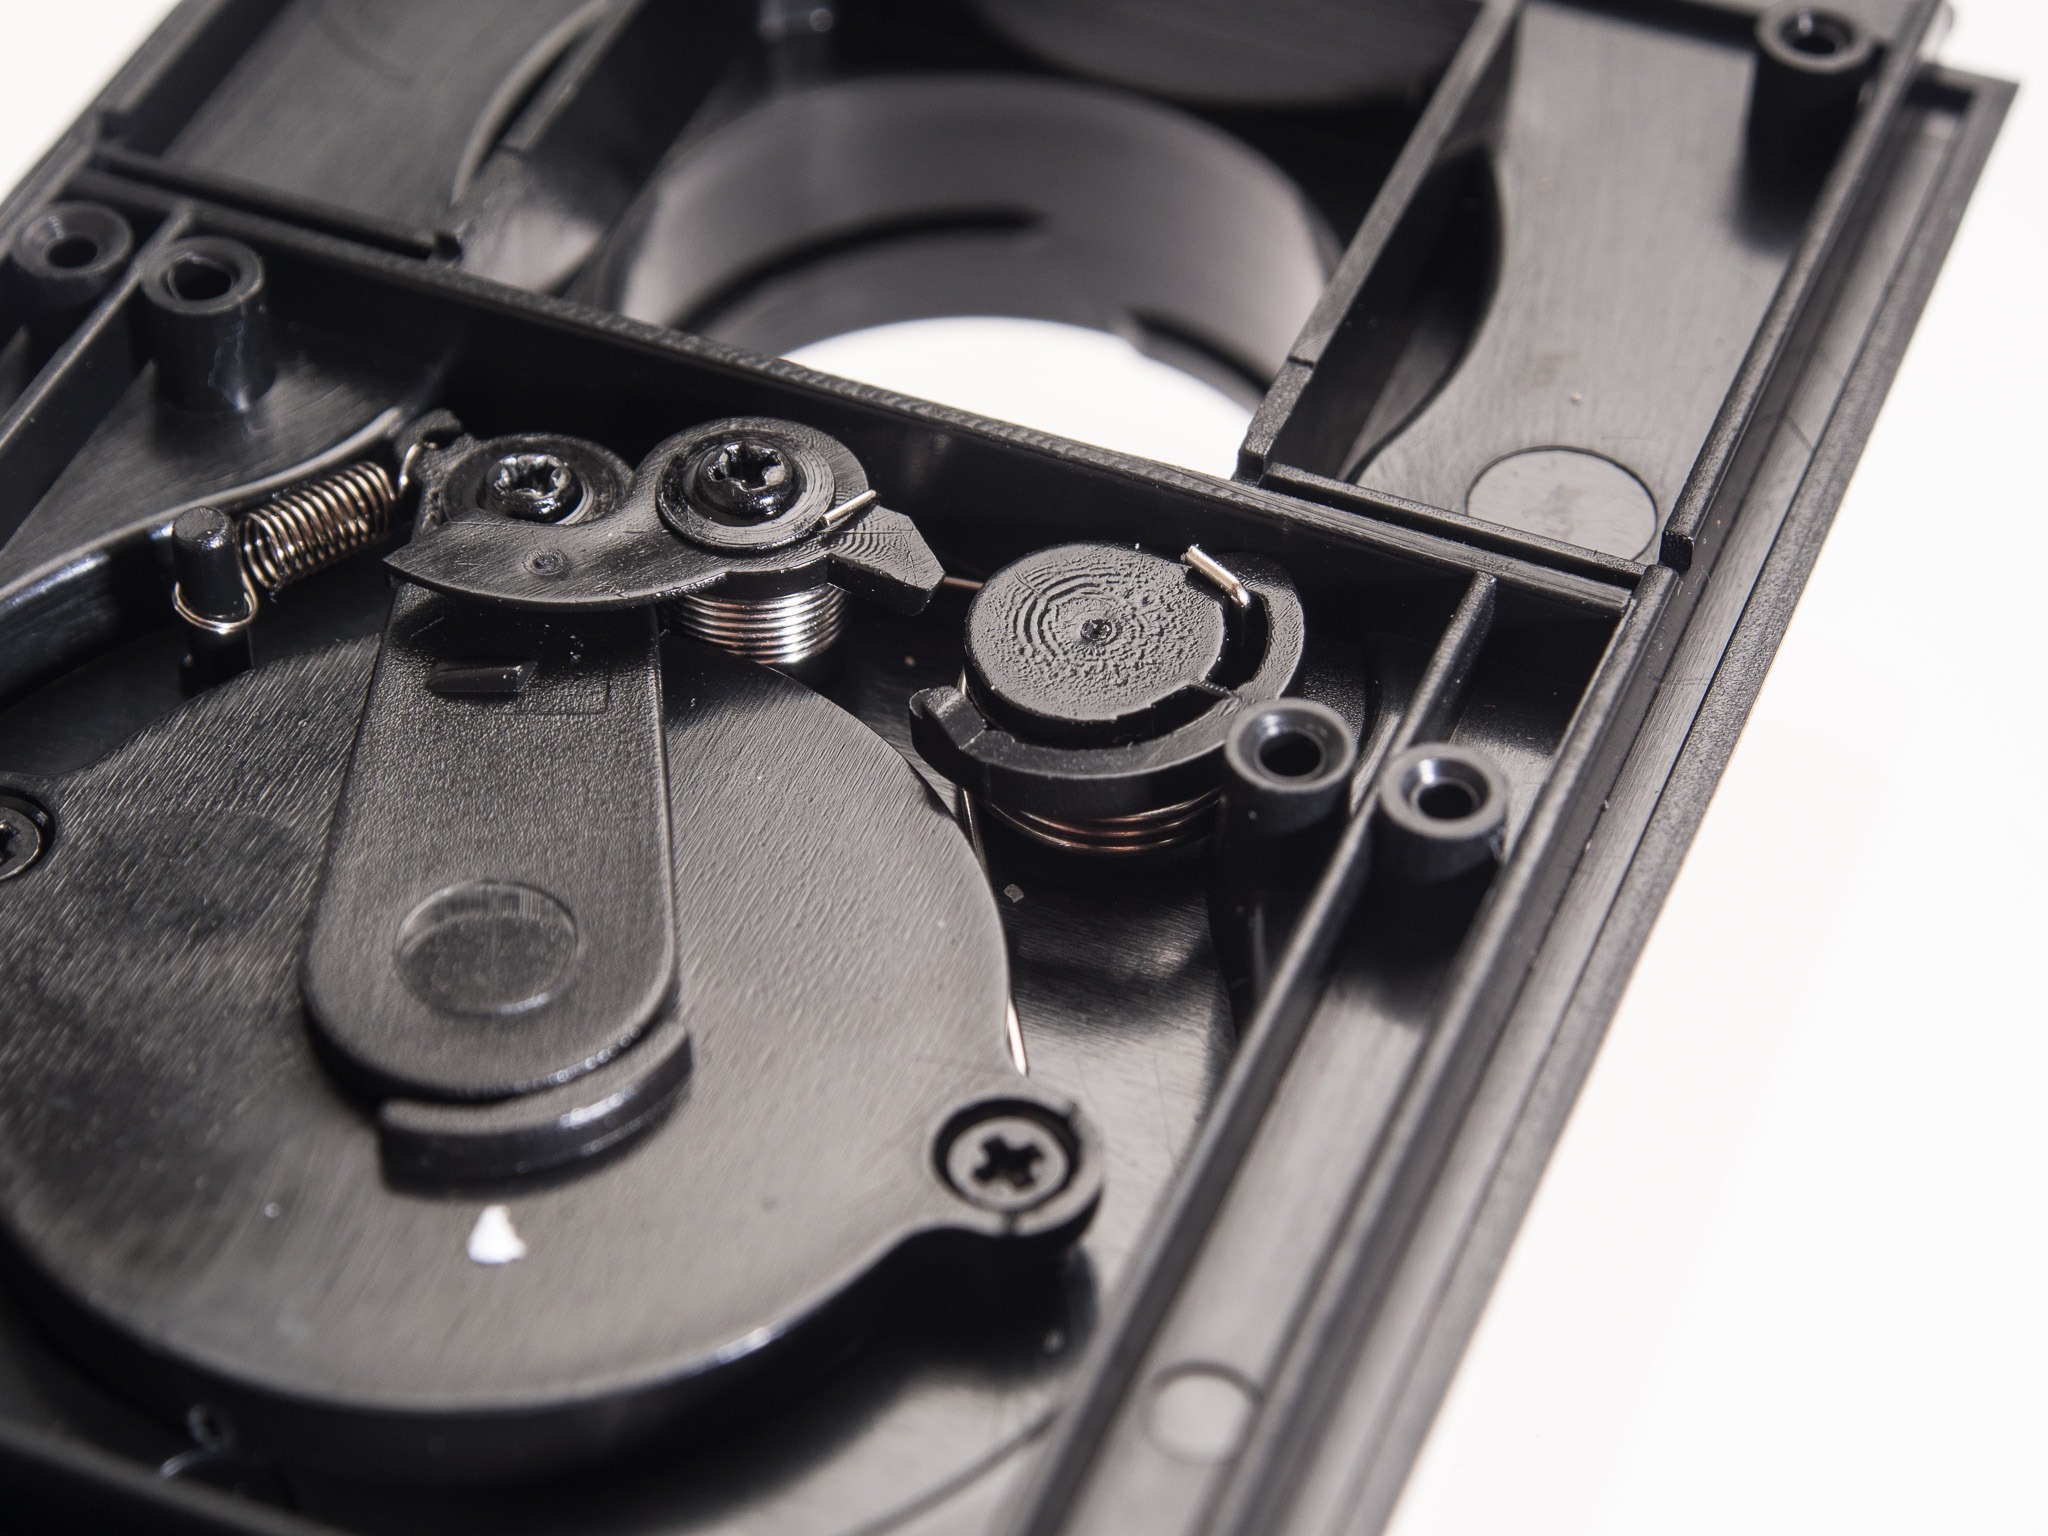
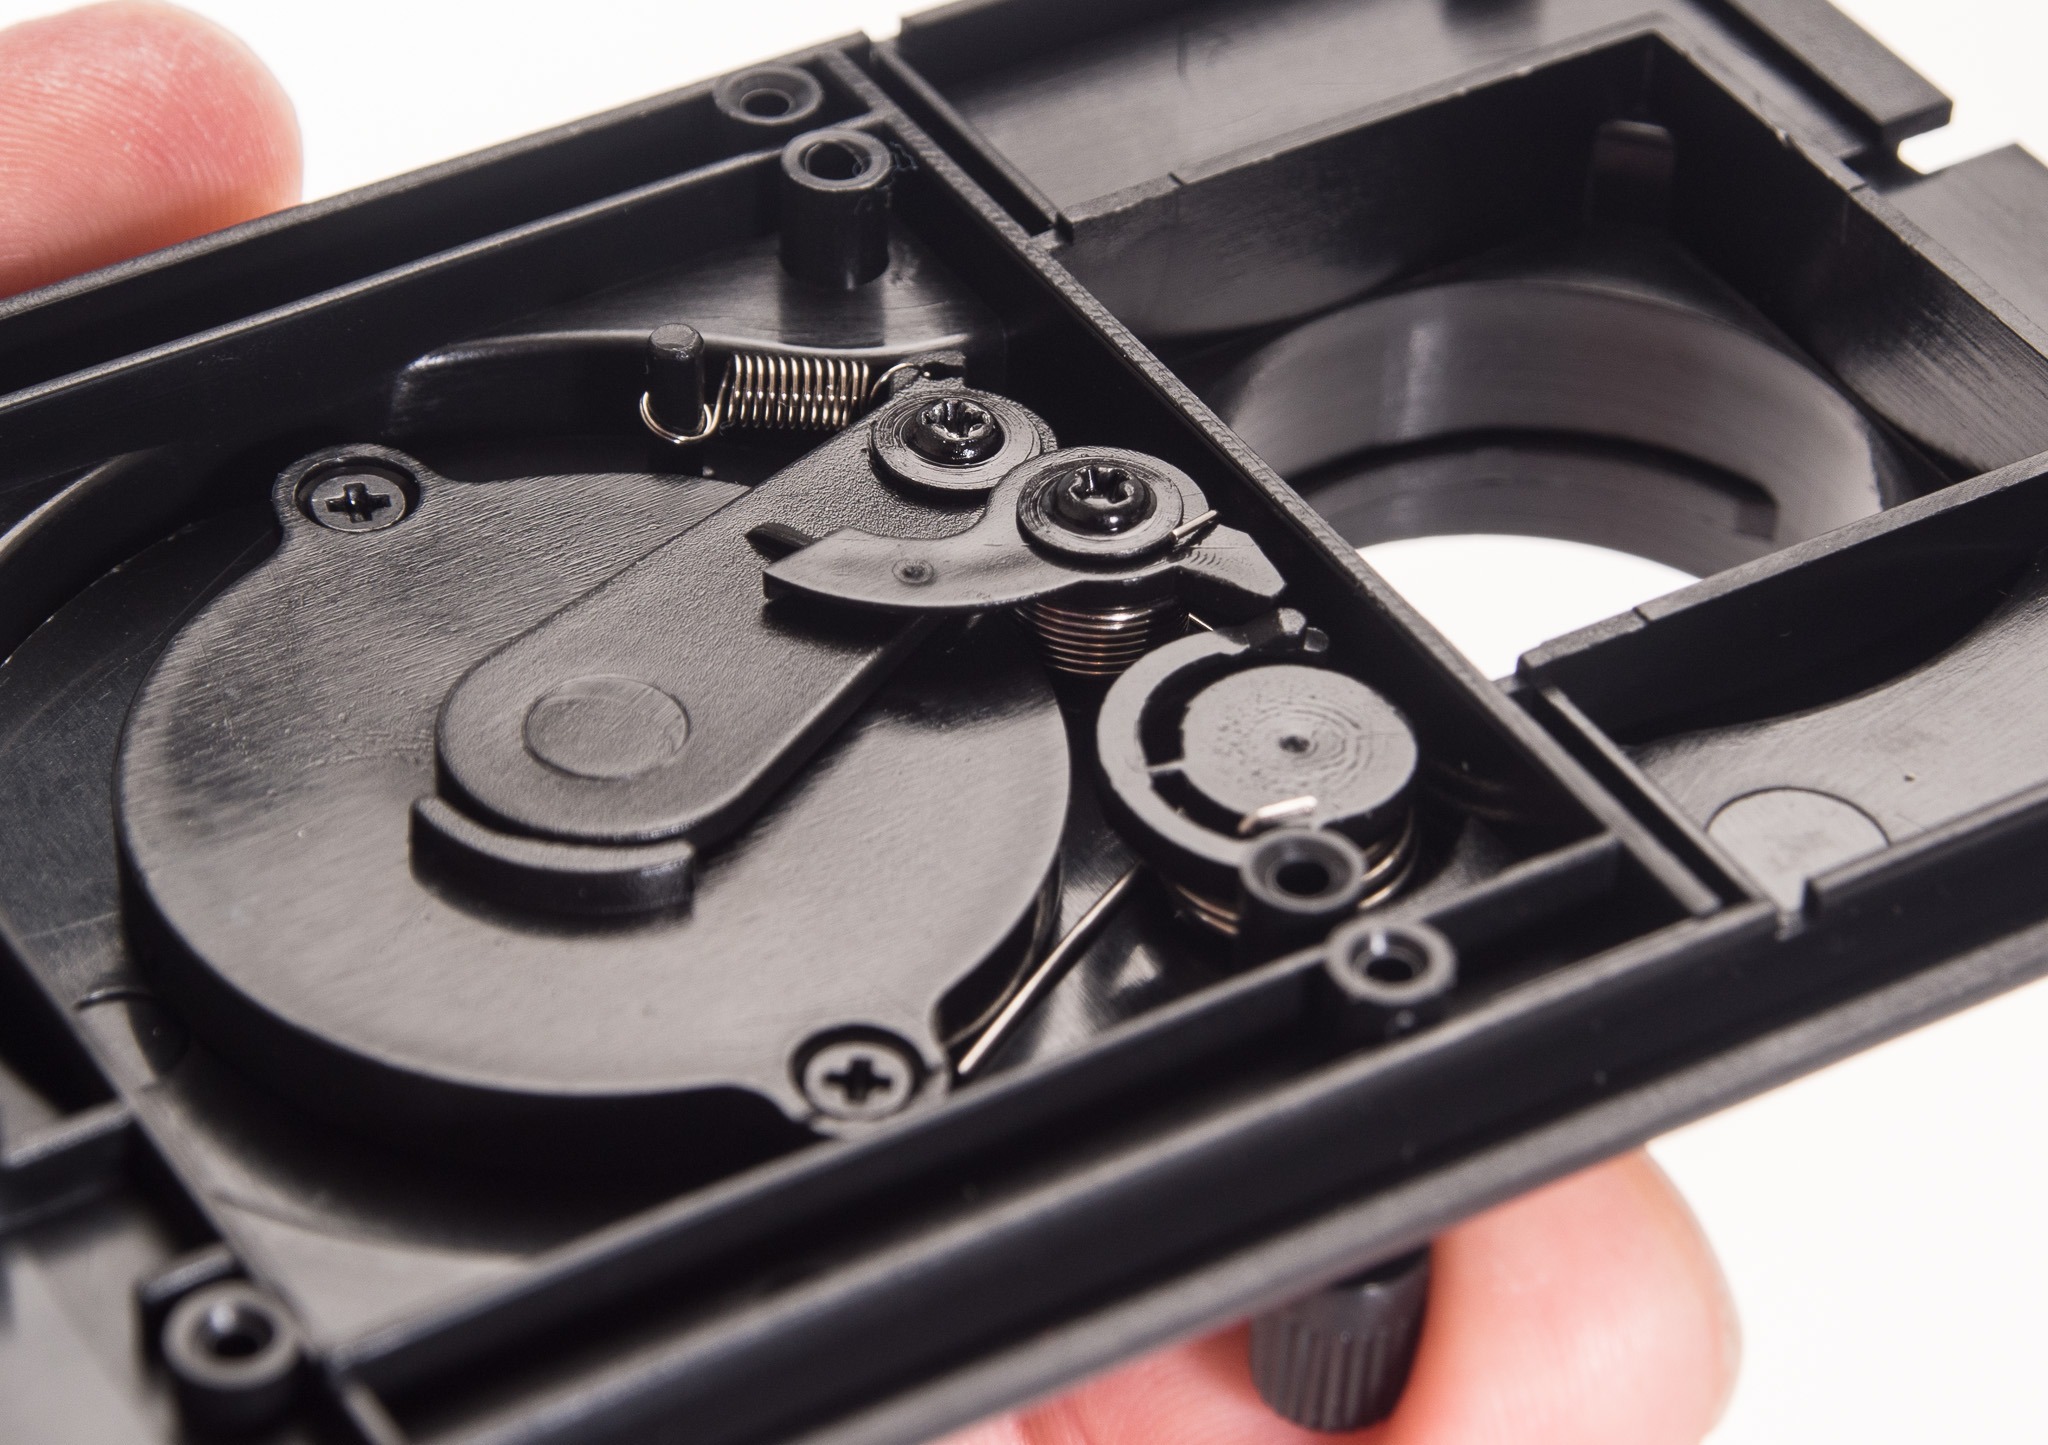
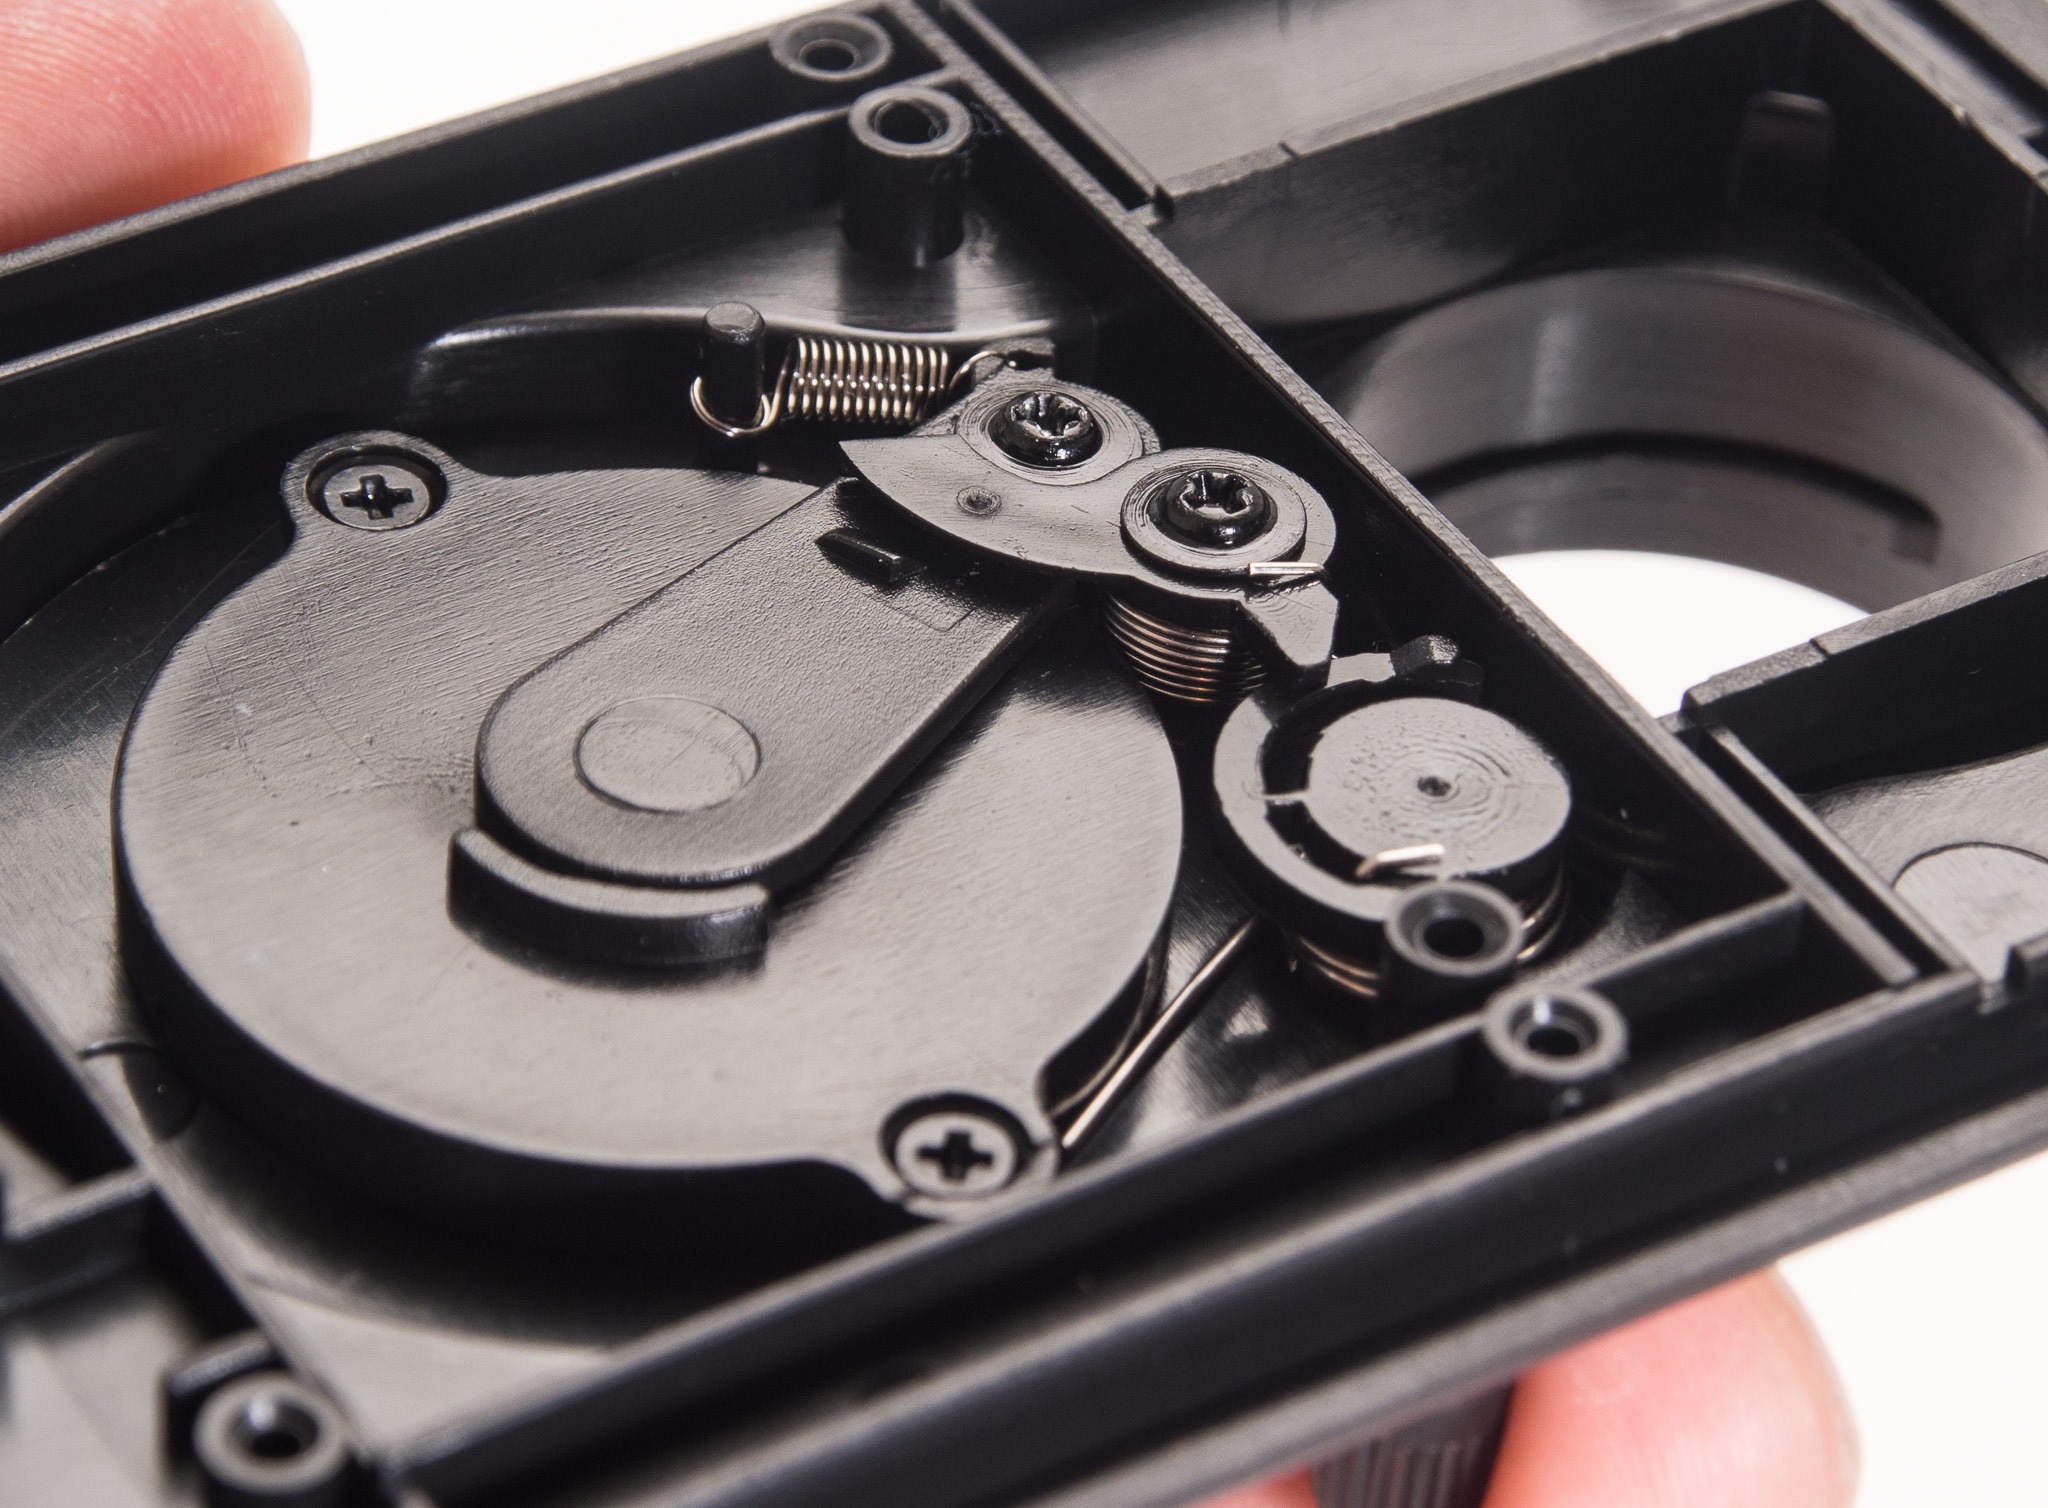
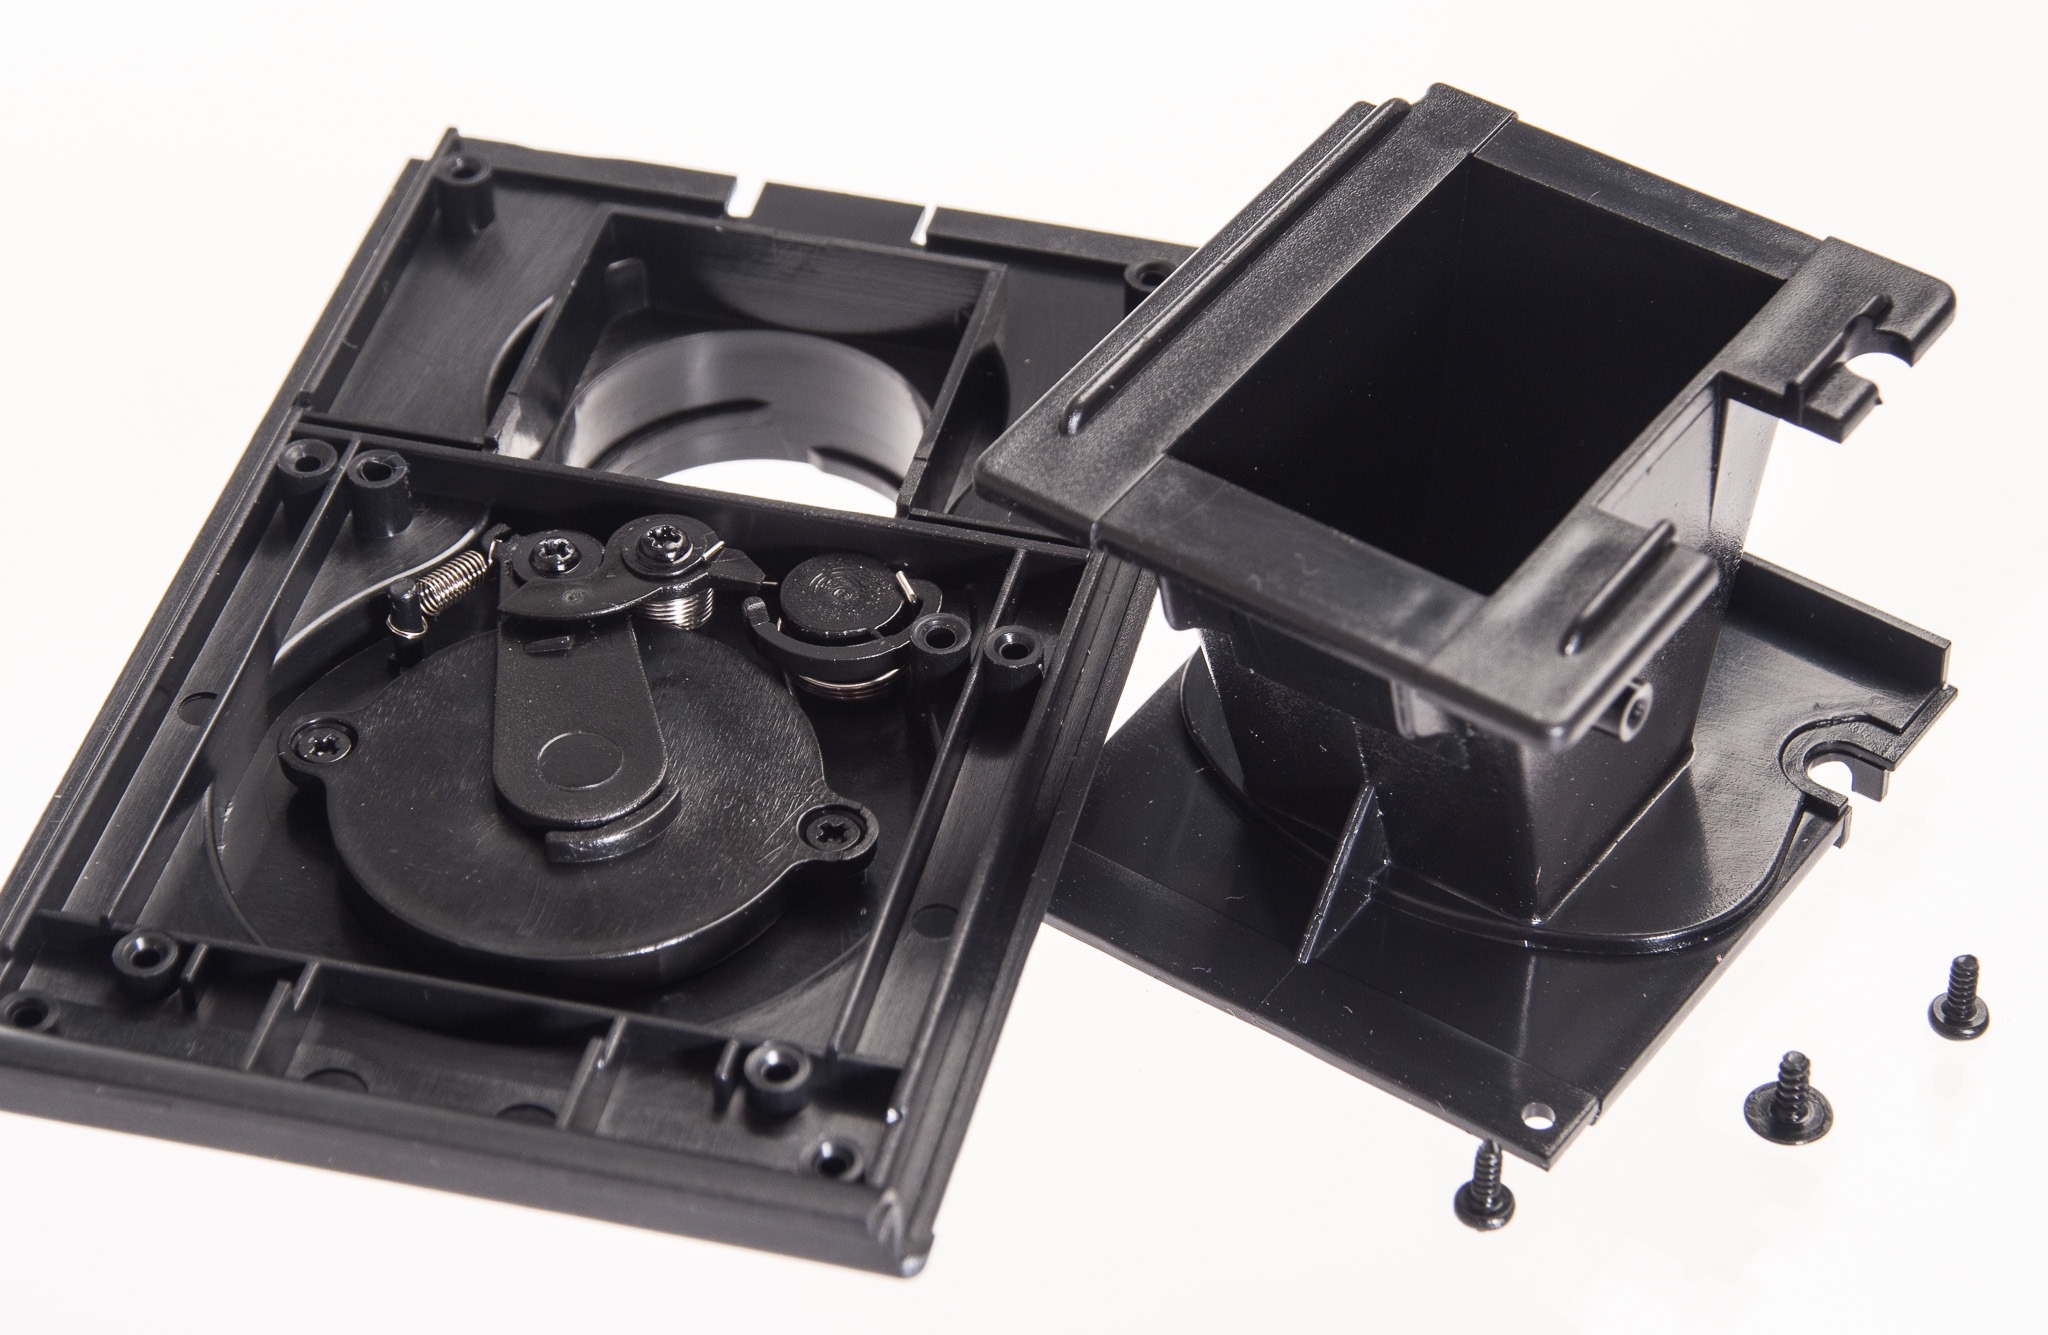
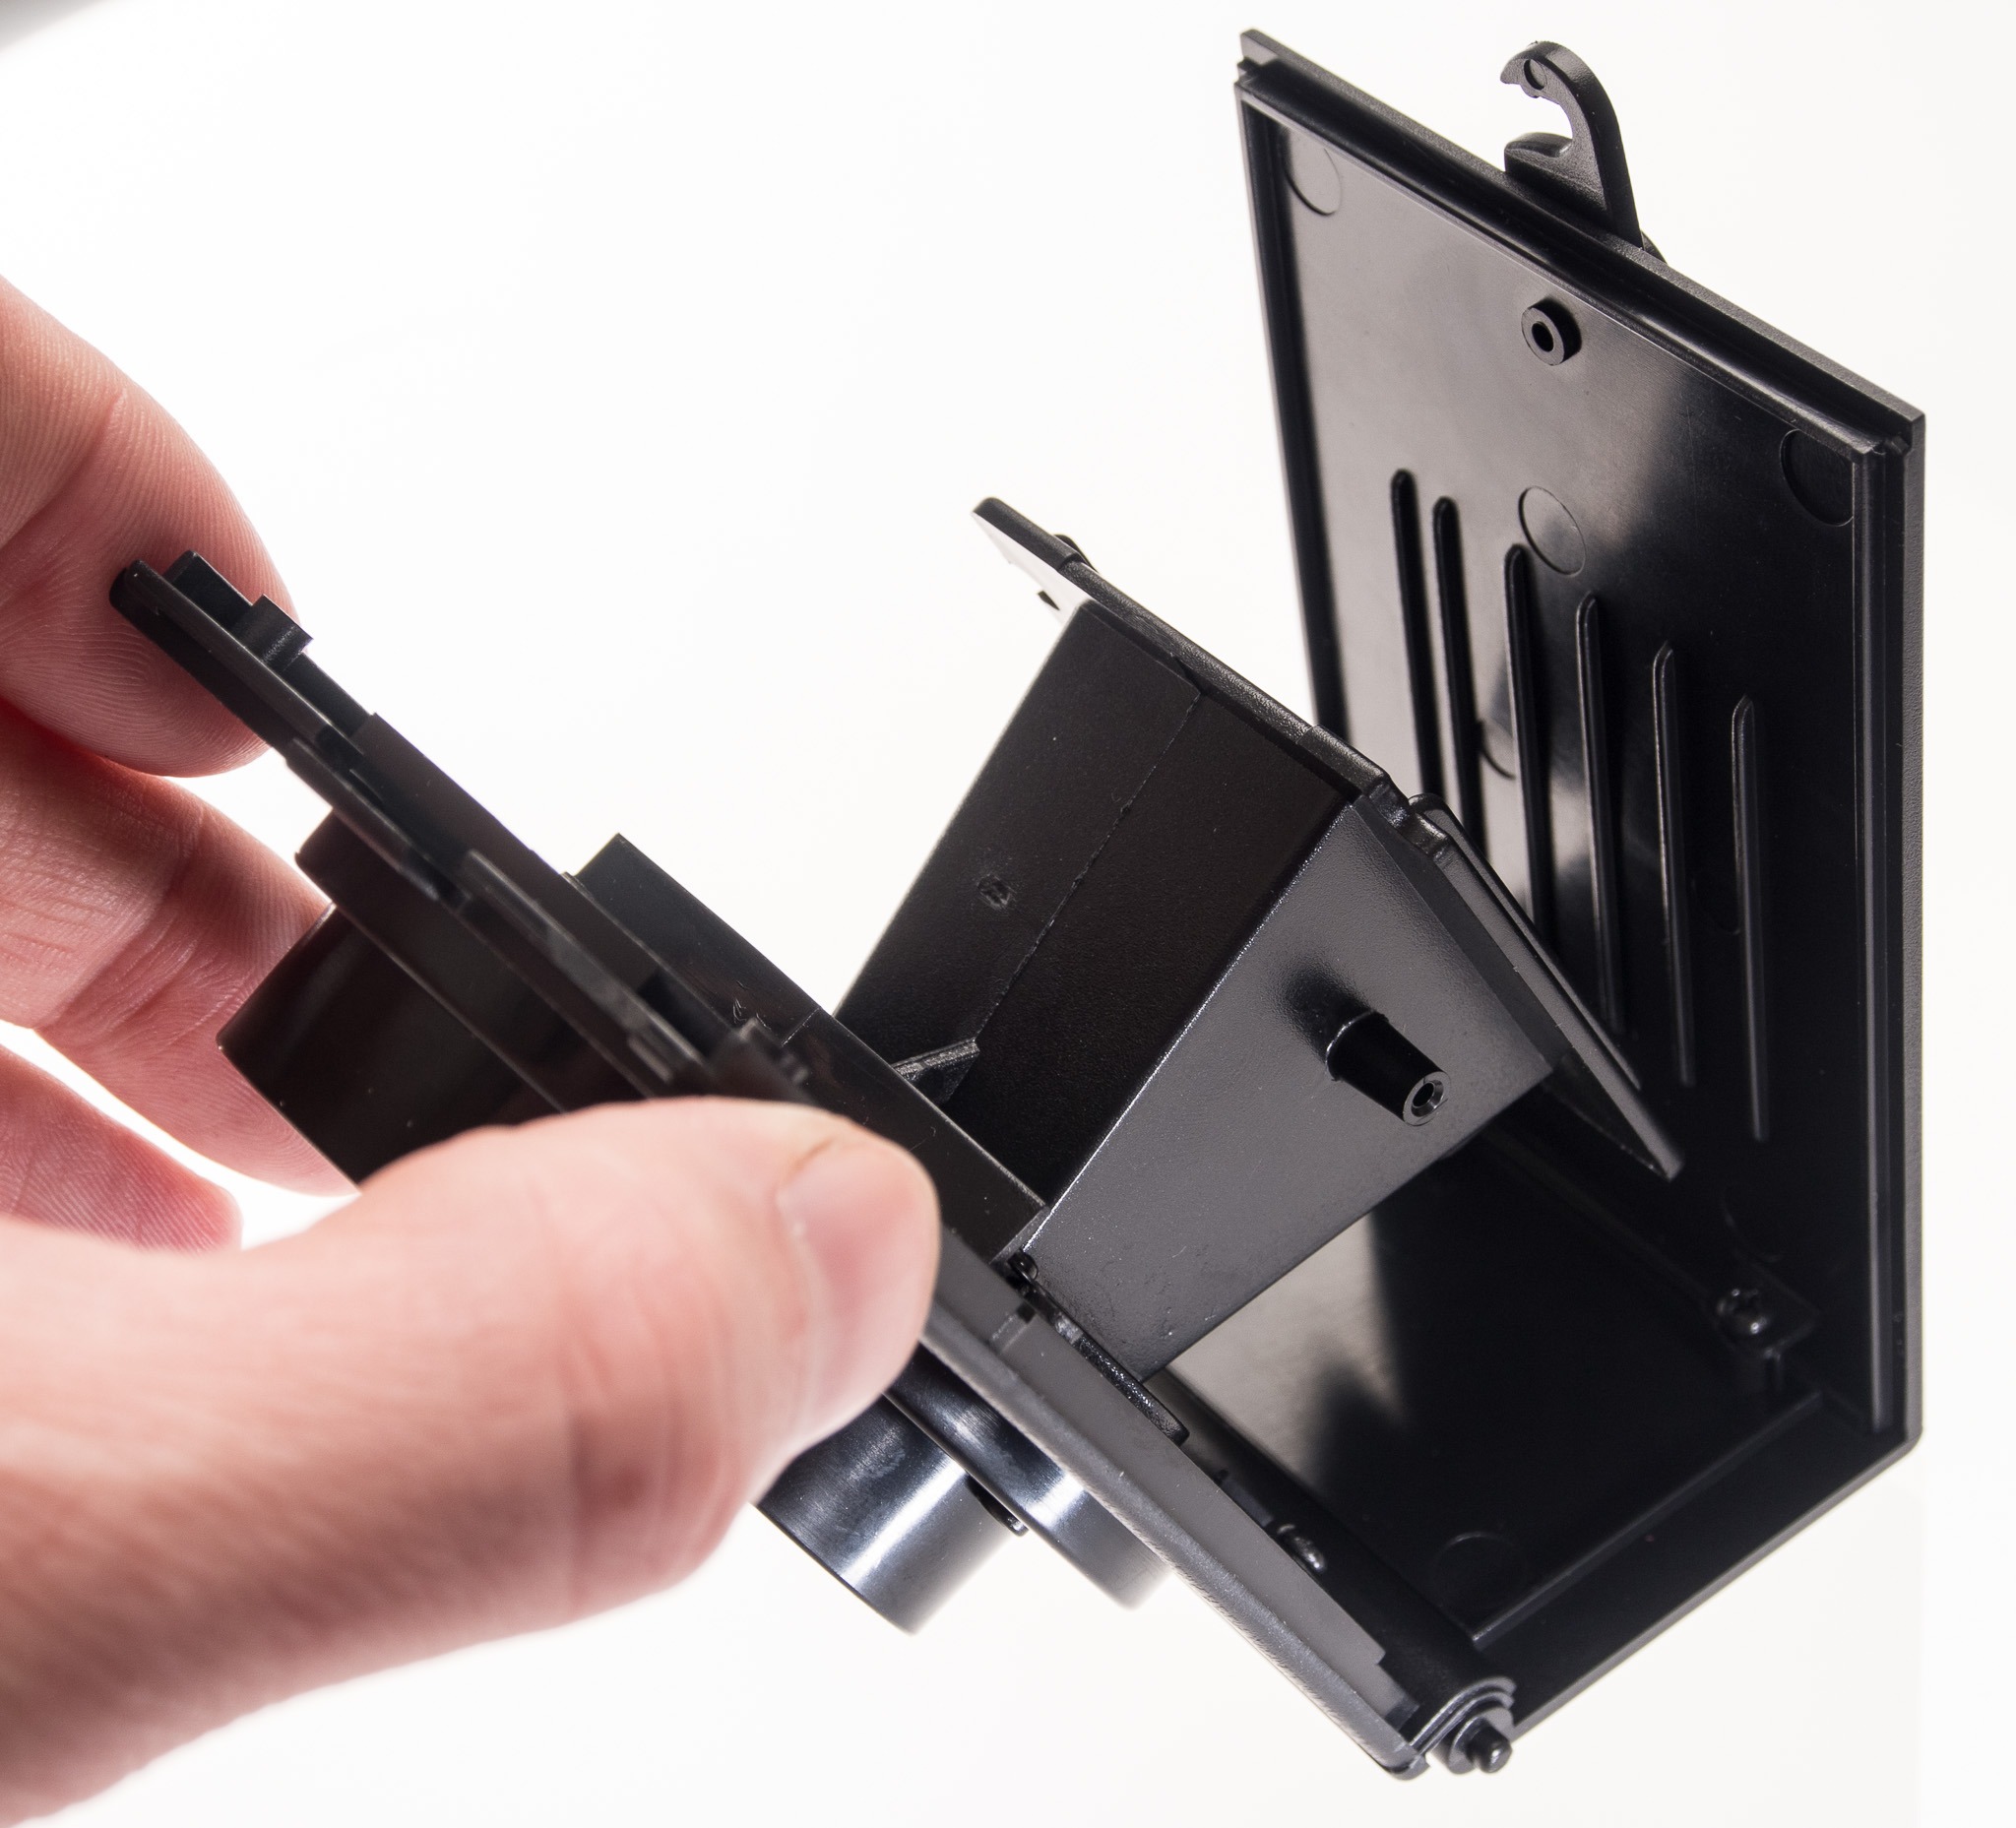
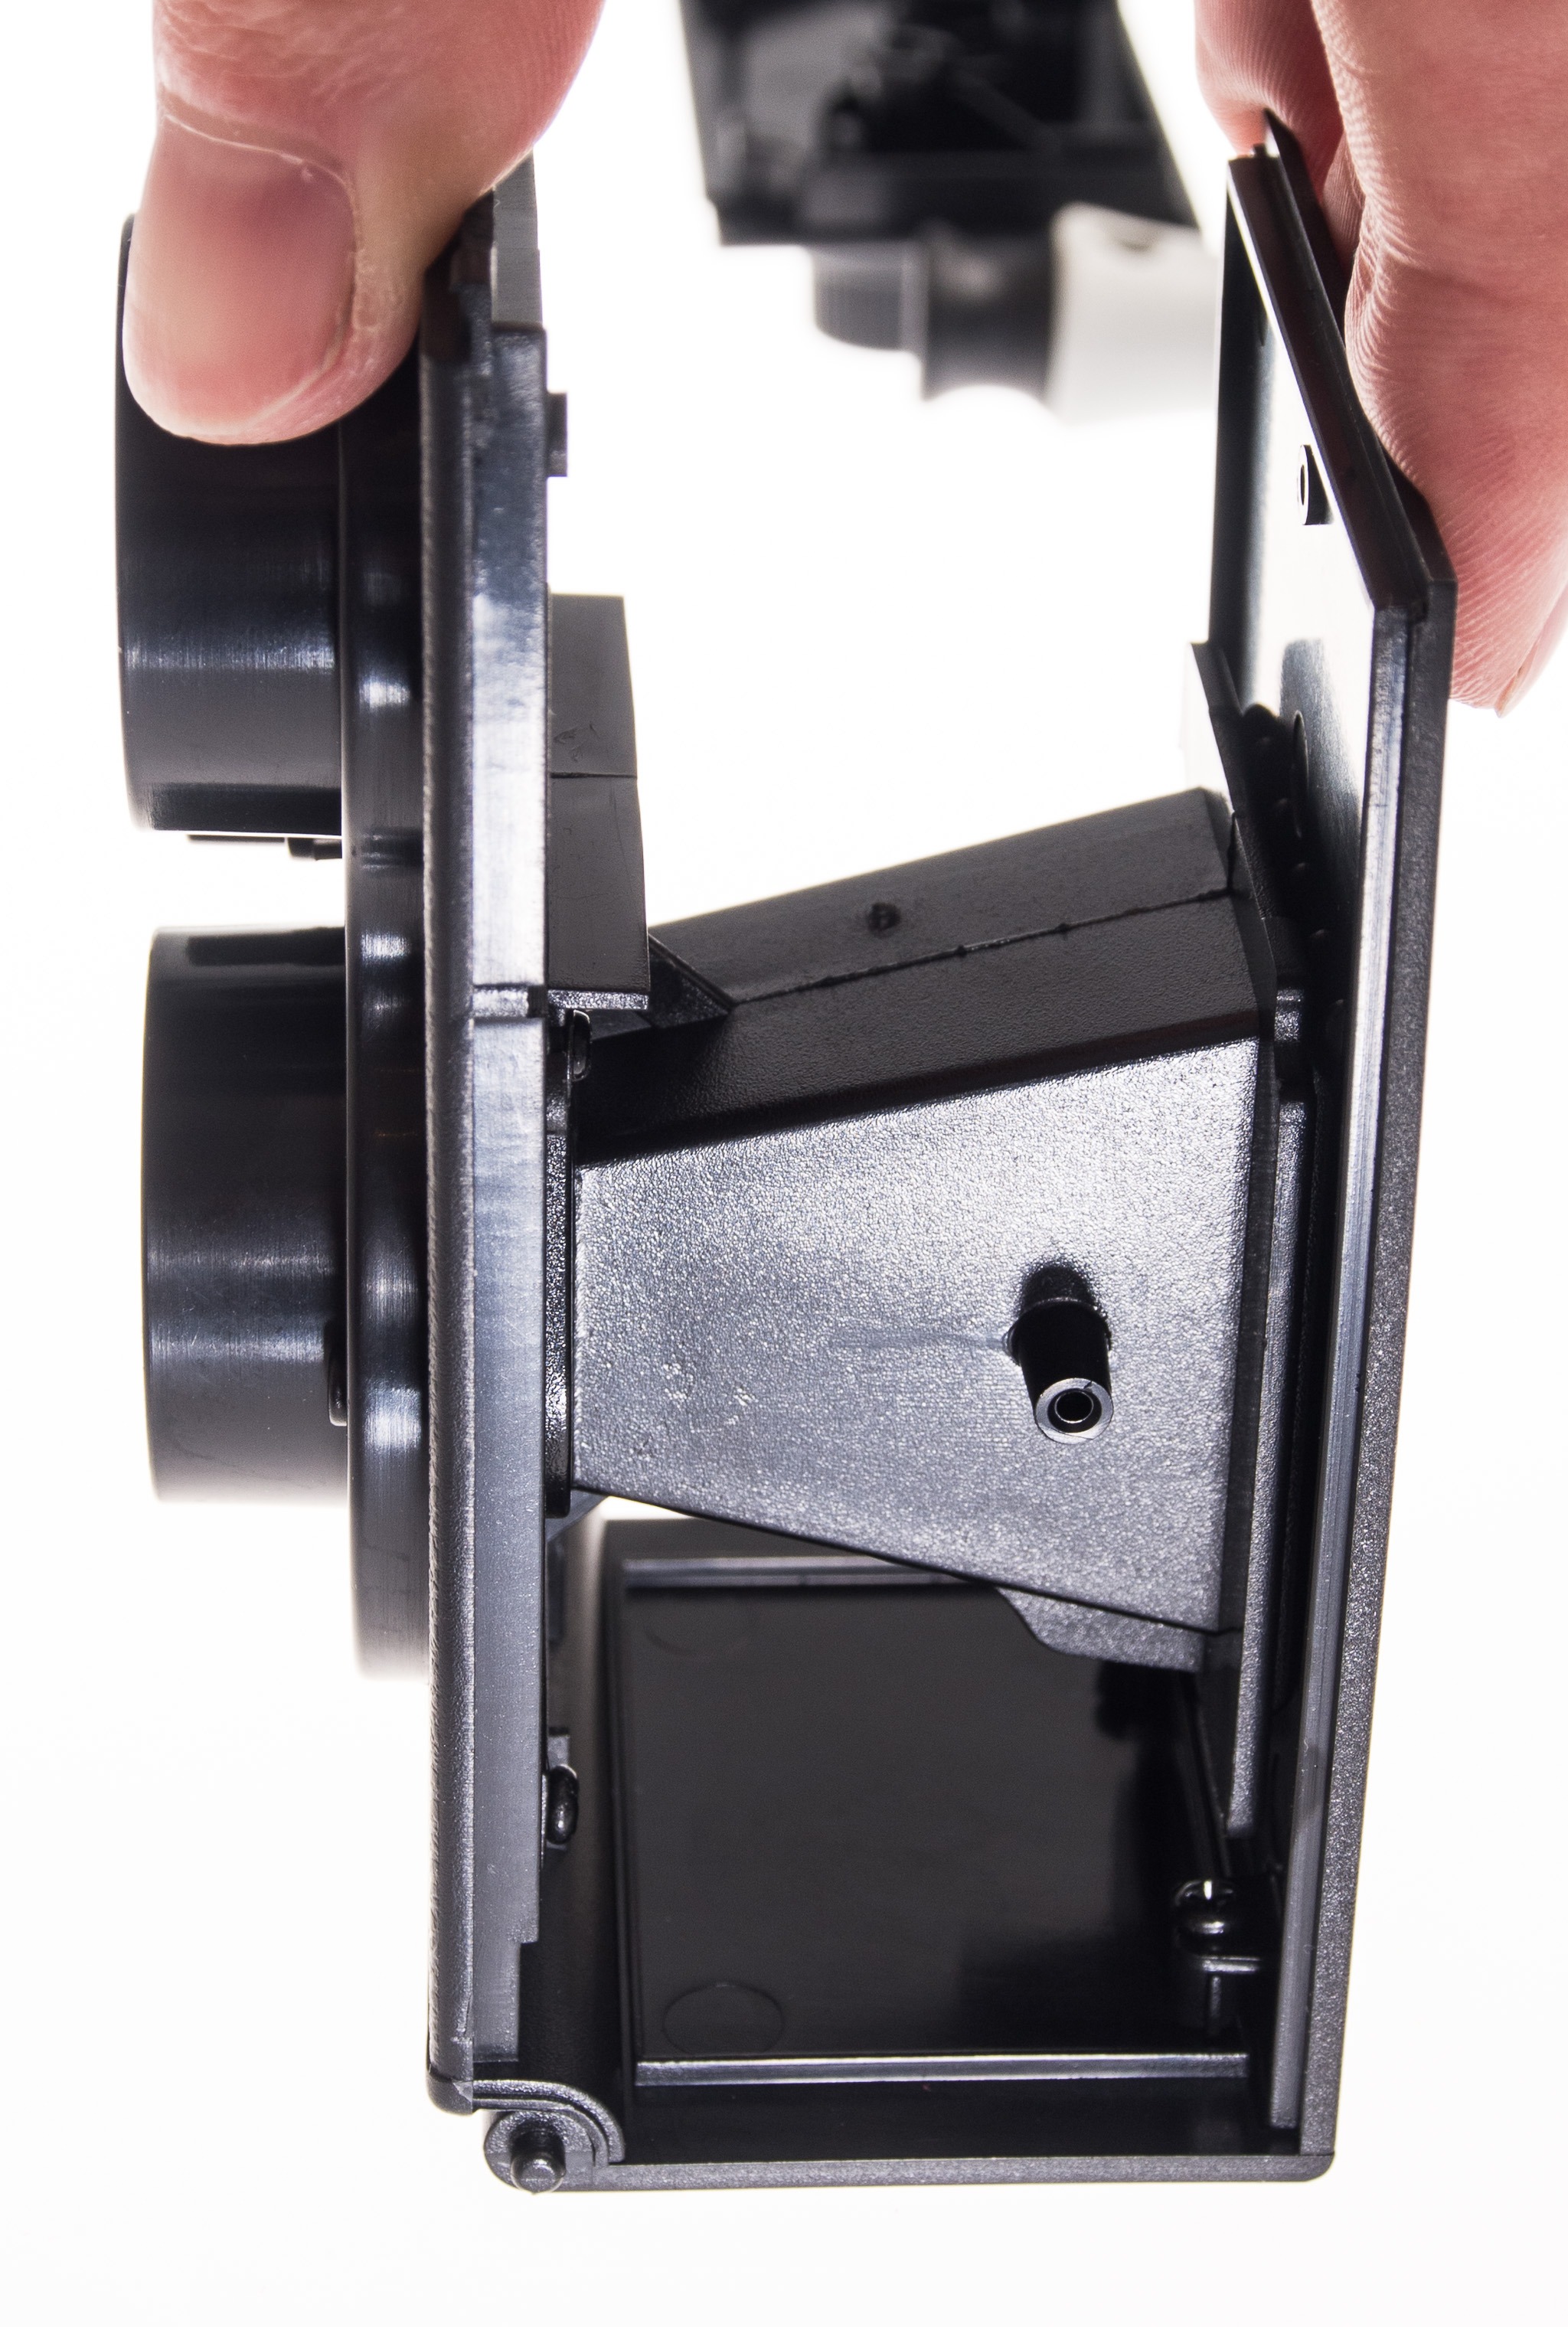
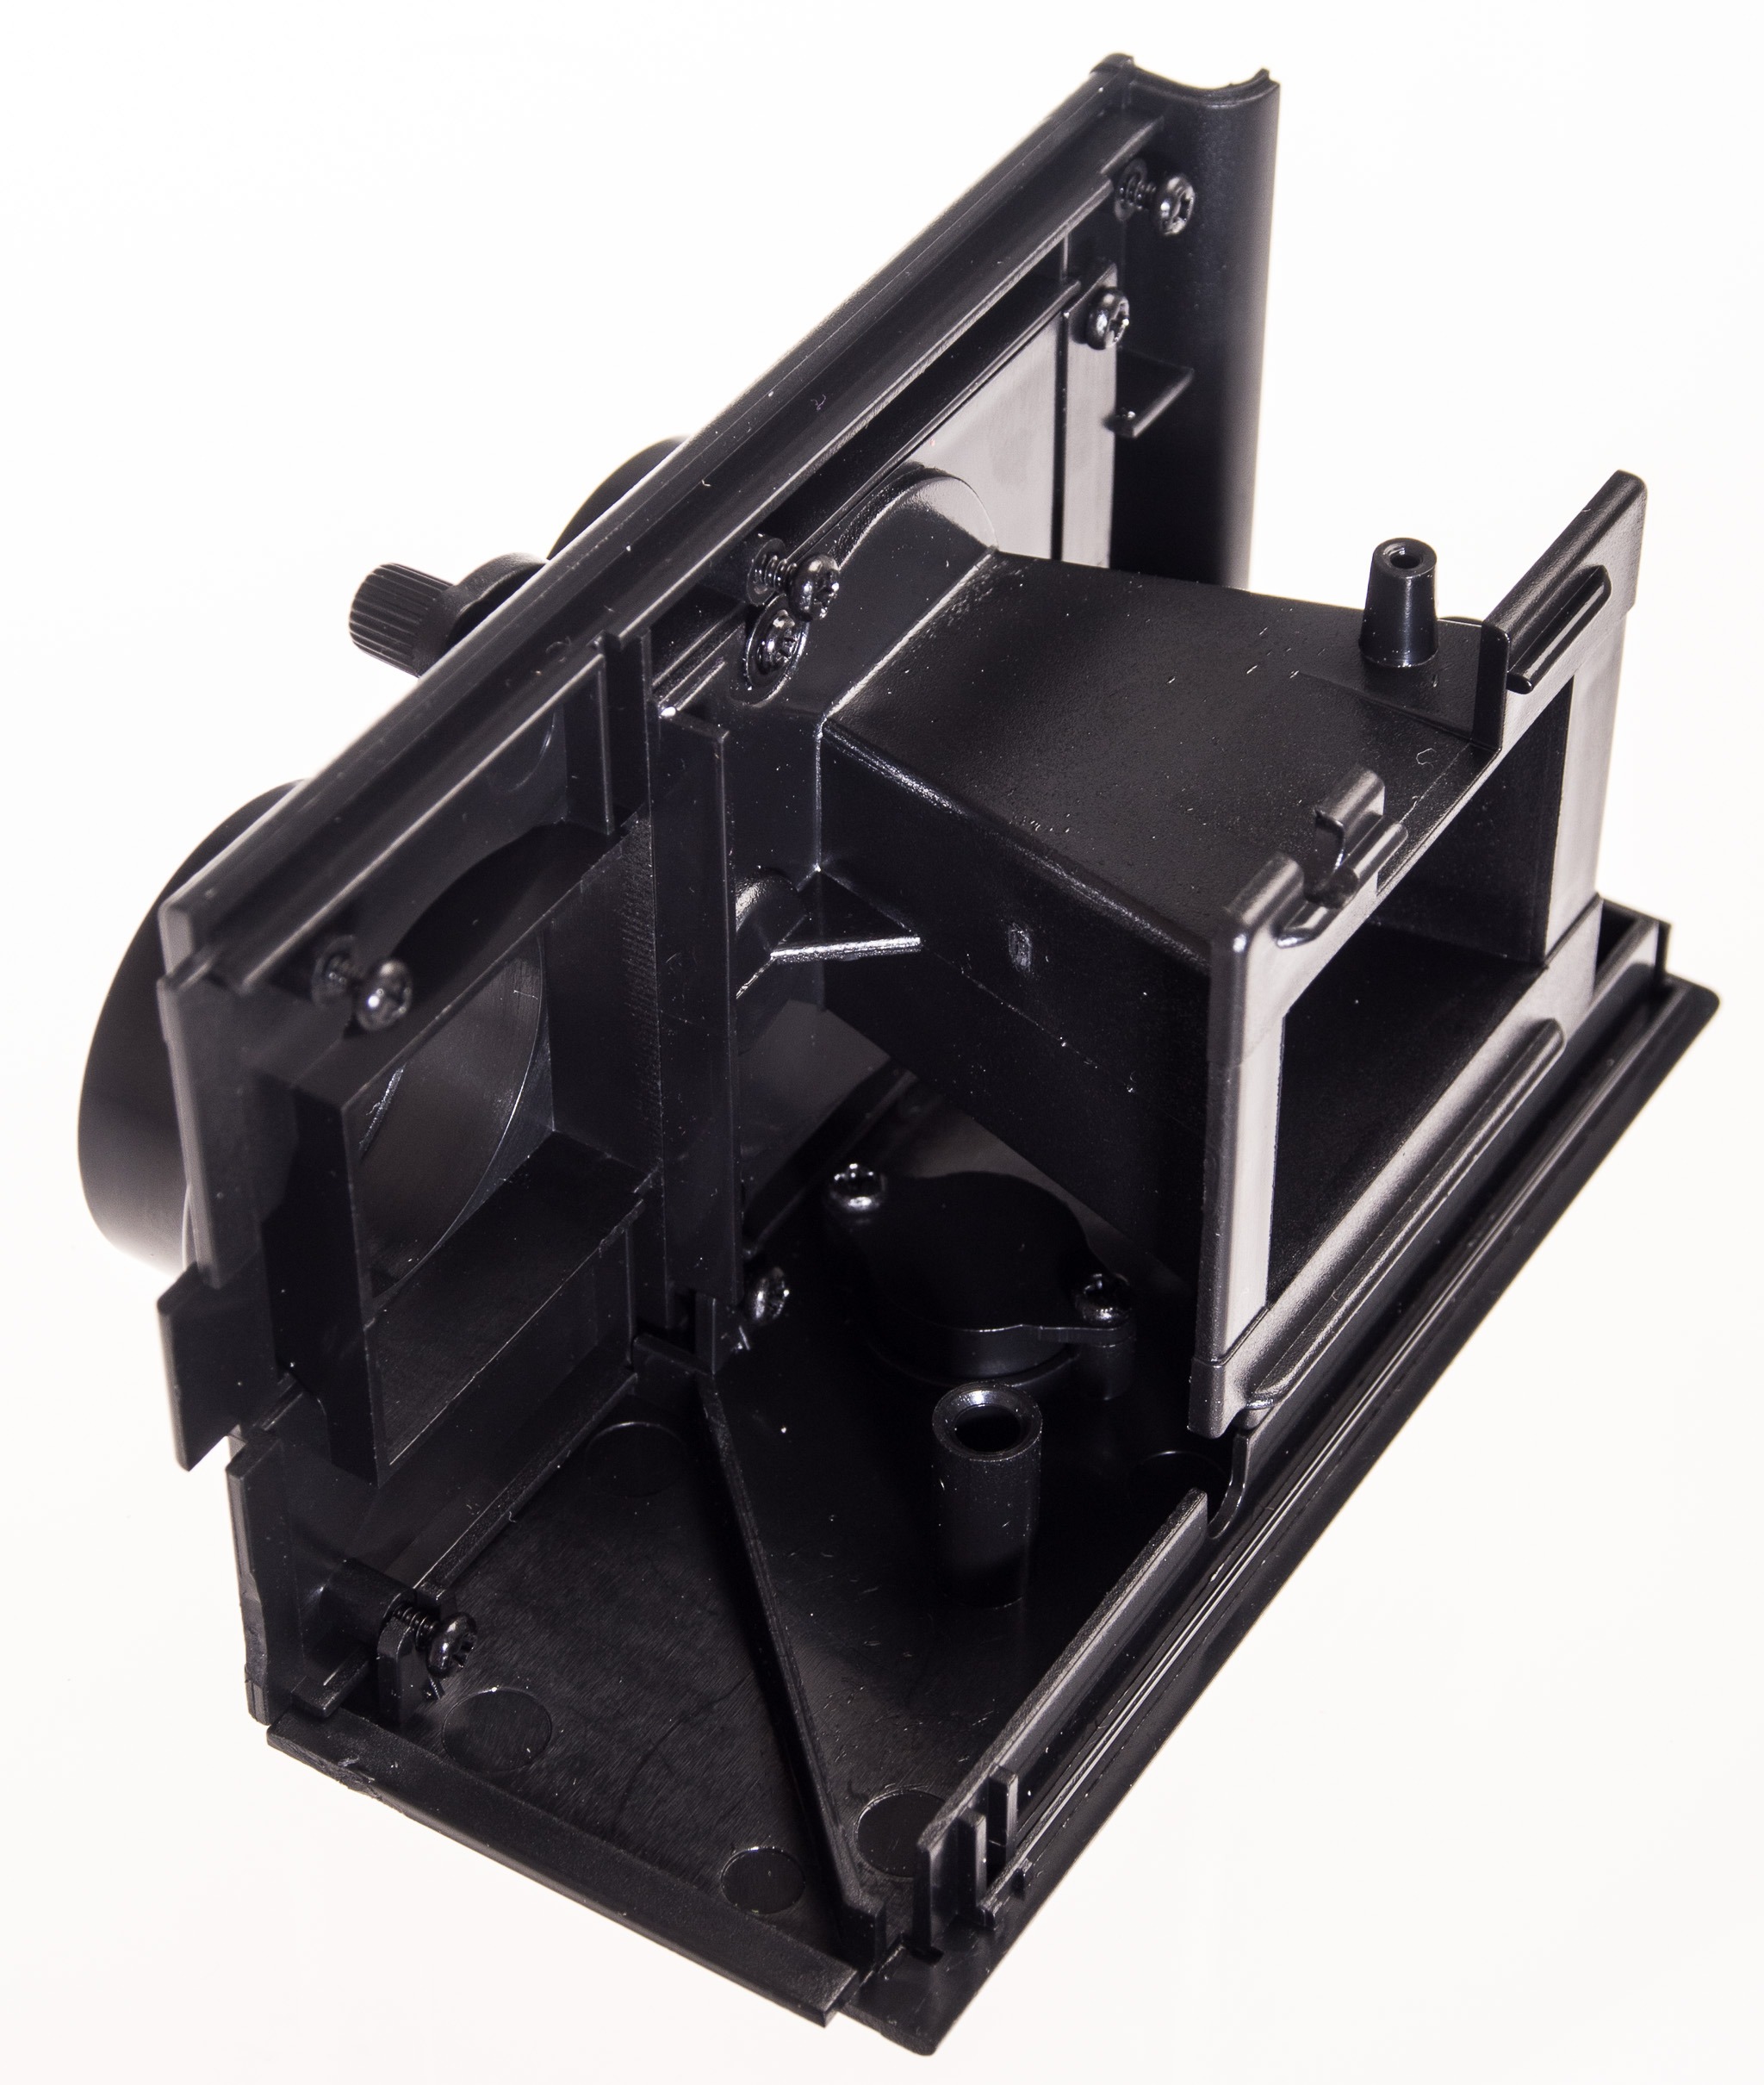
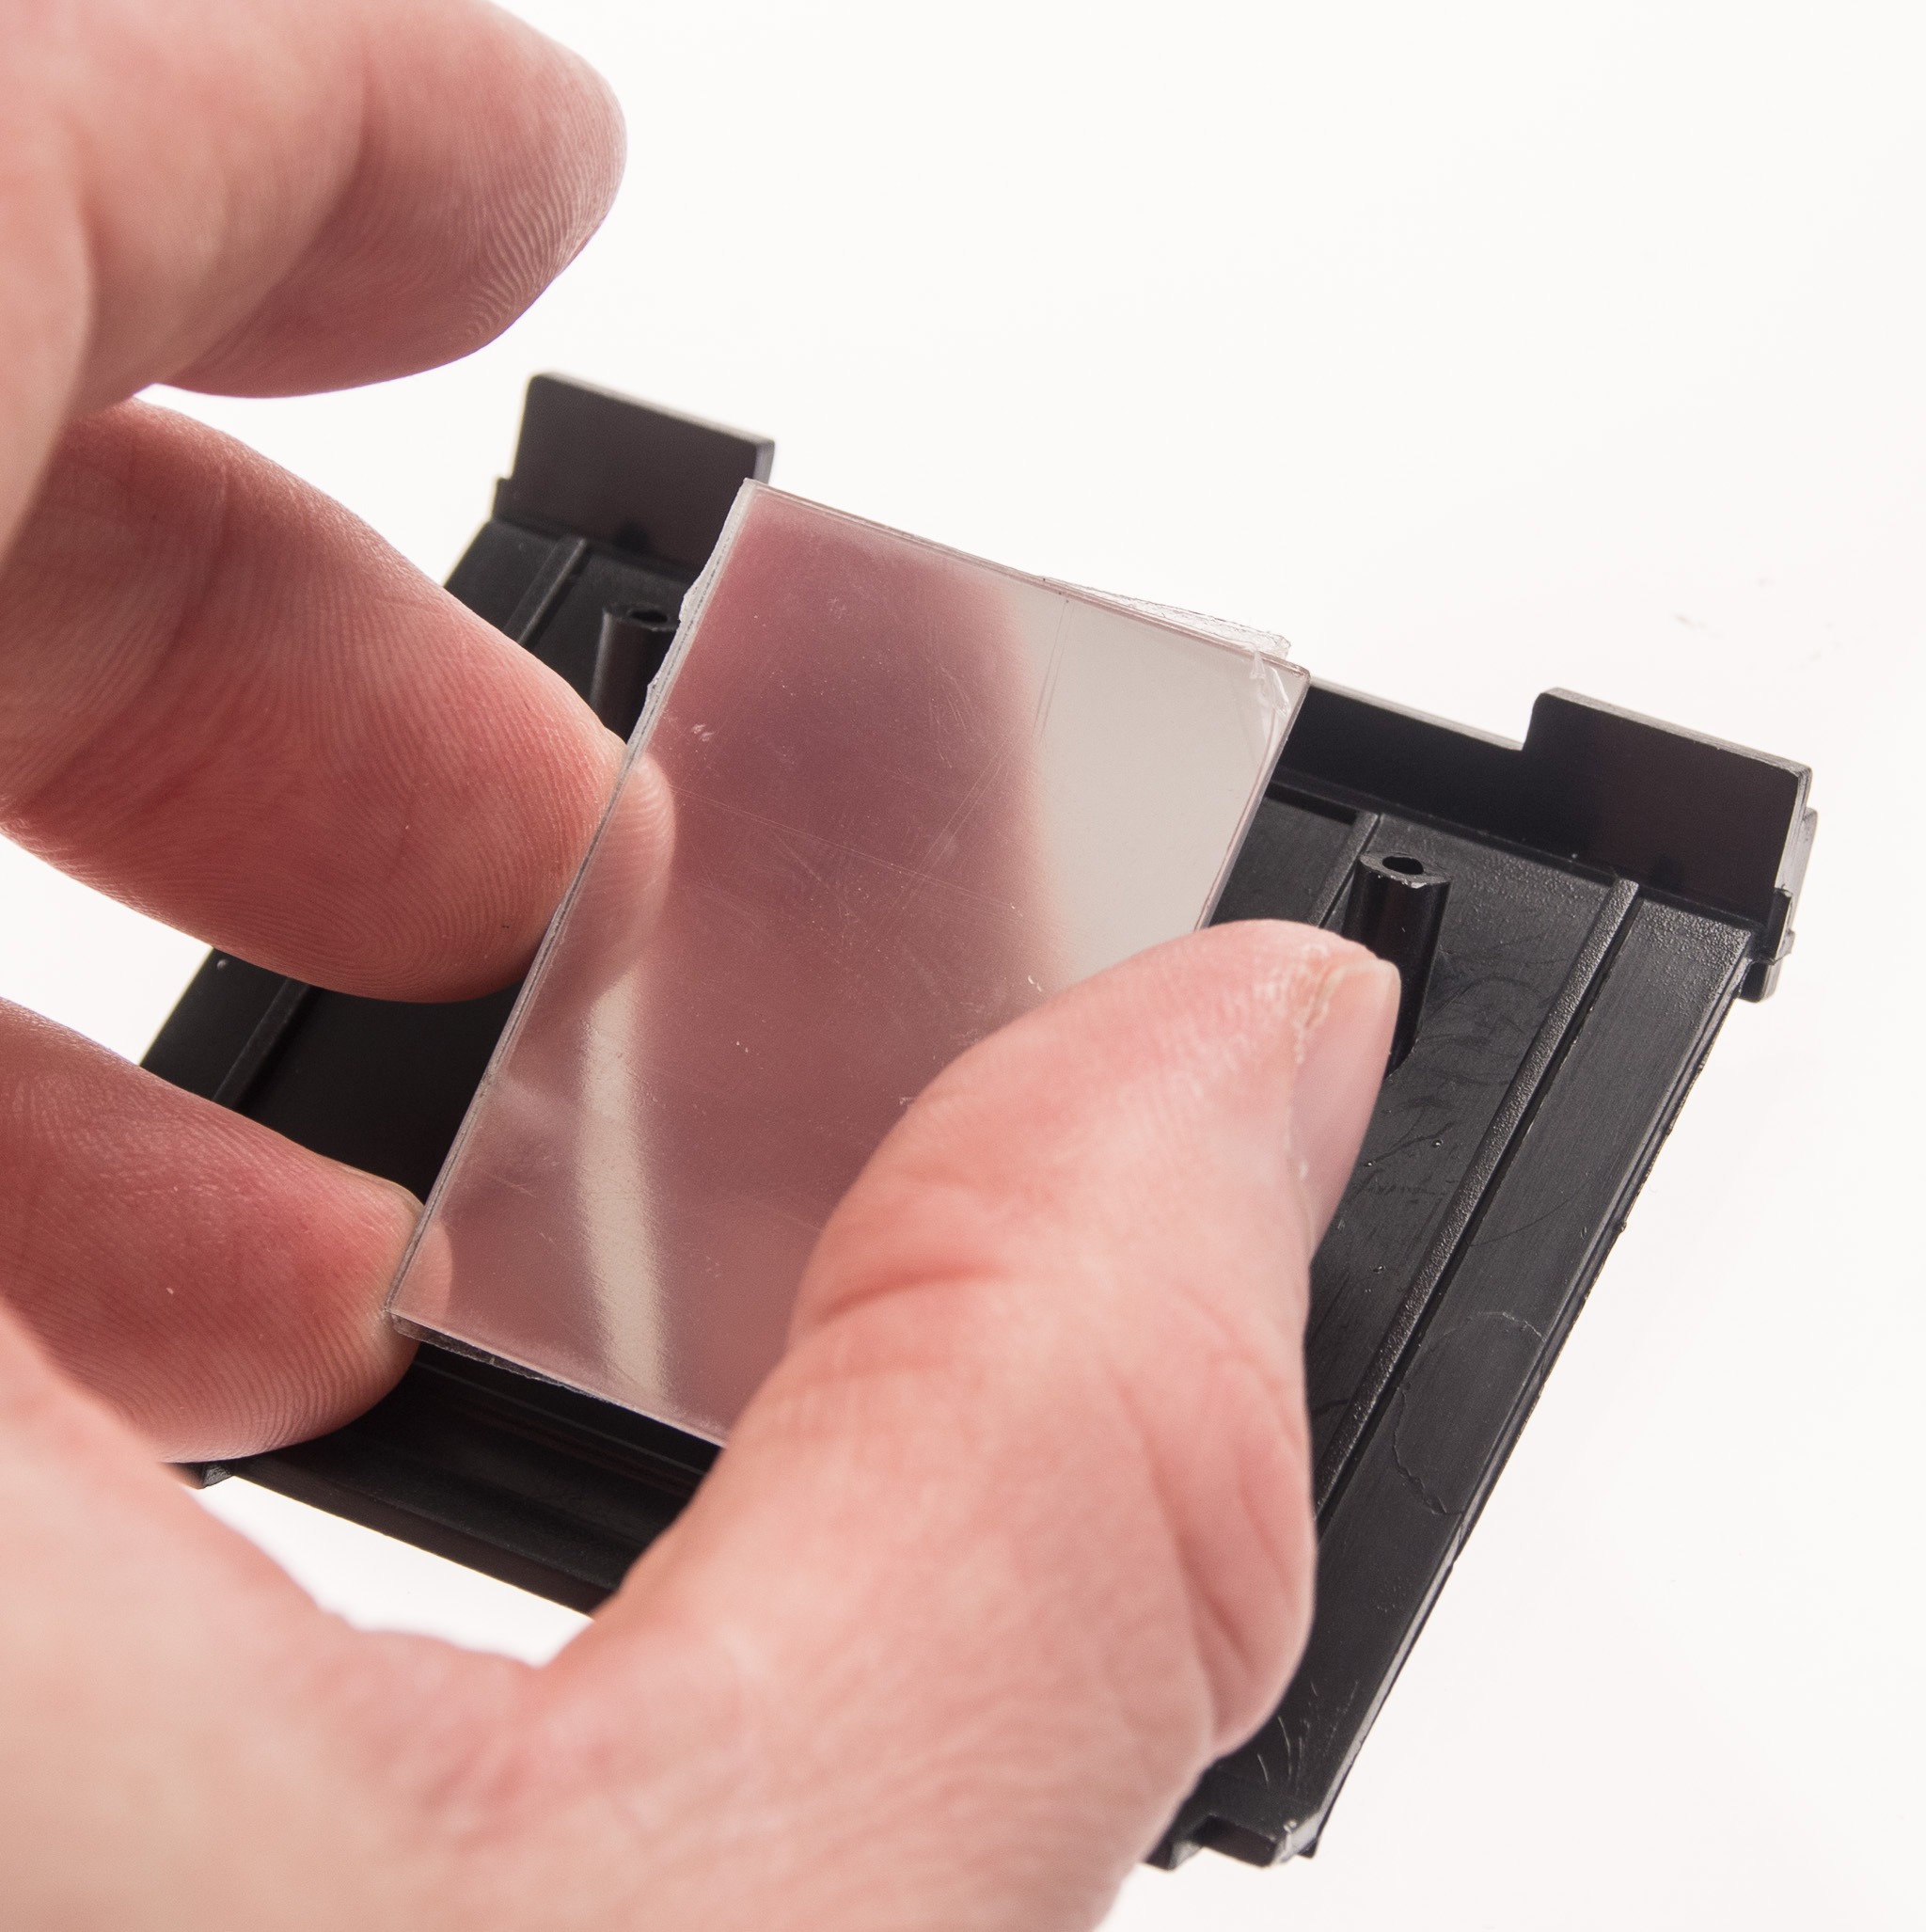
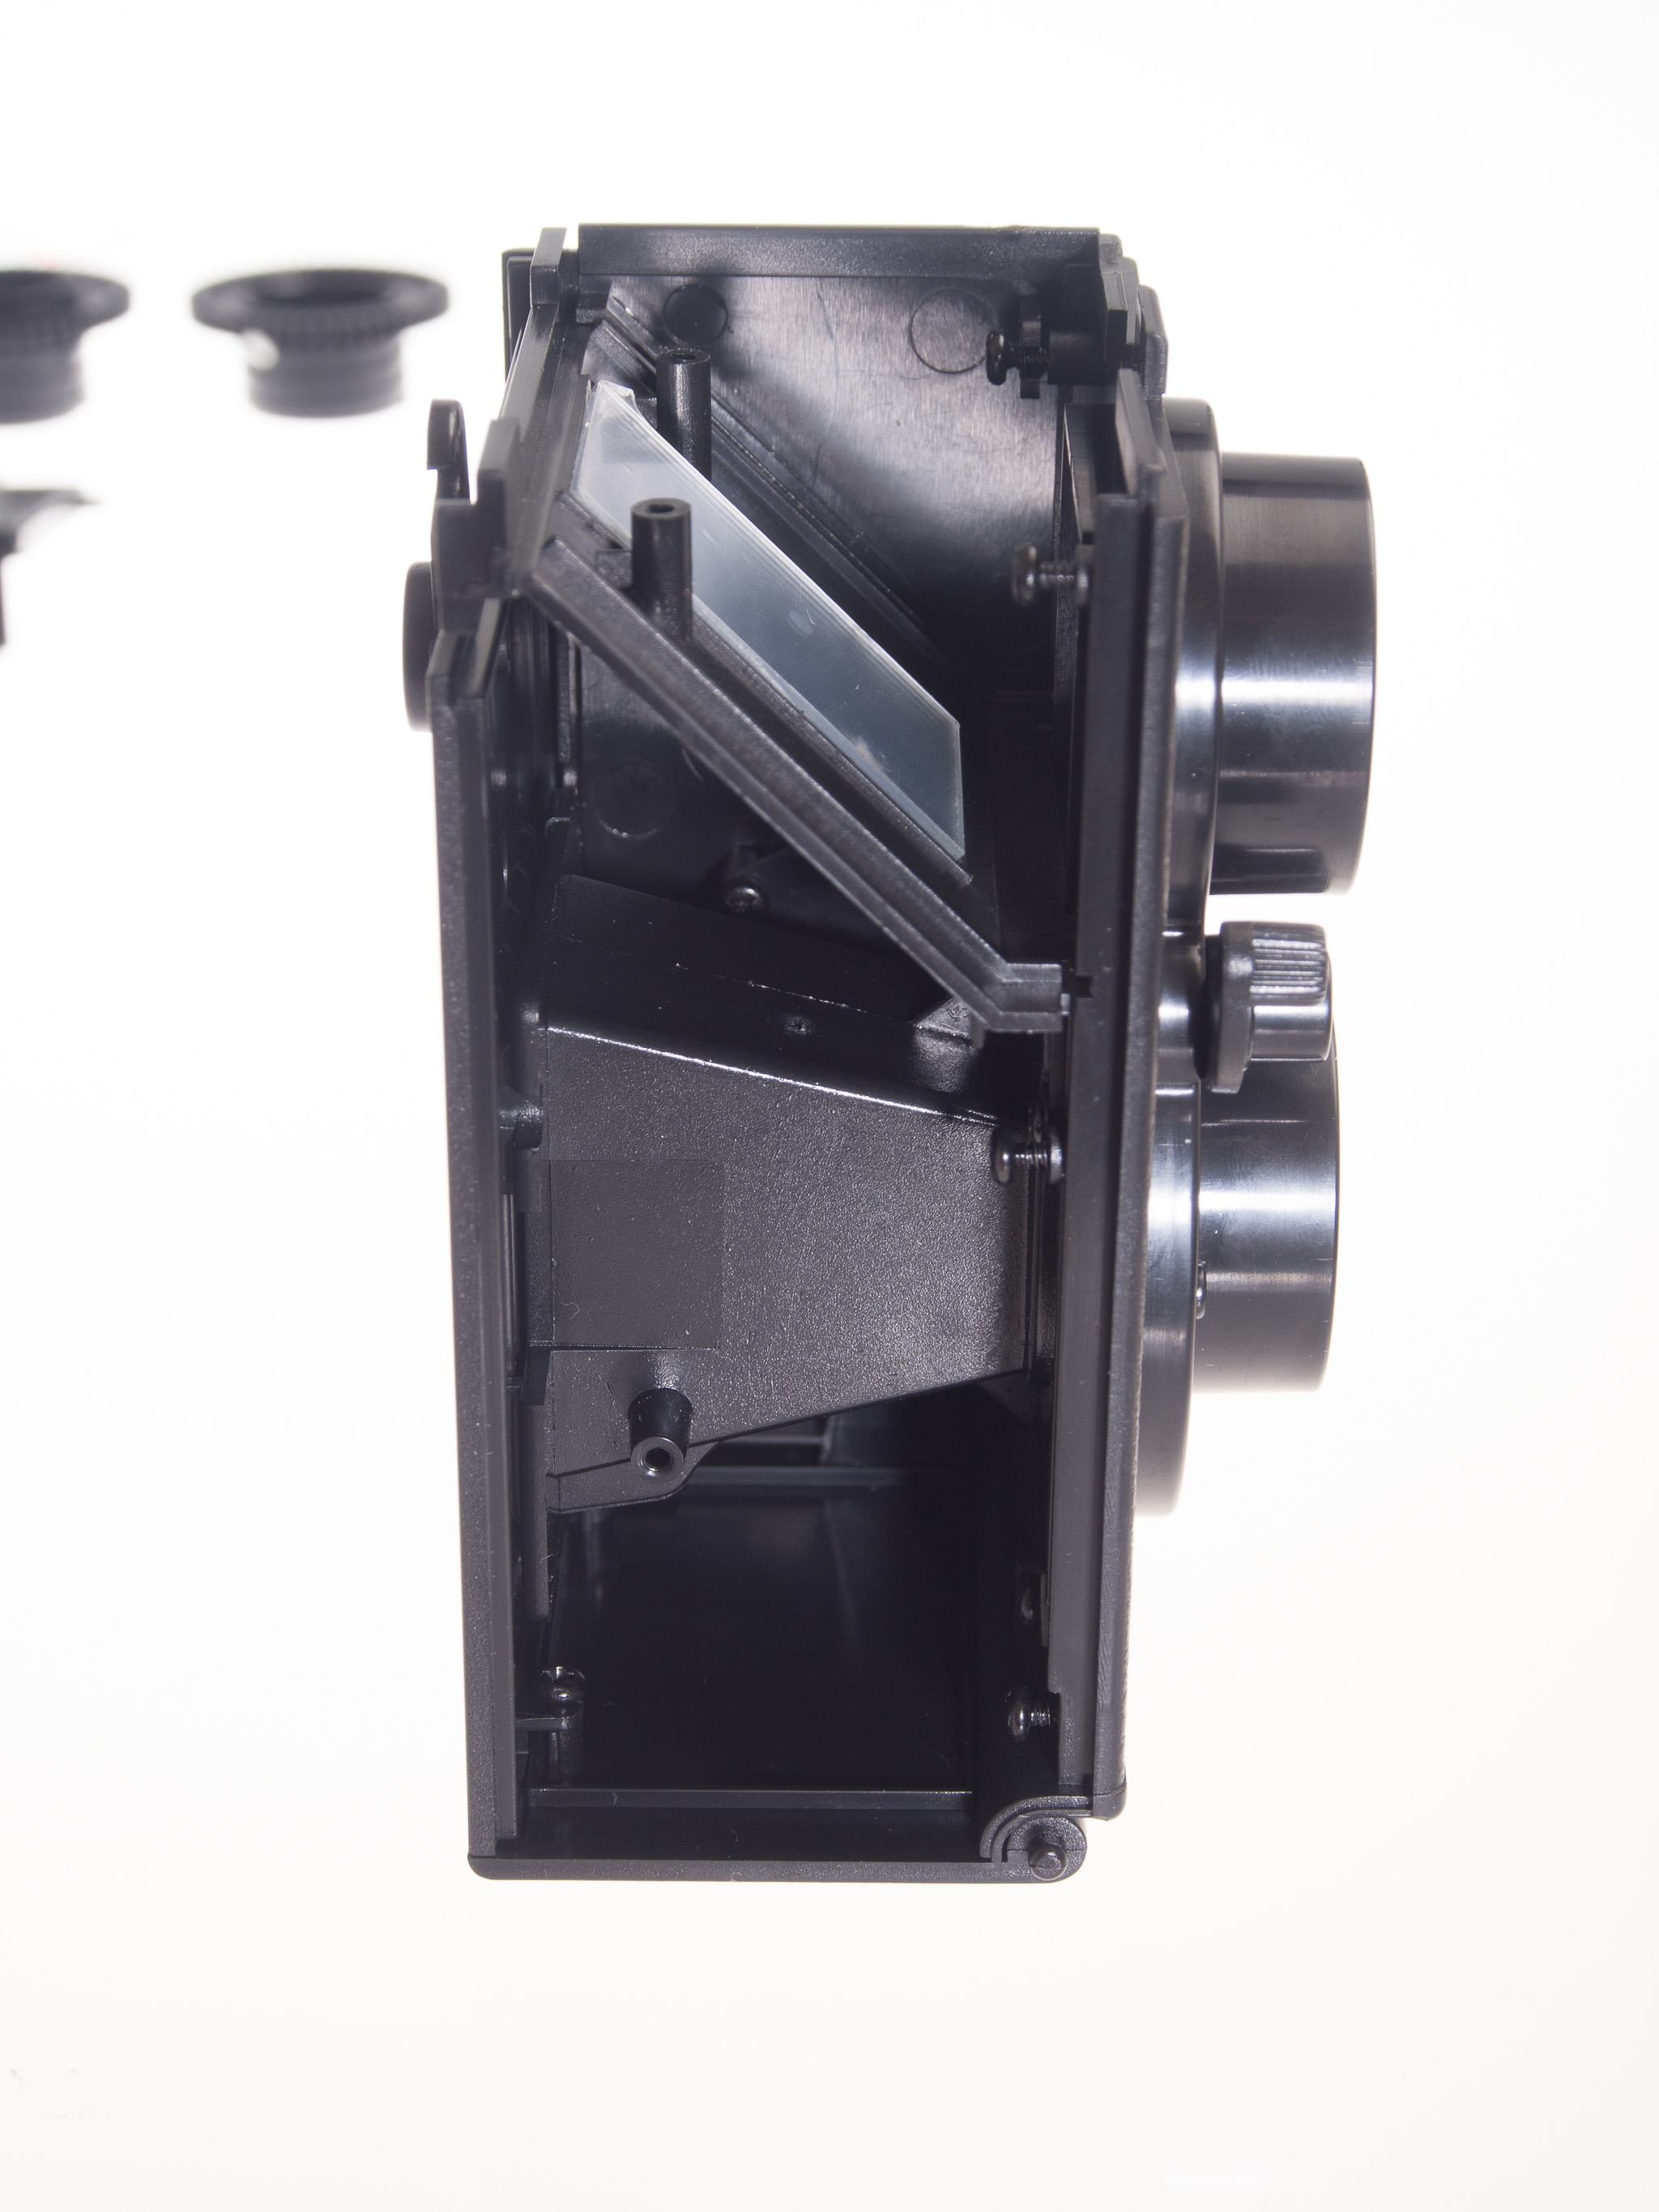
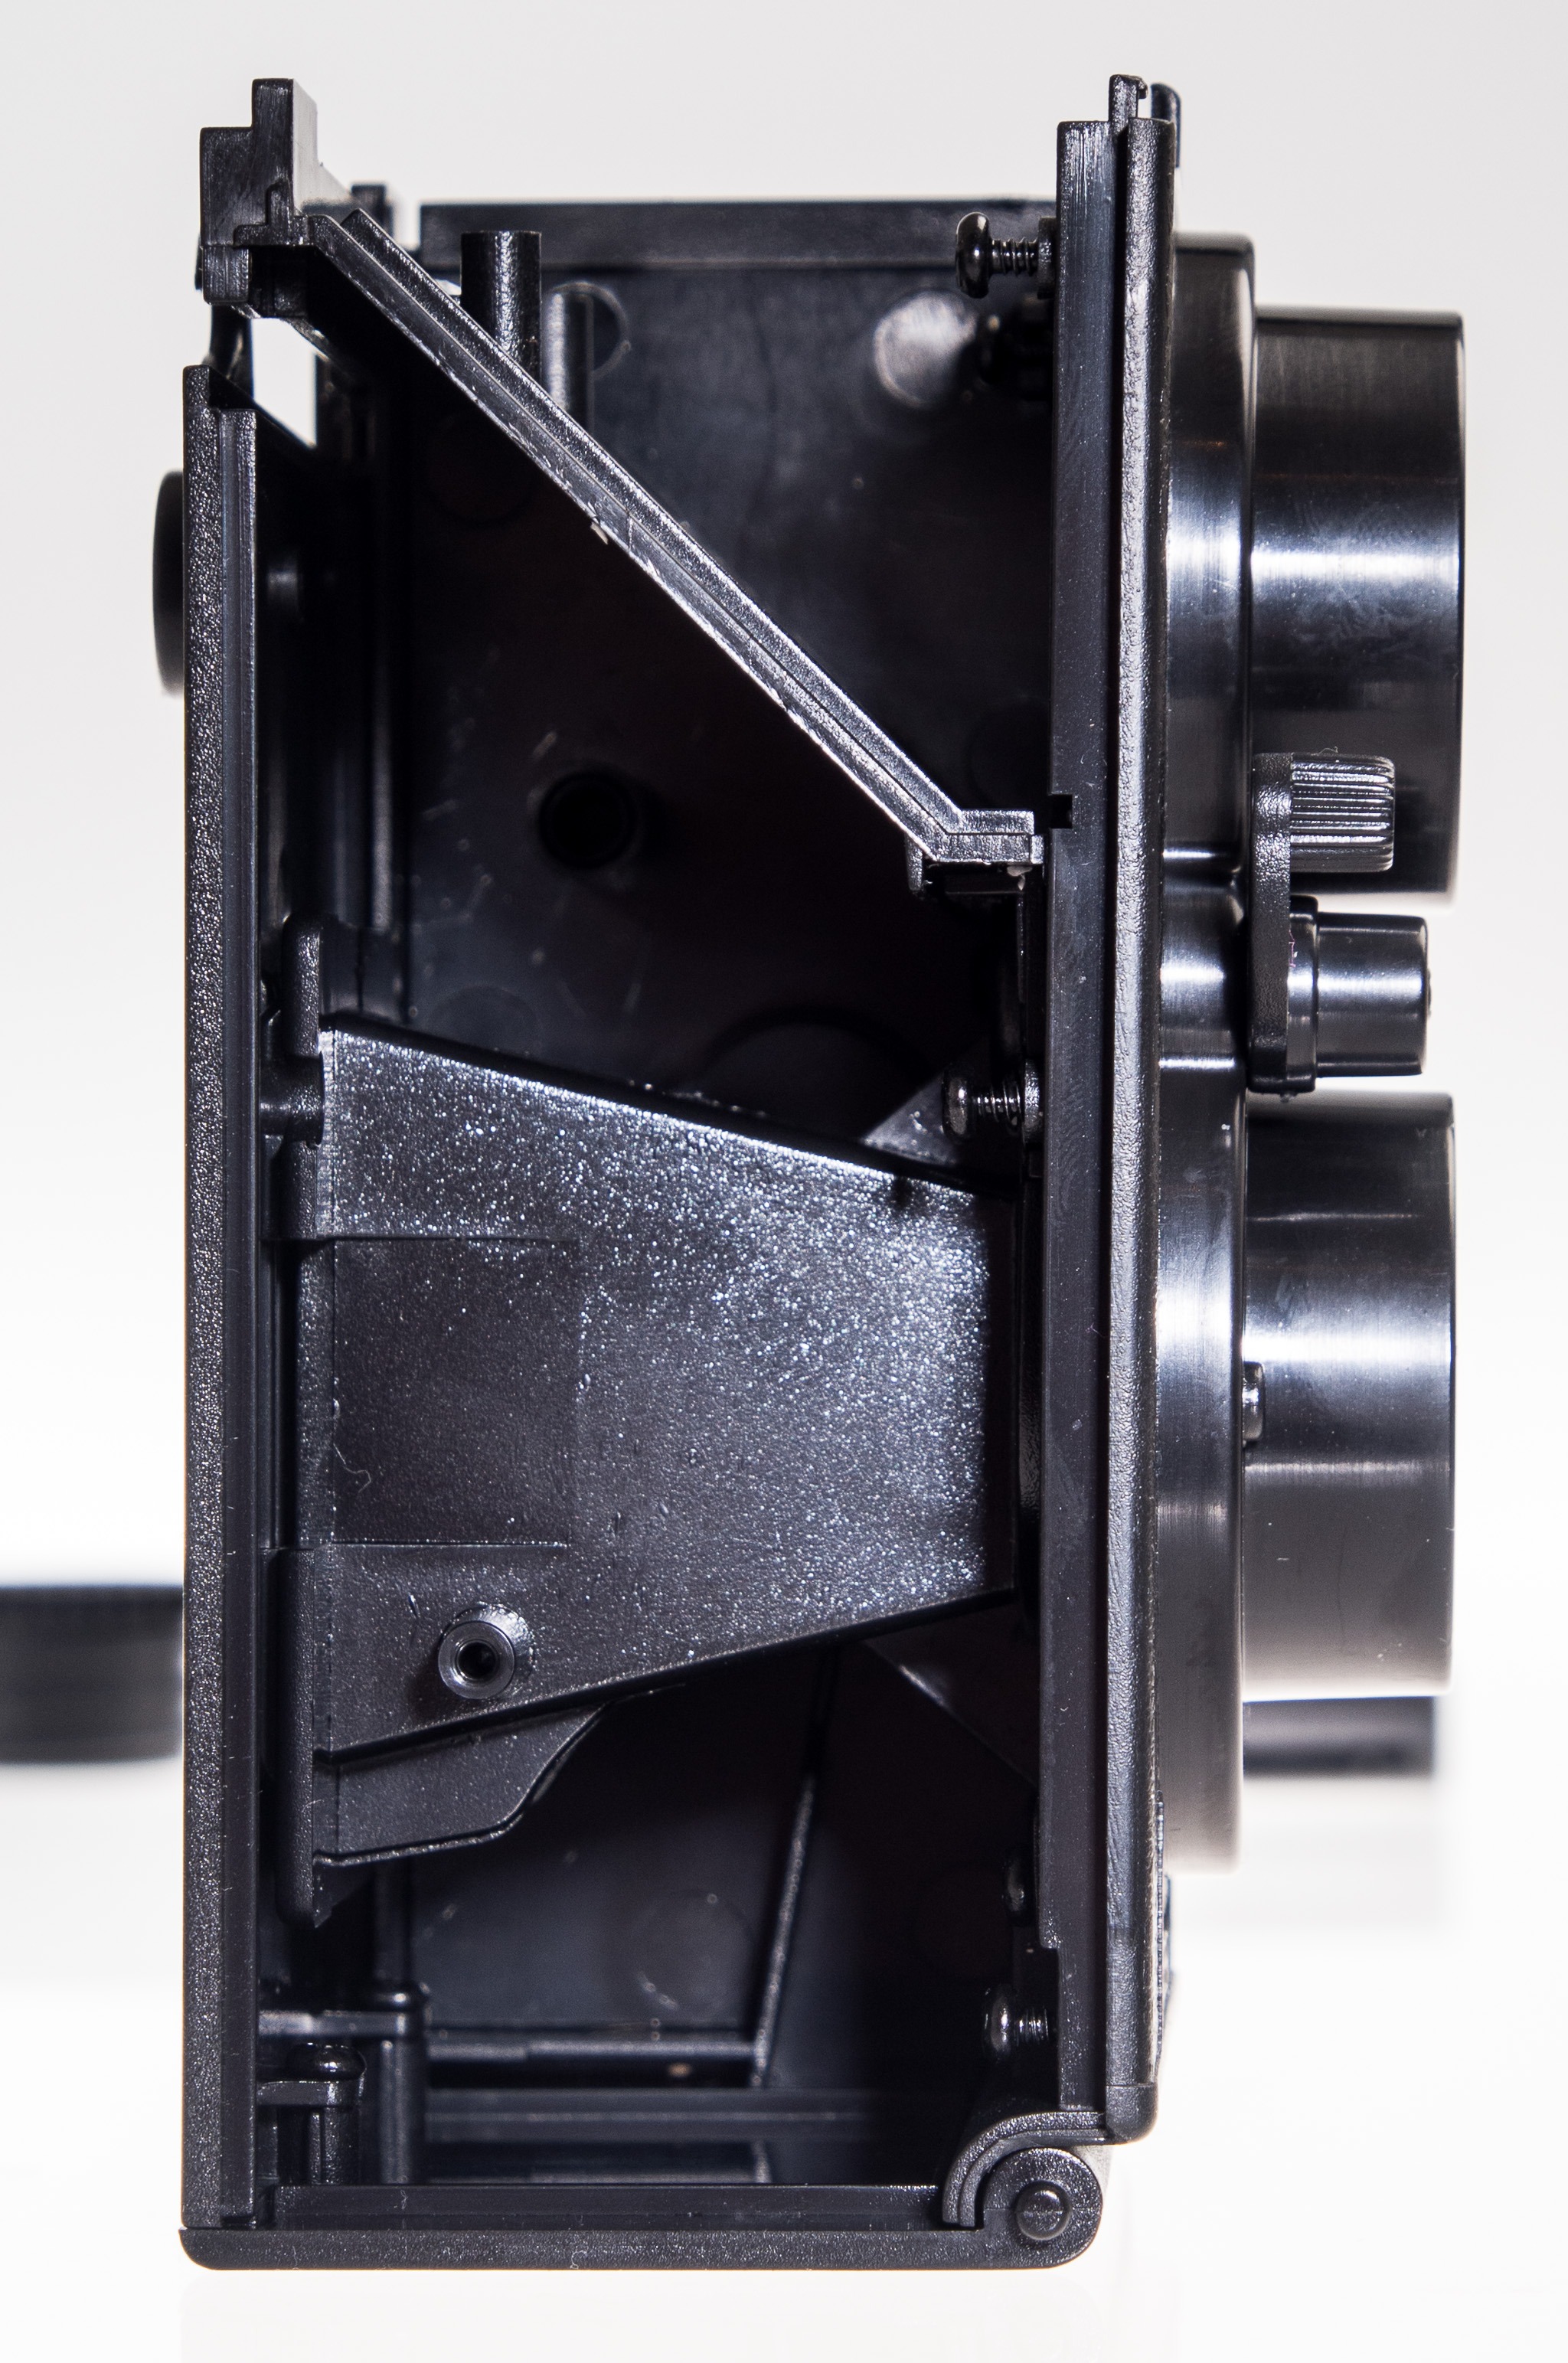
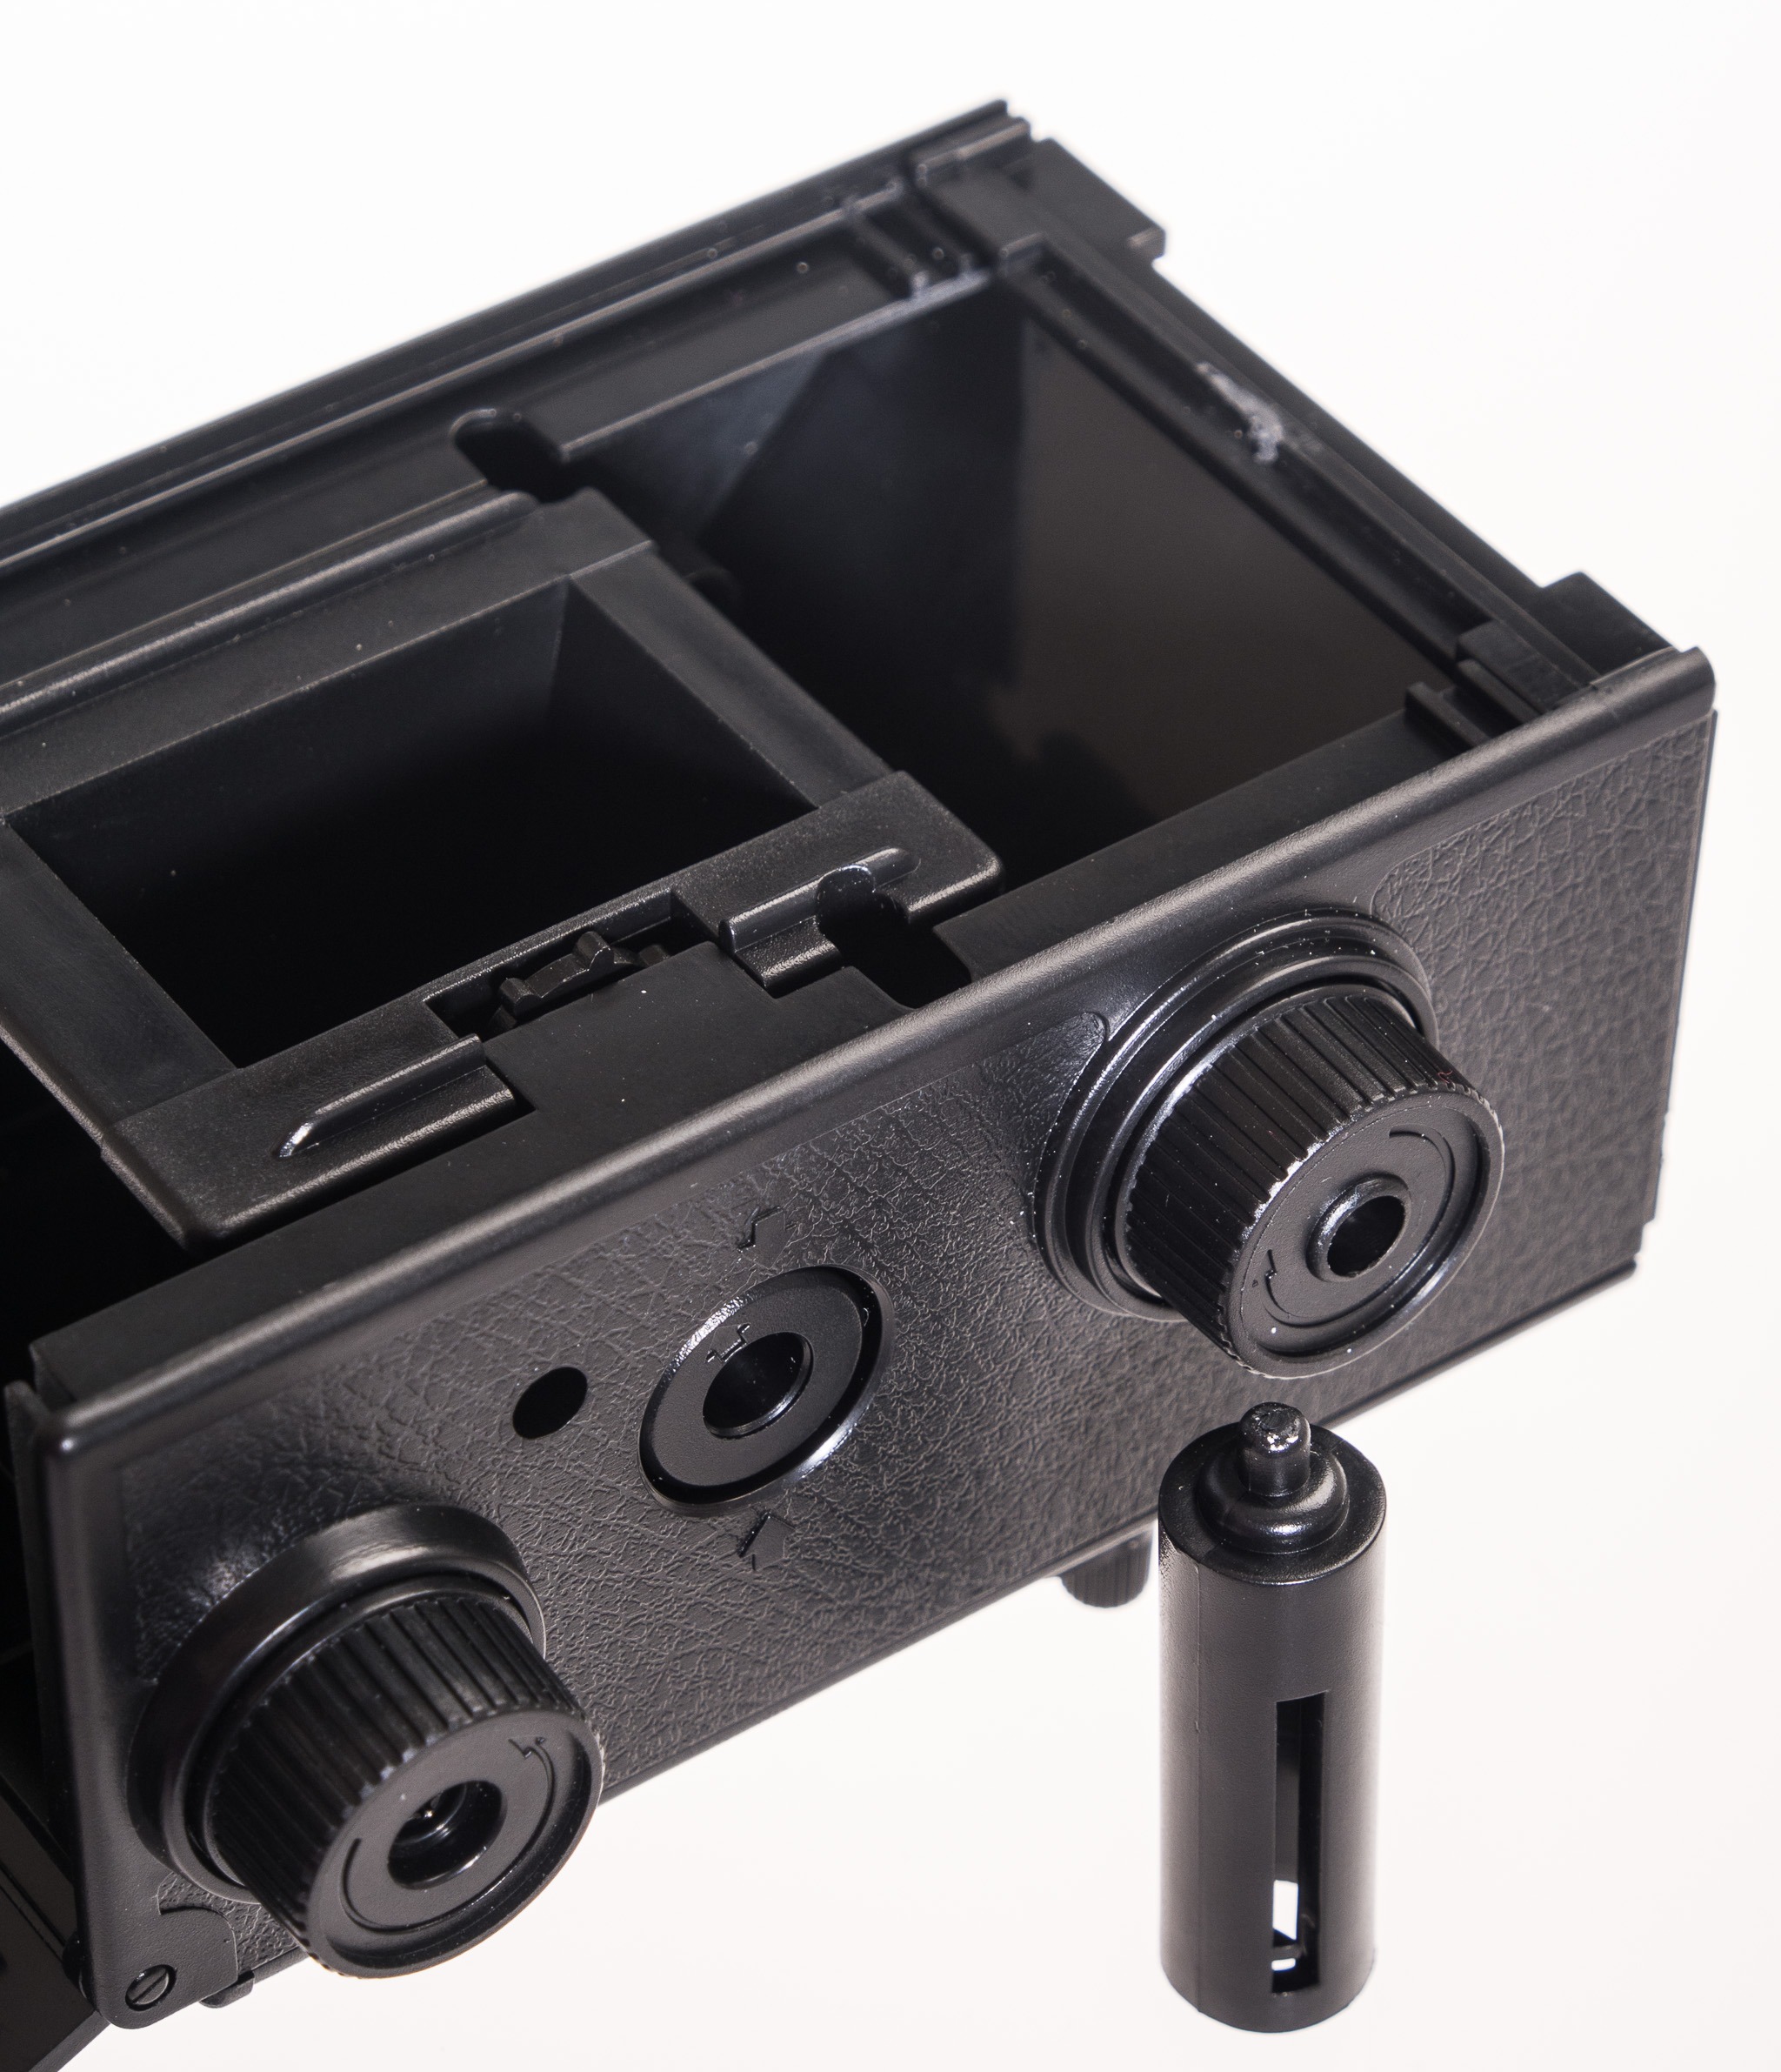
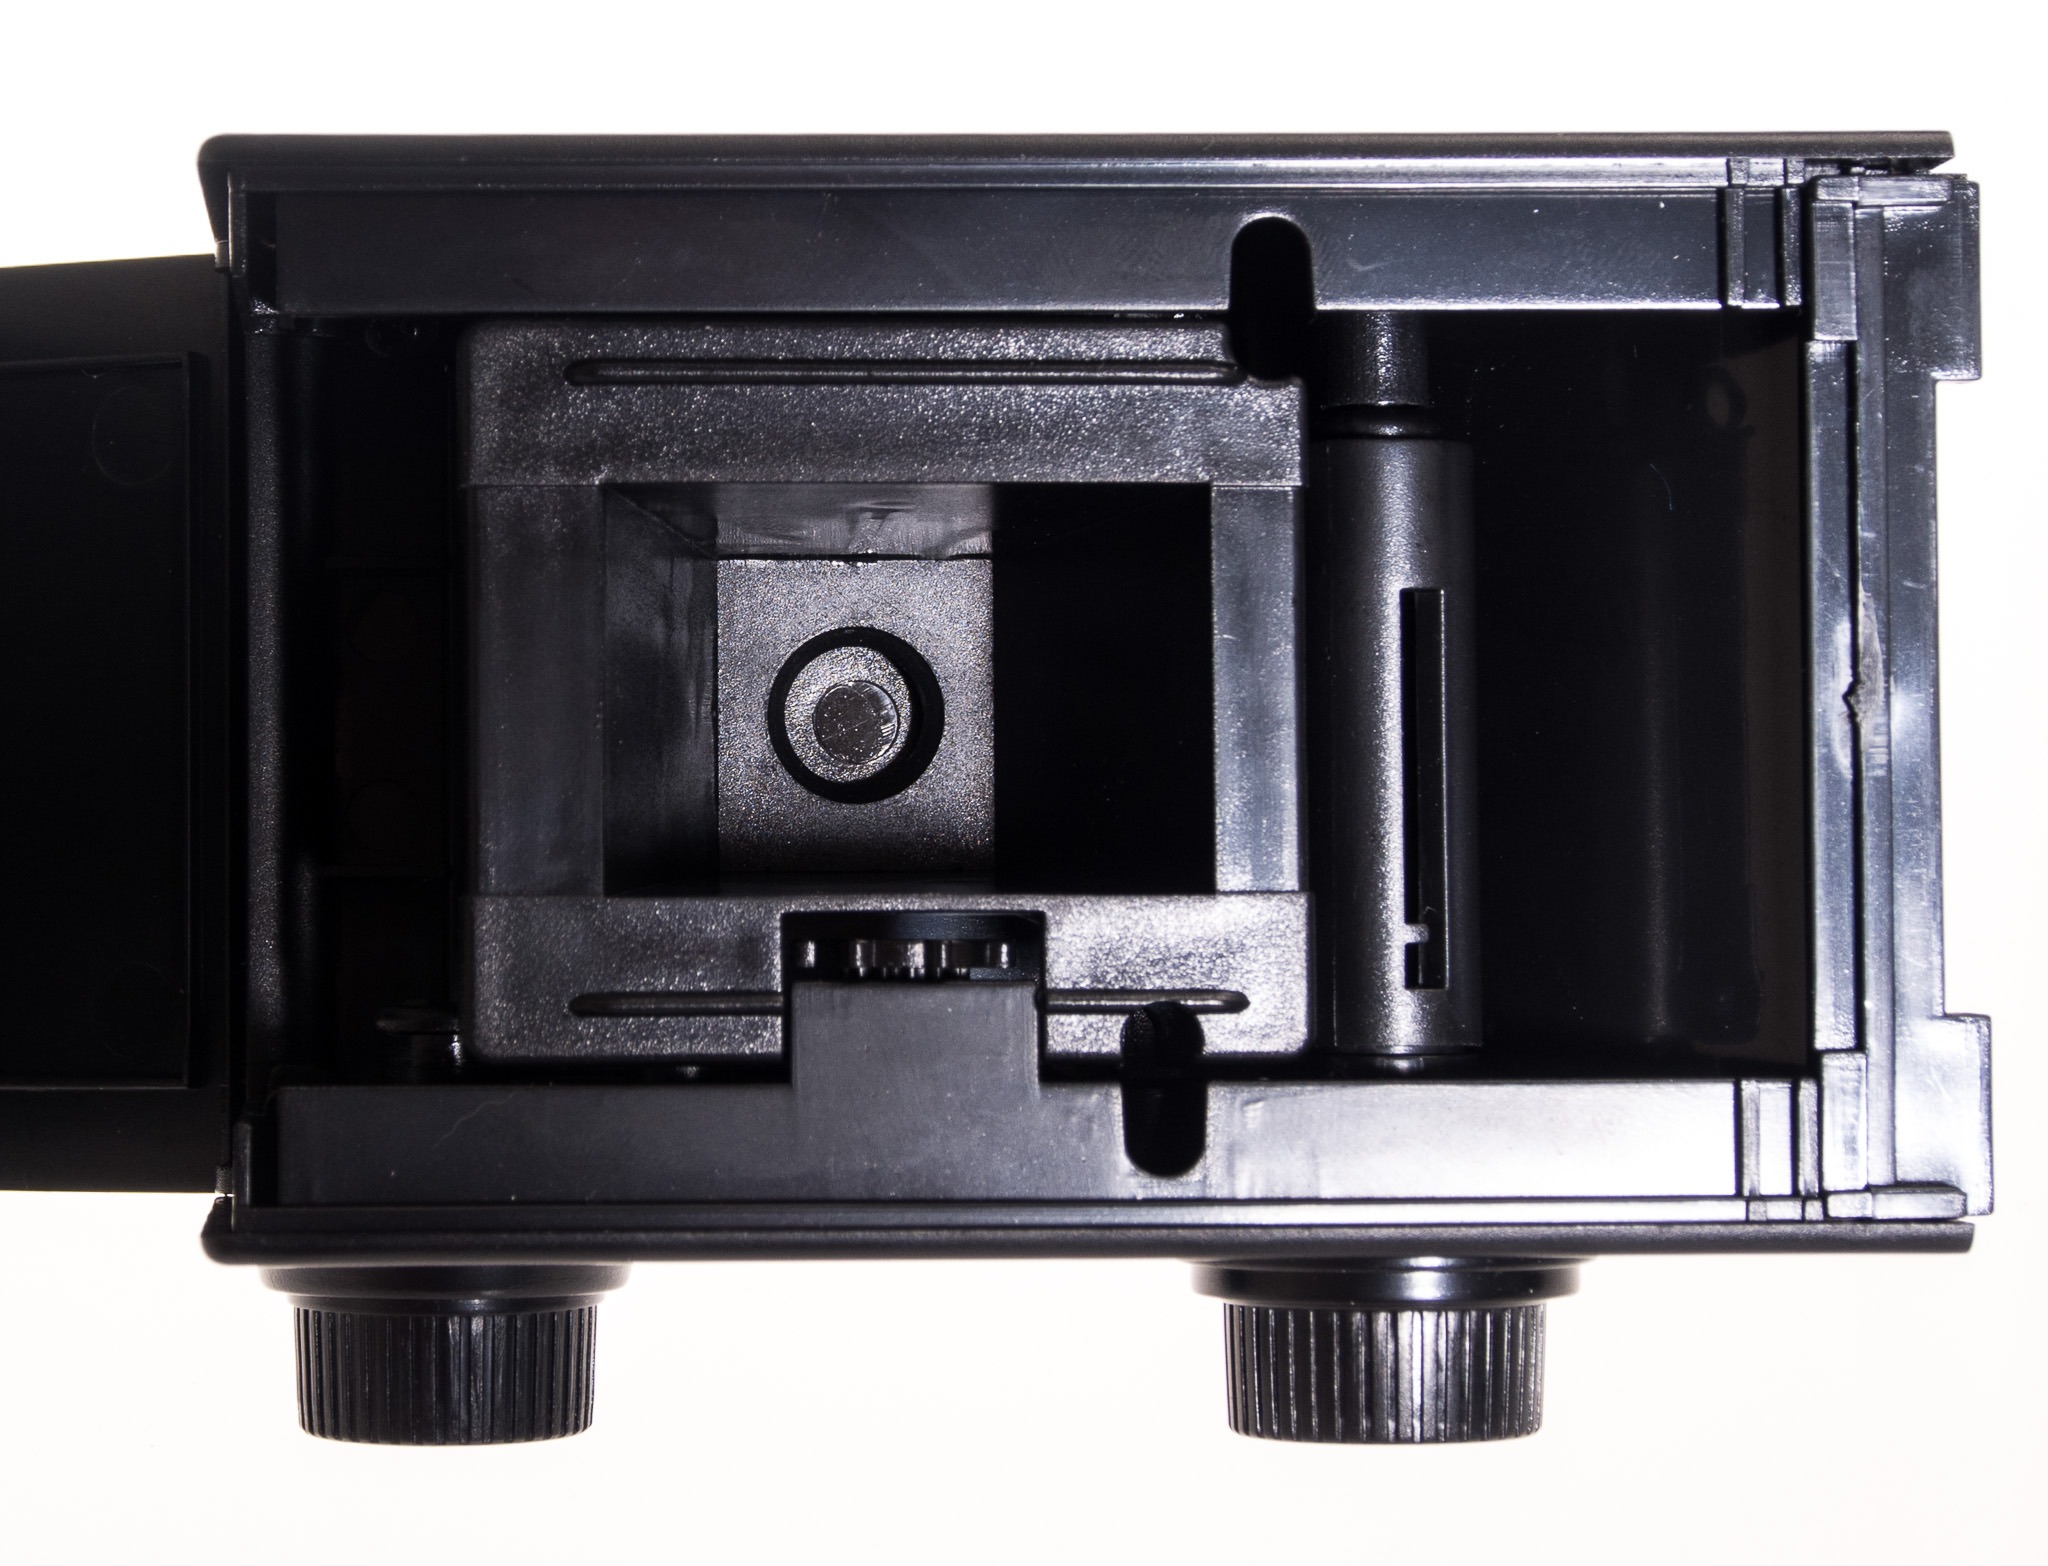
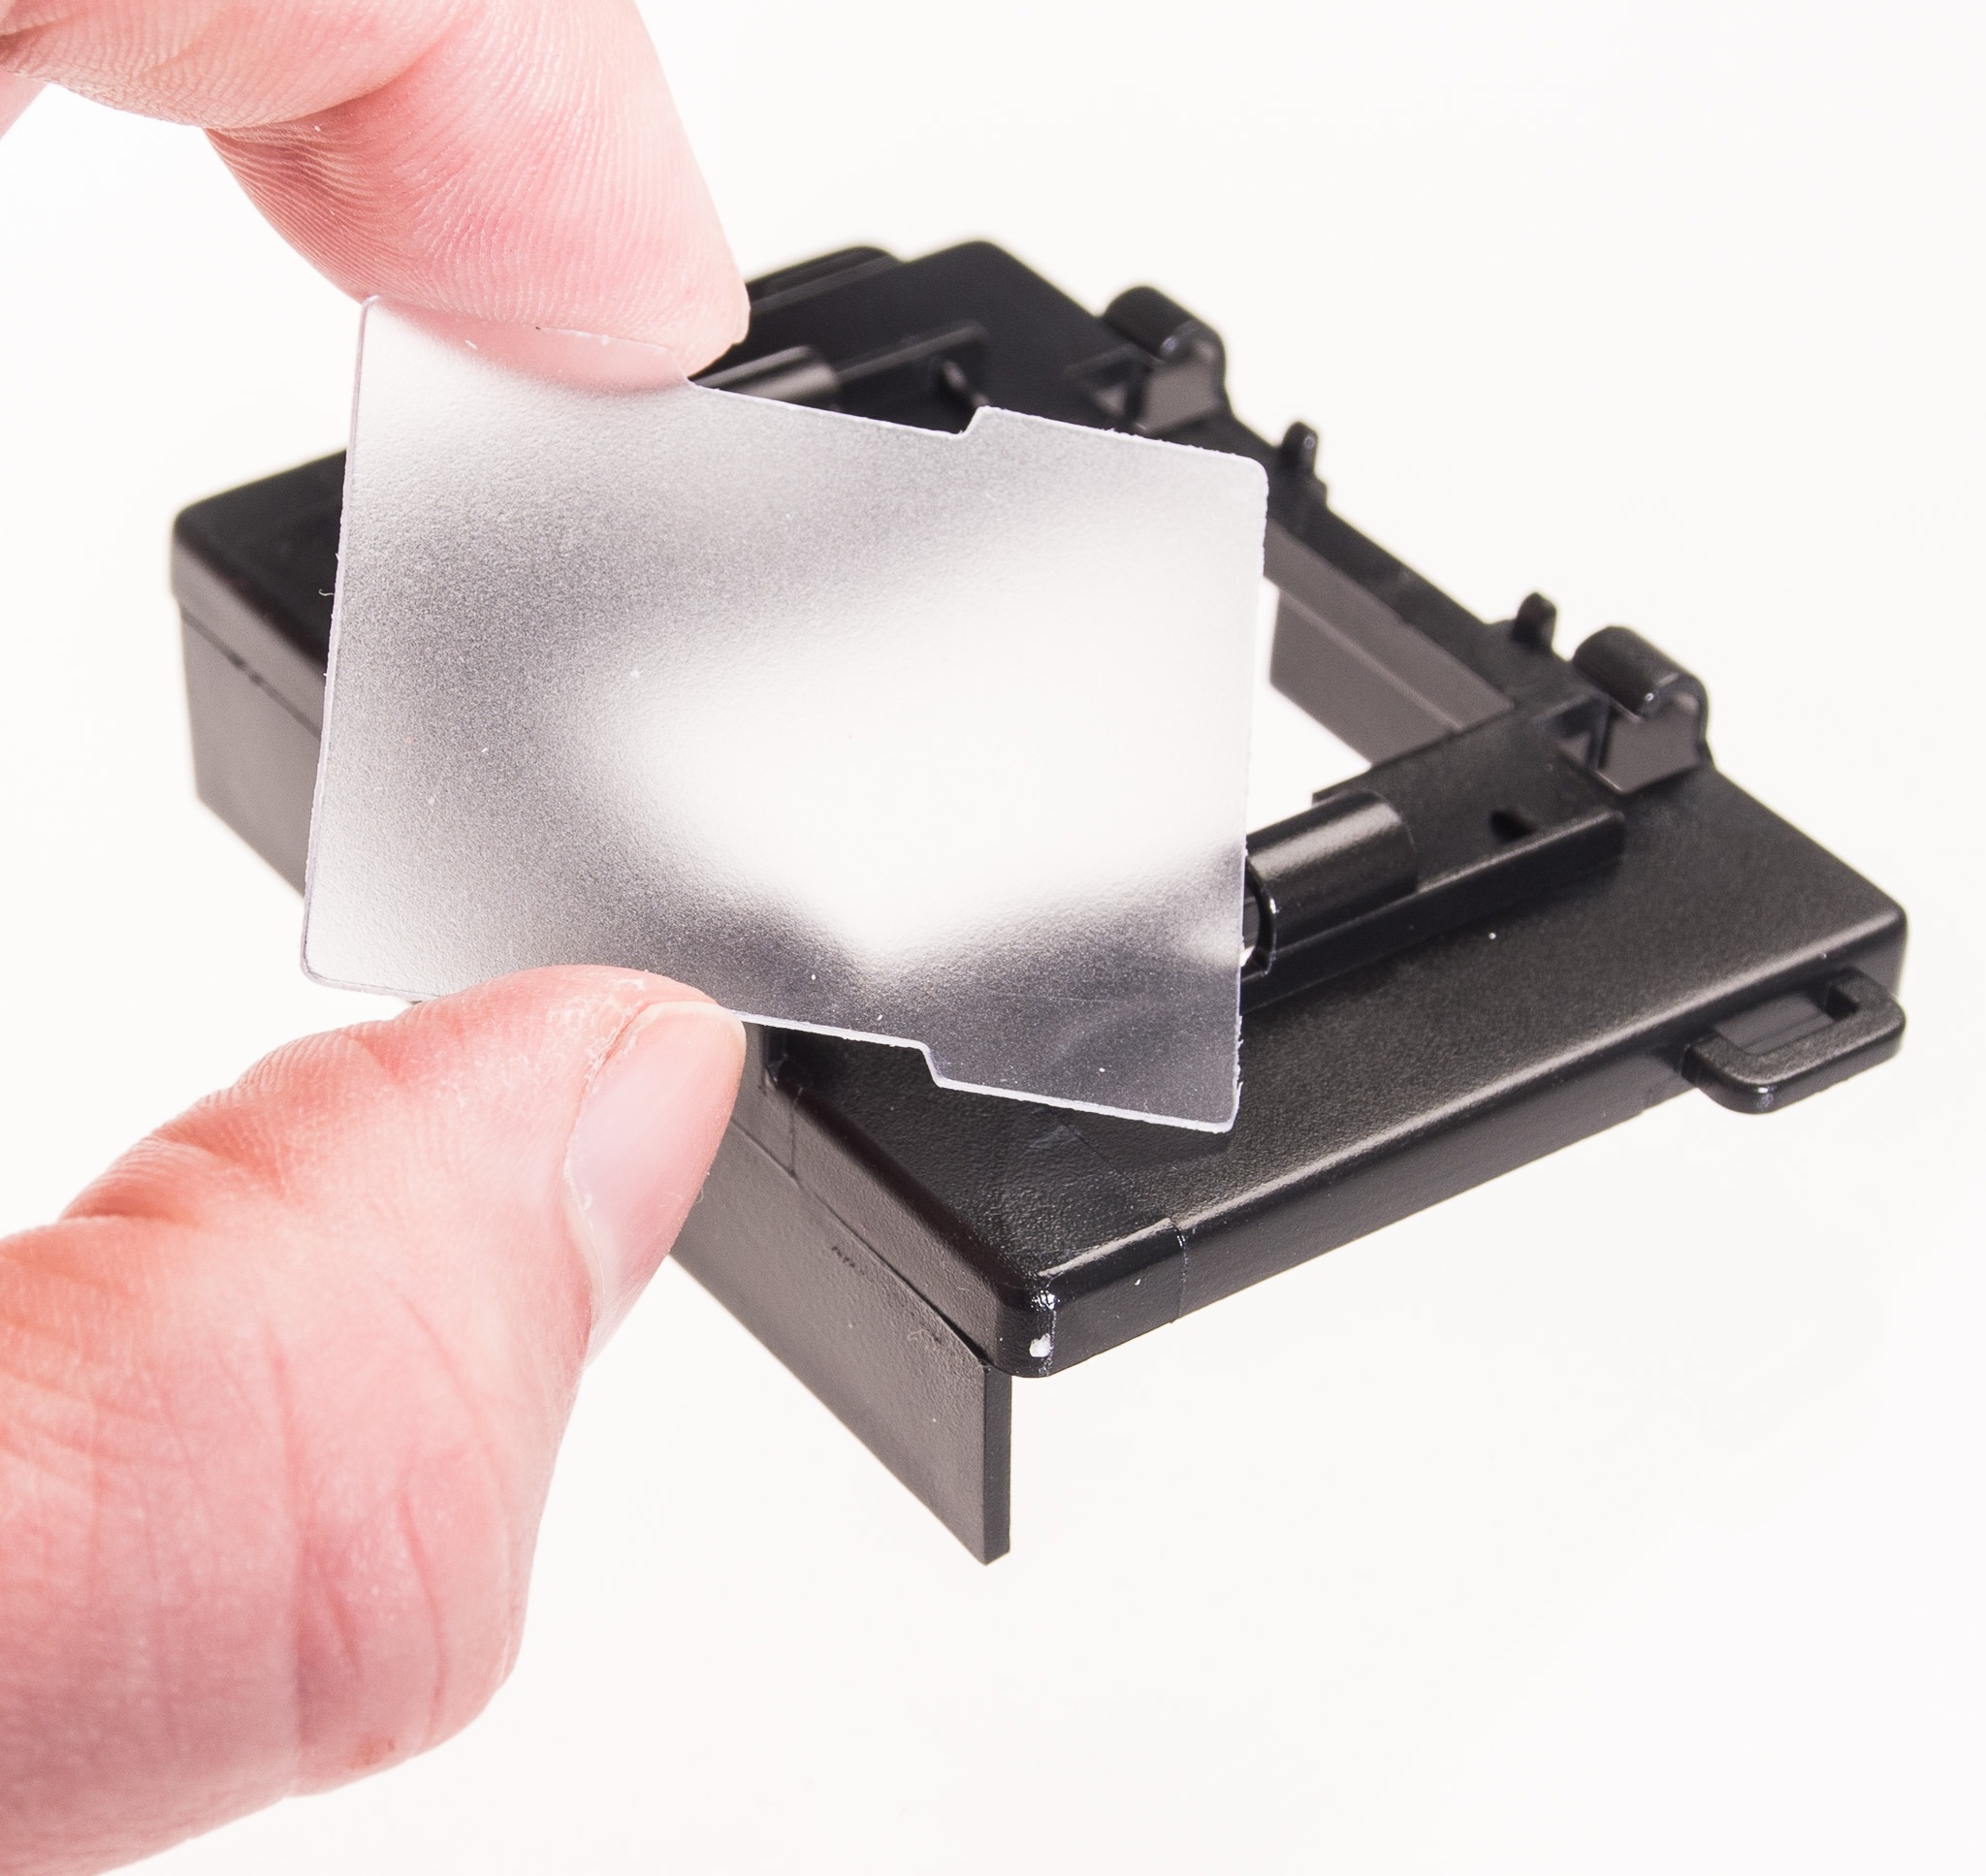
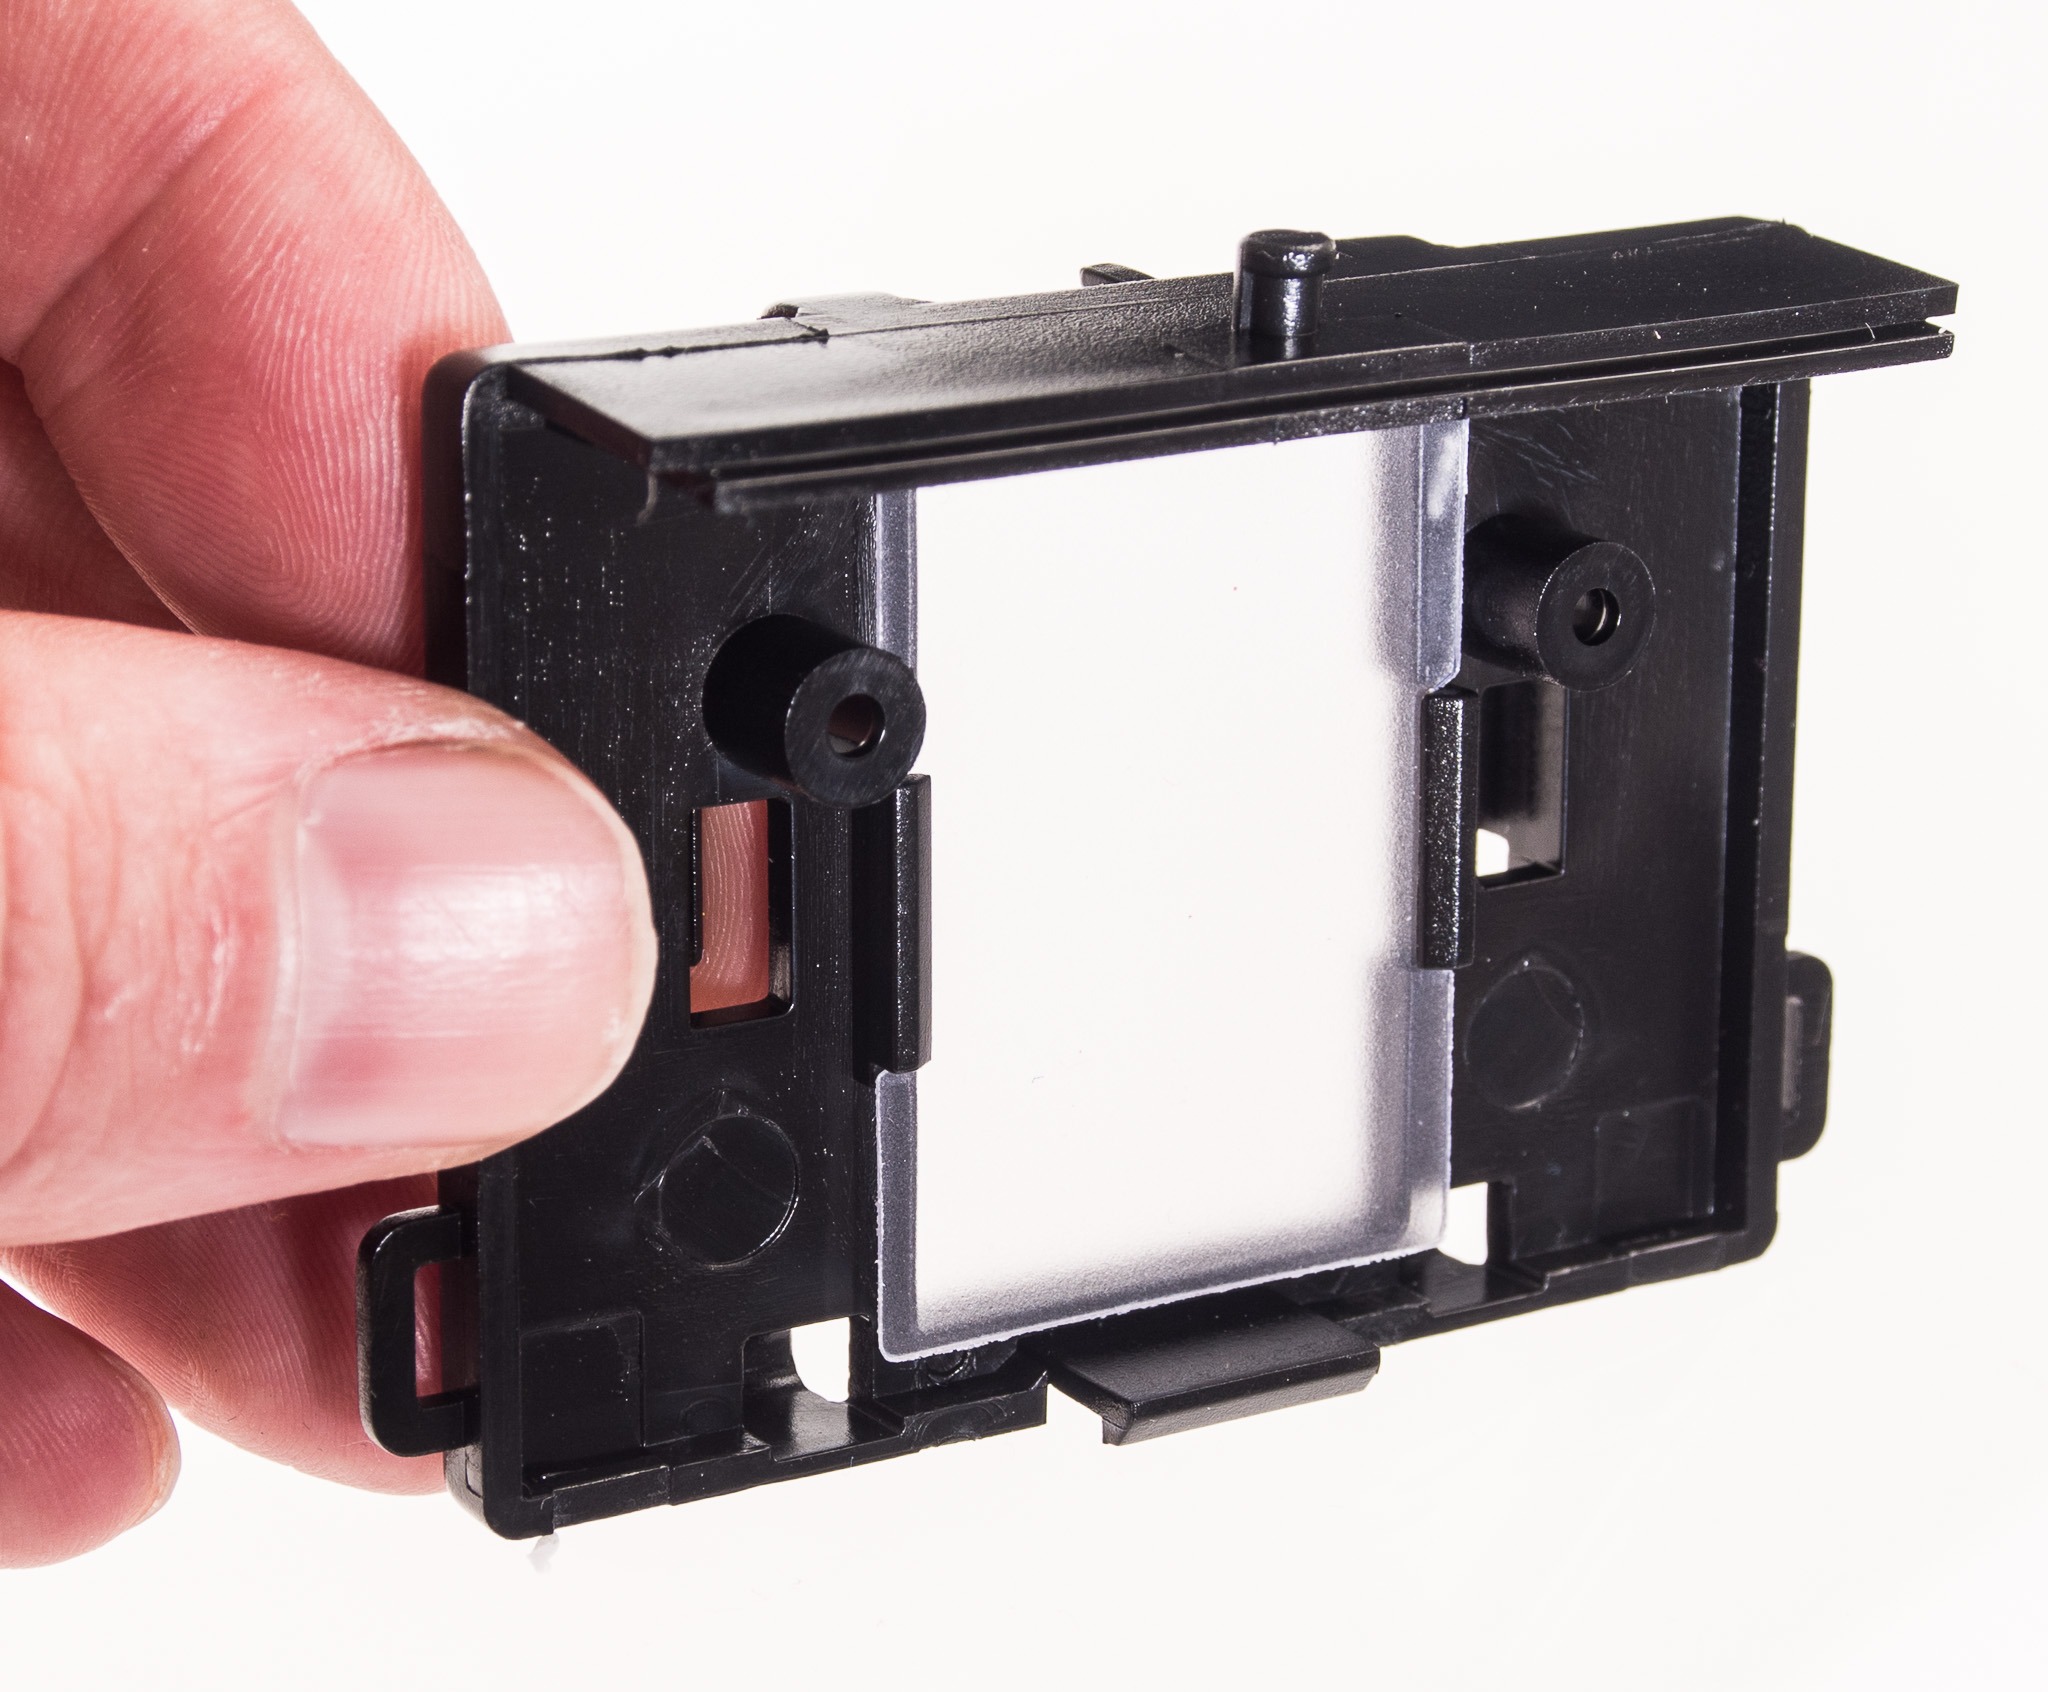
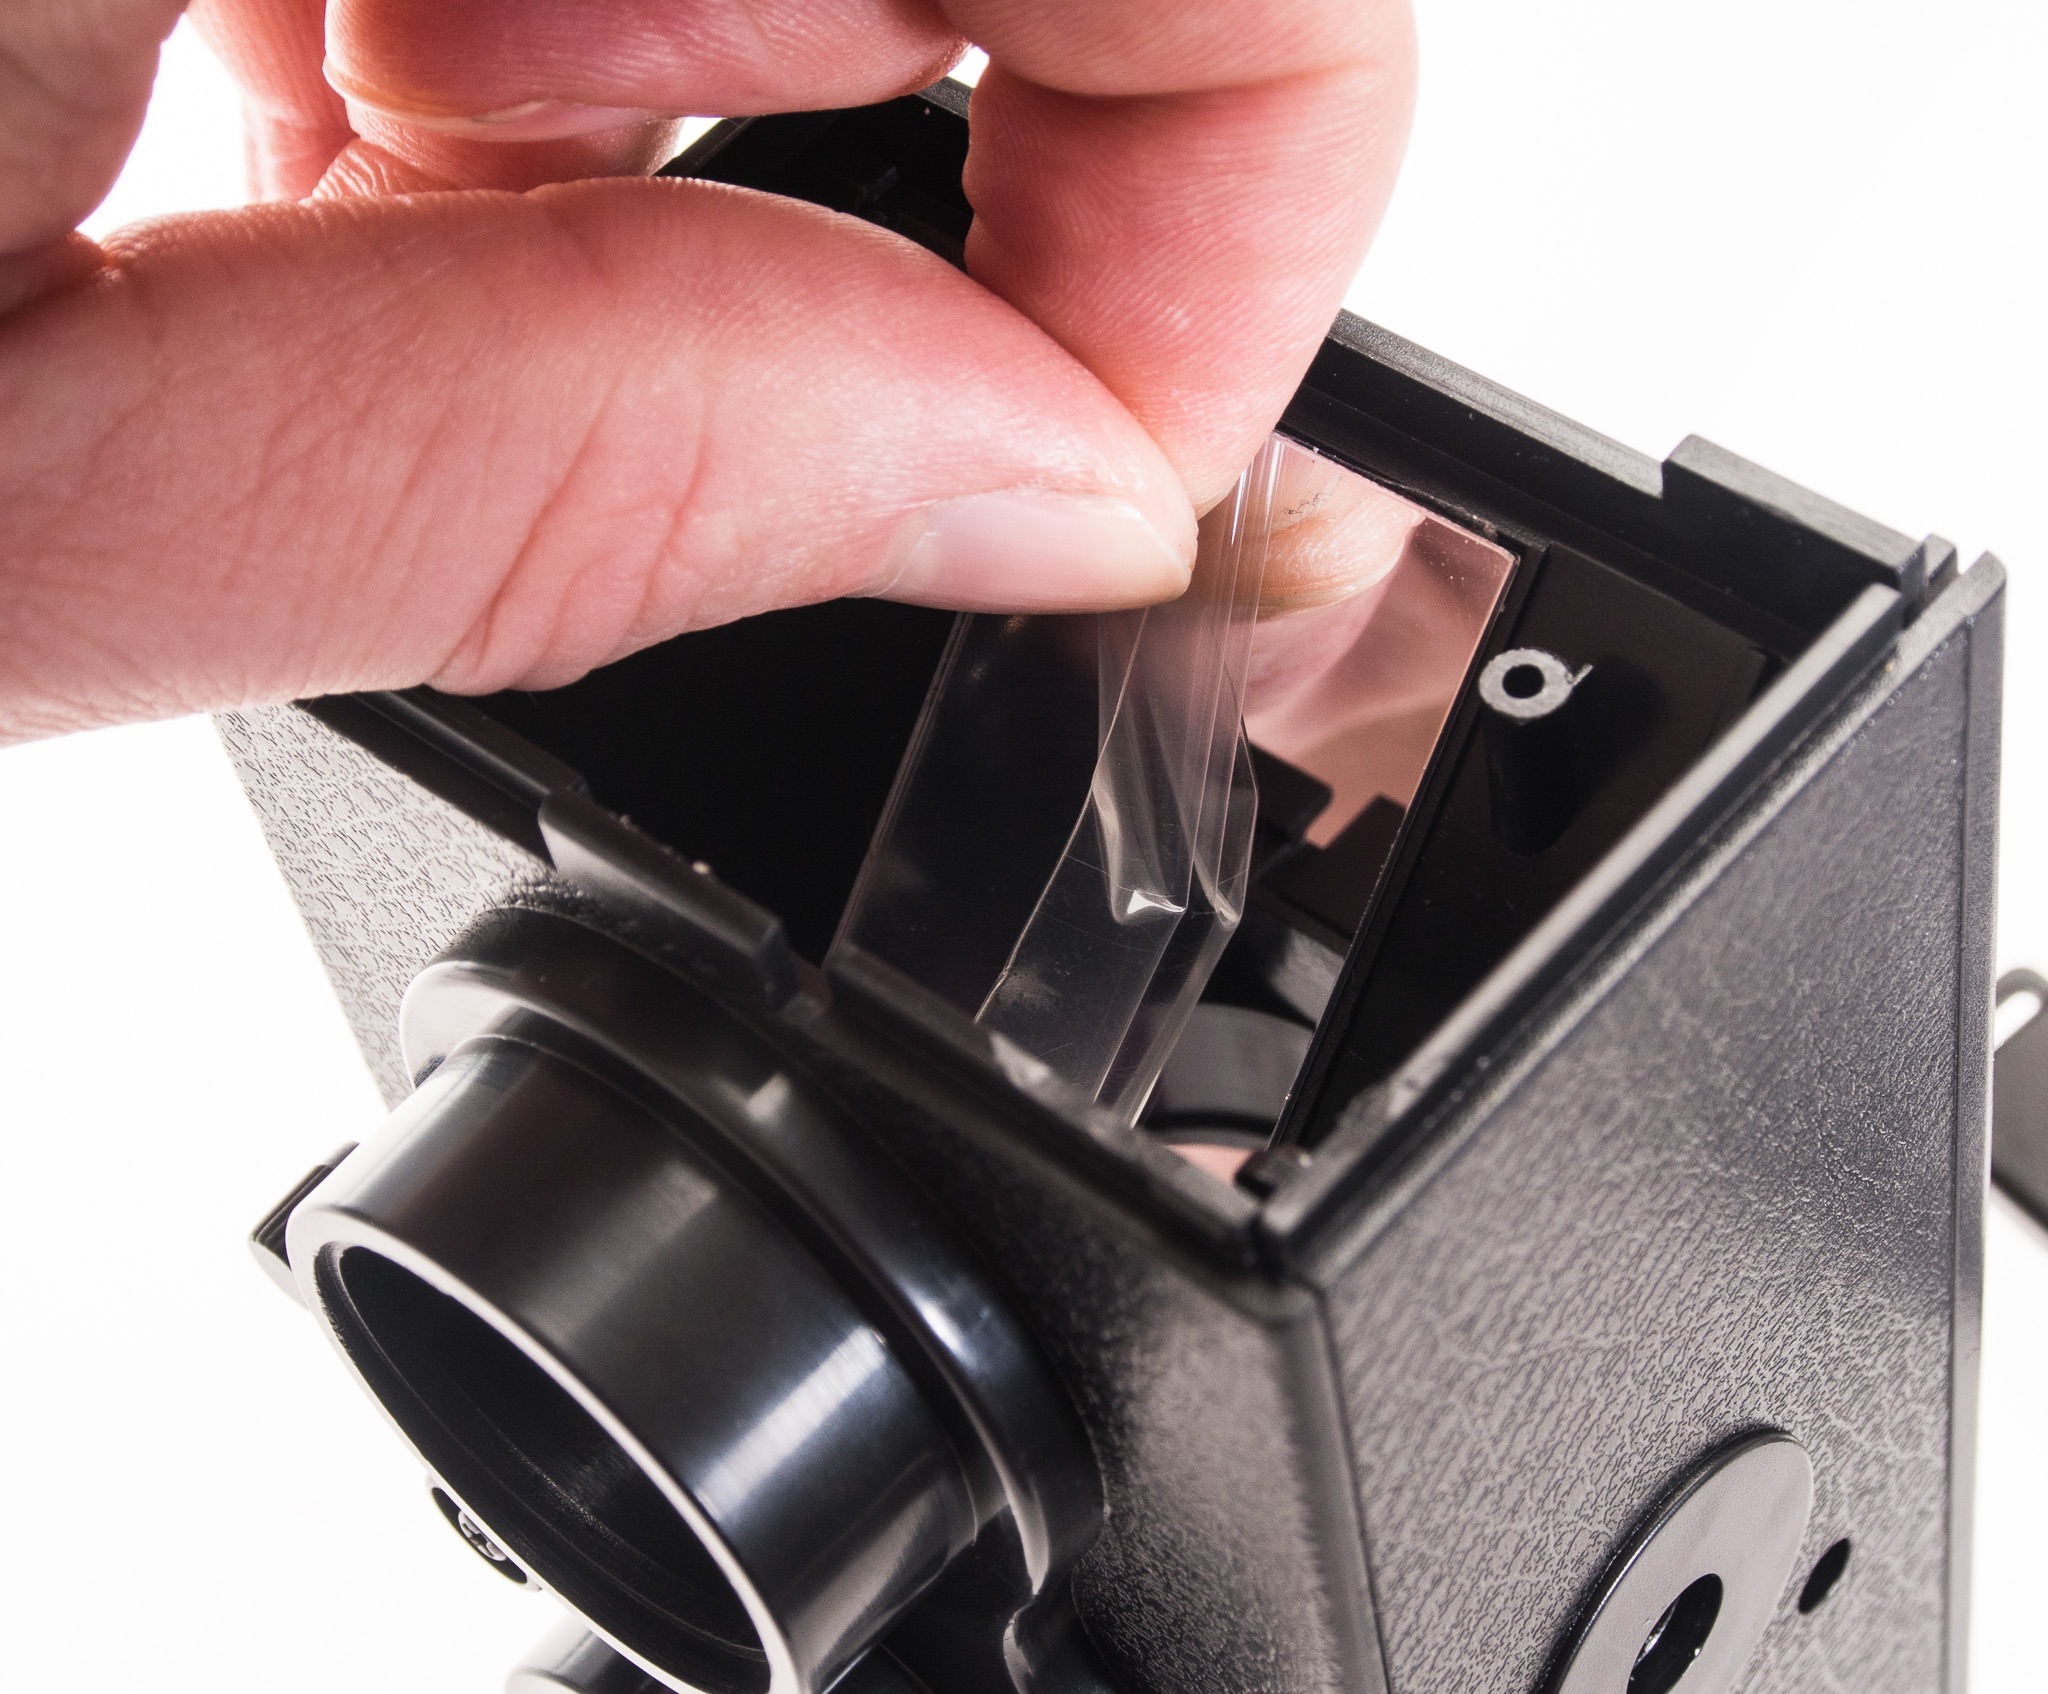
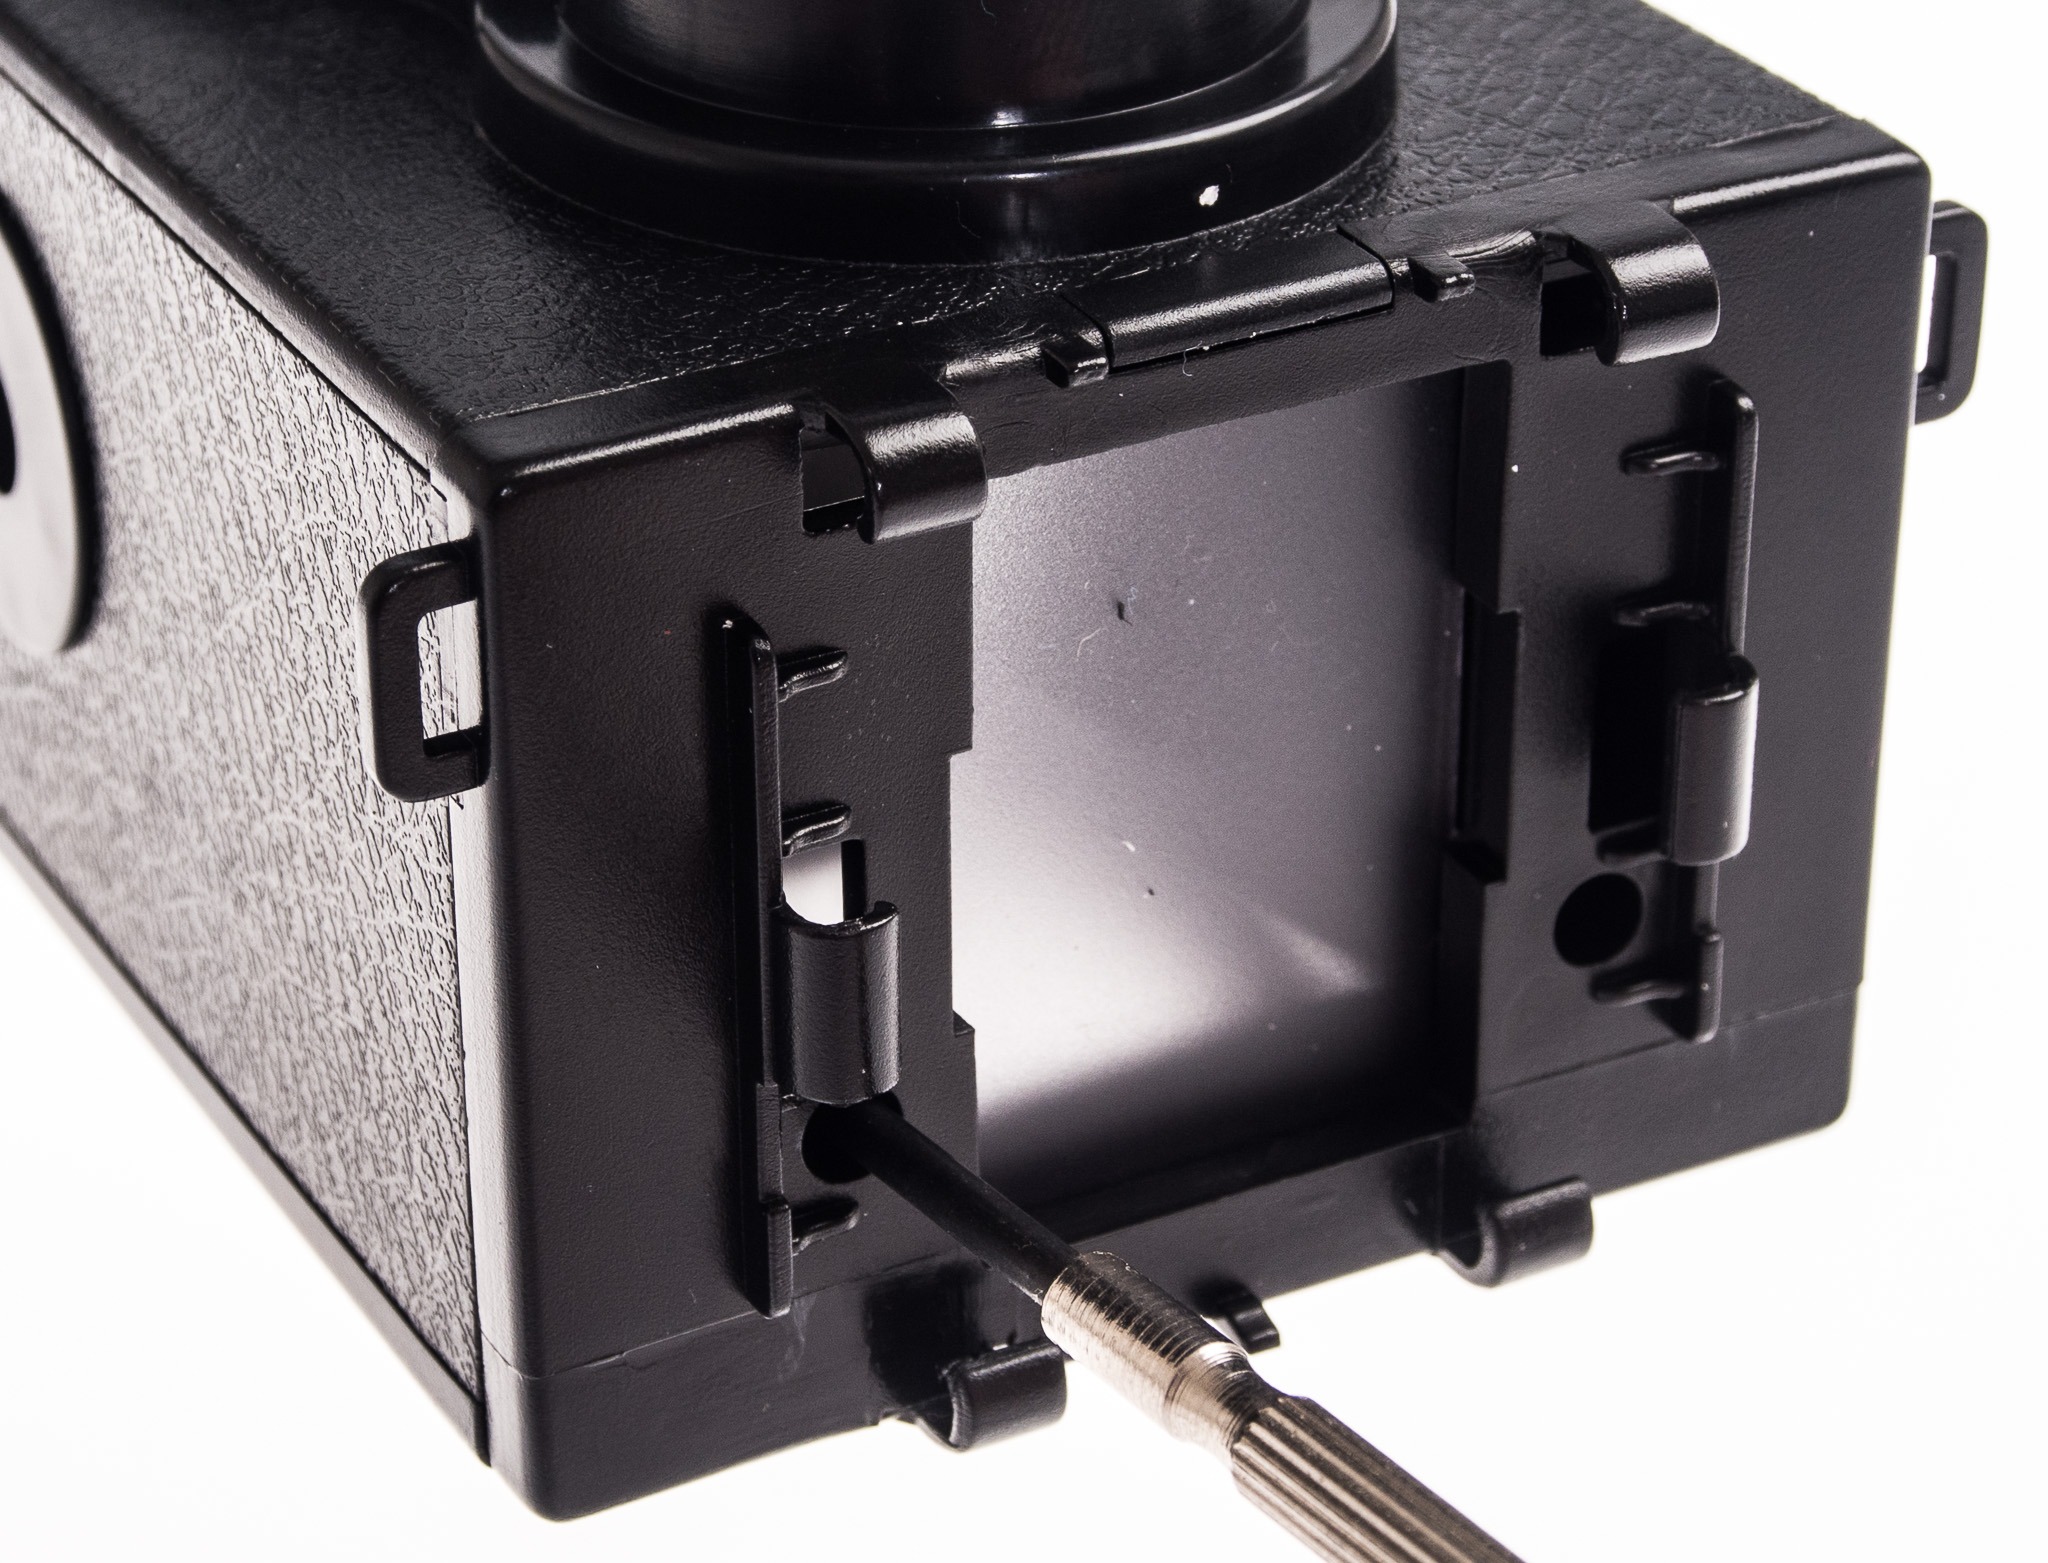
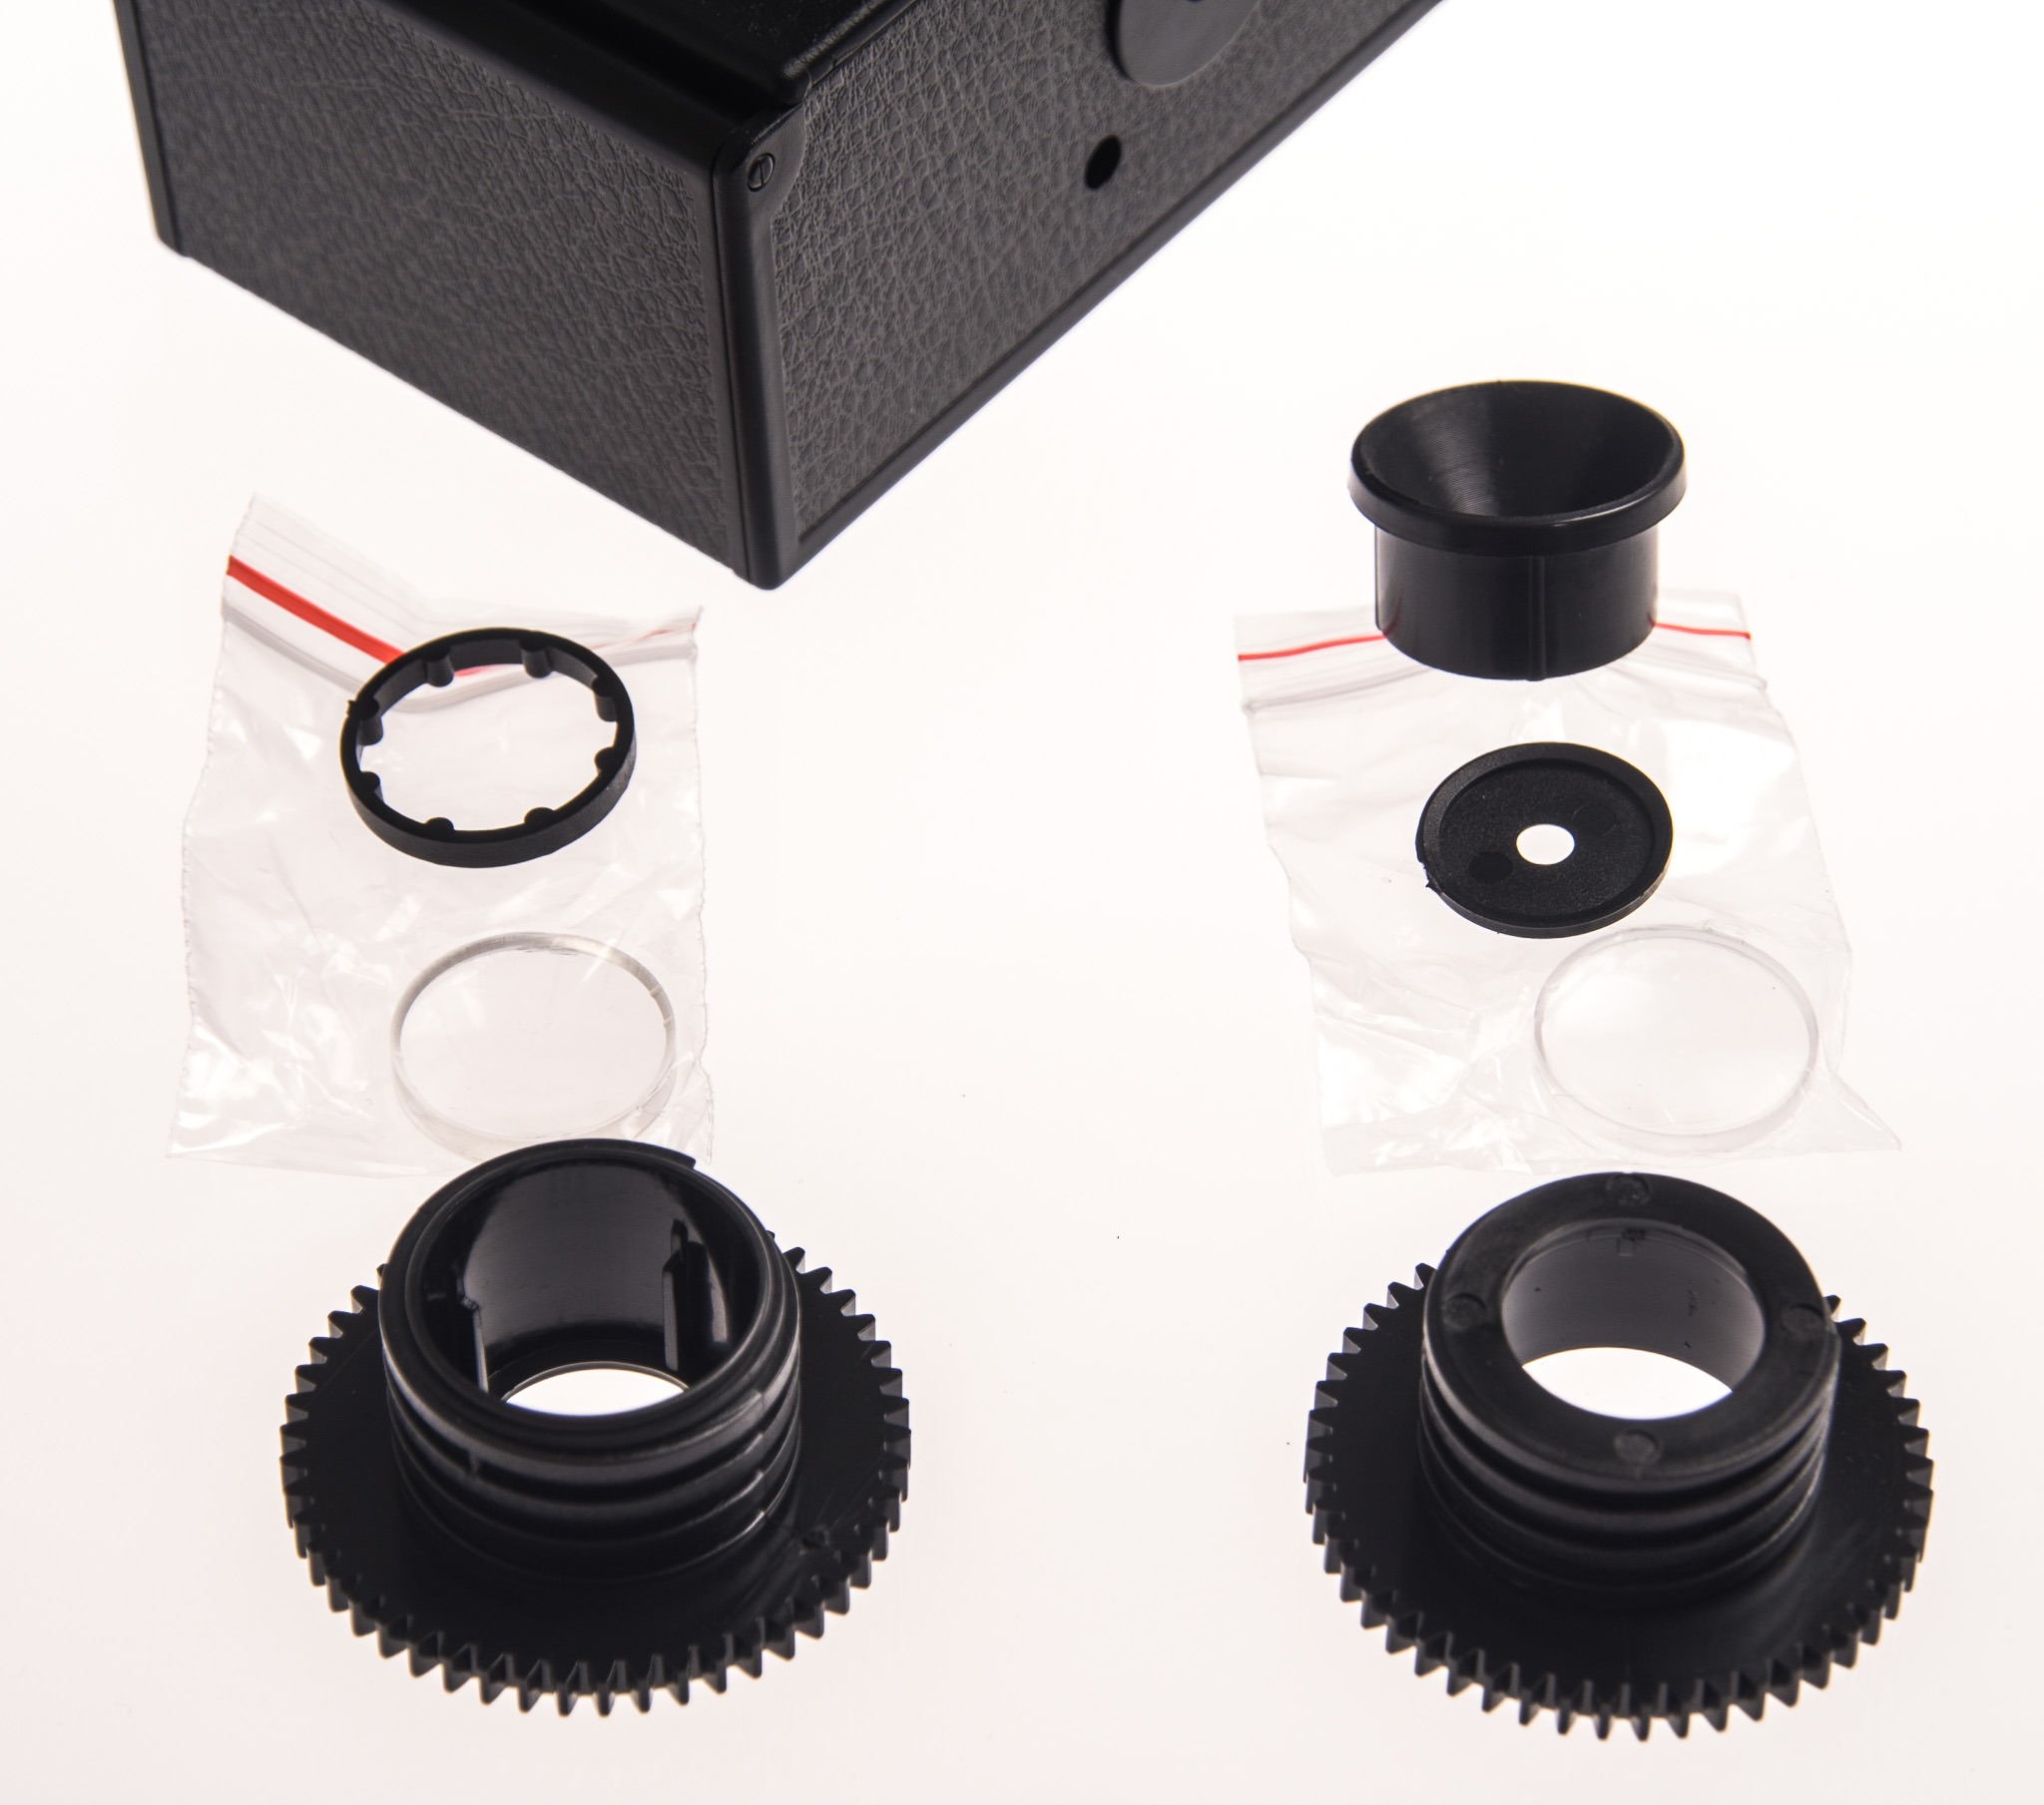
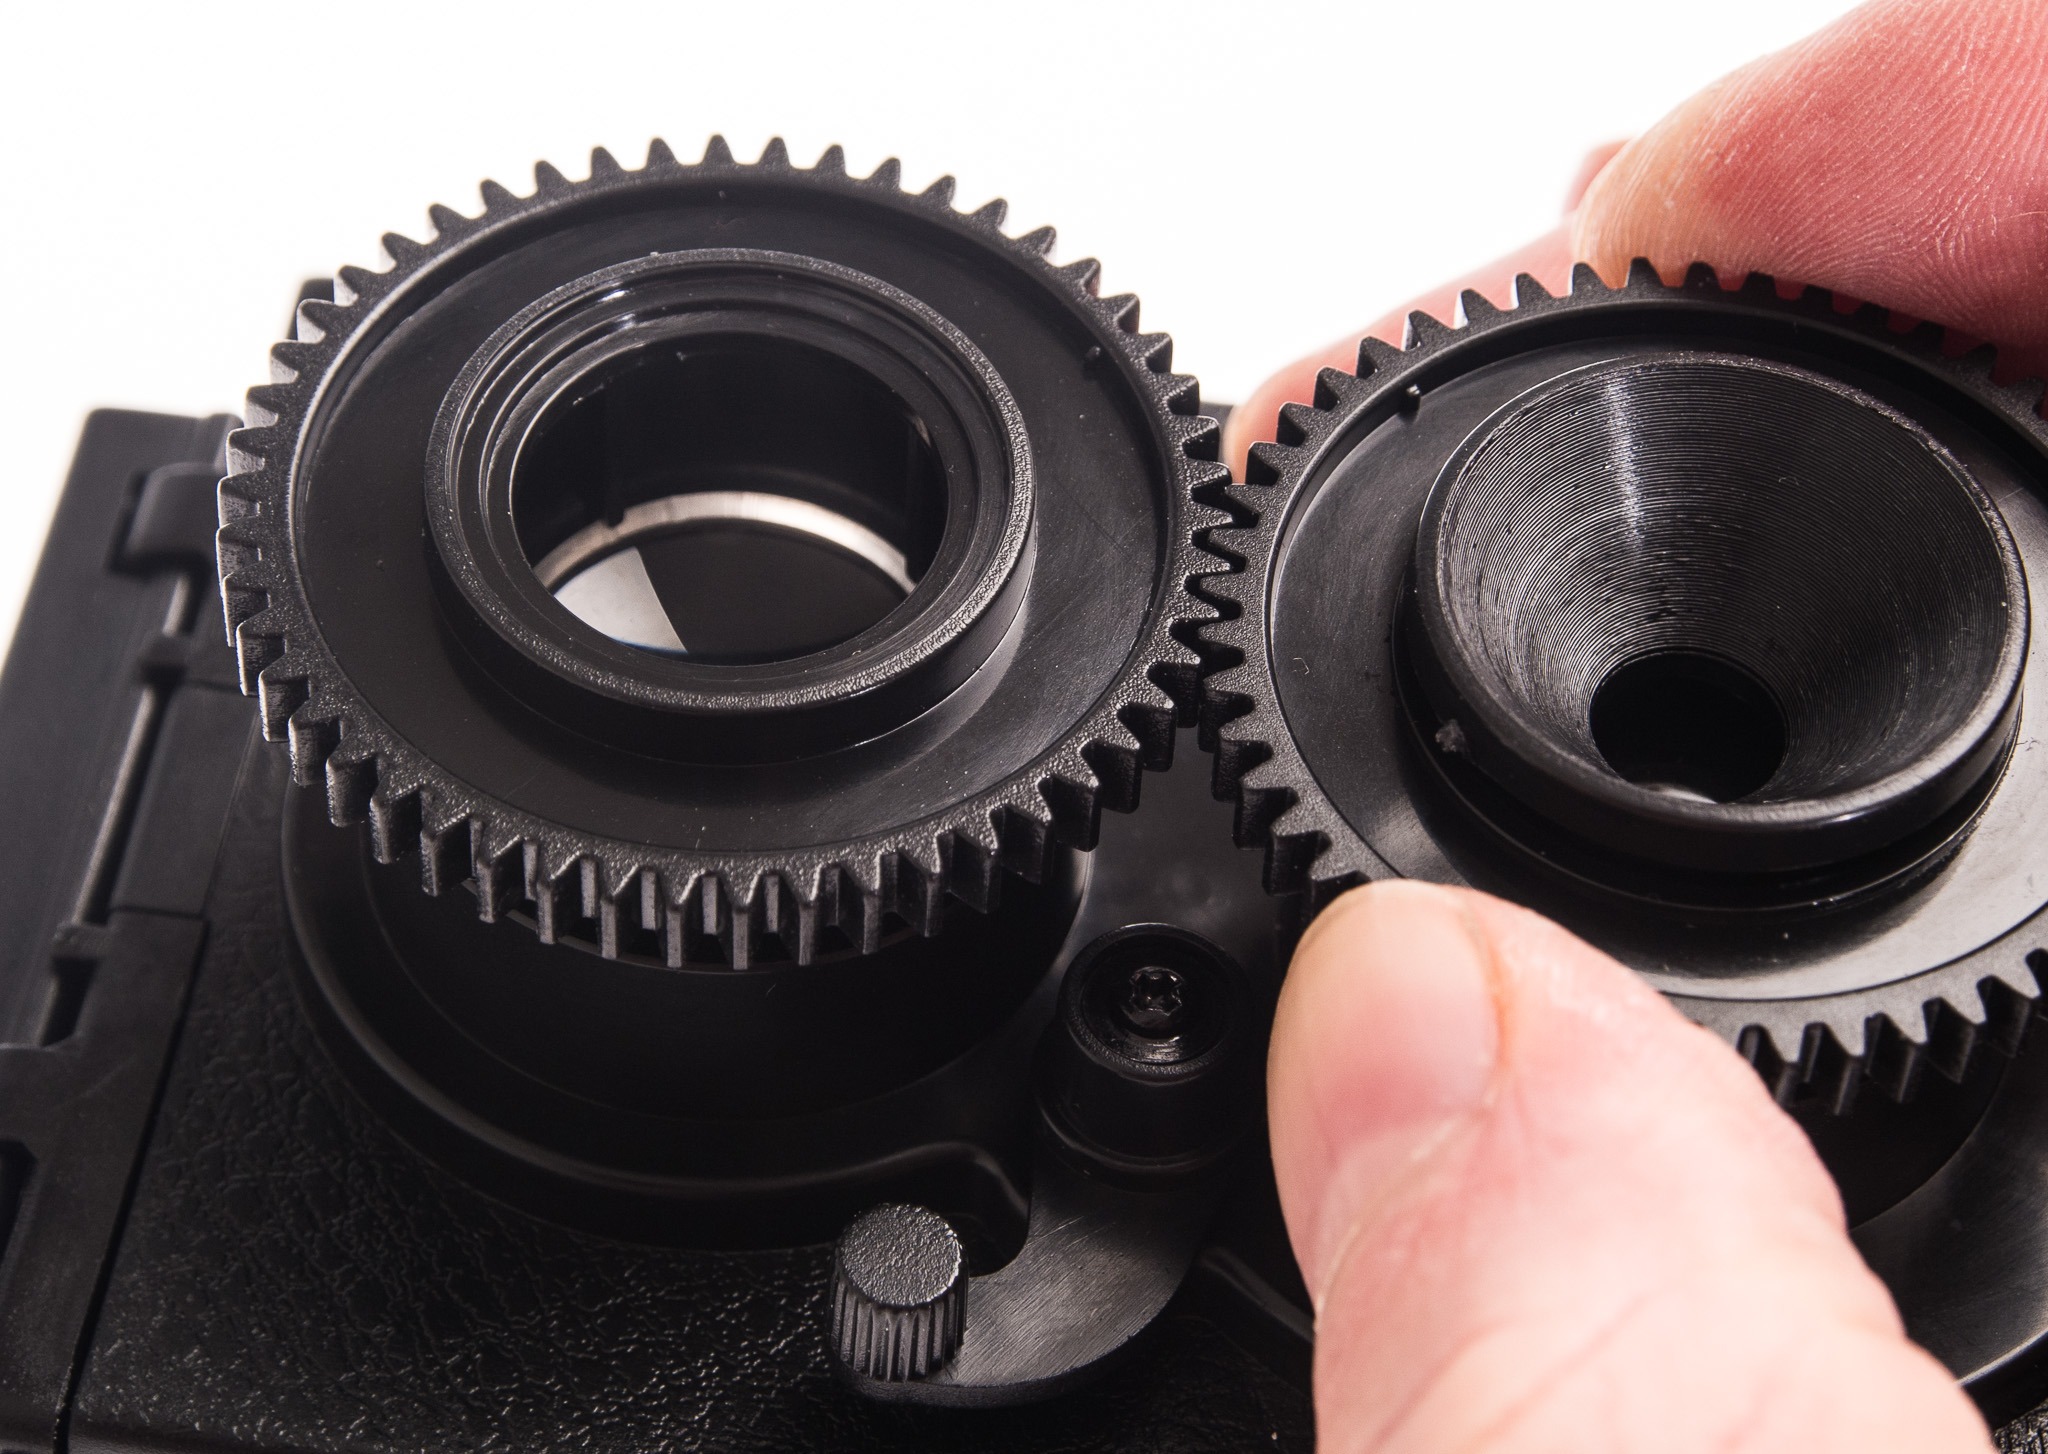
Here’s a rundown of the assembly. Below there is also a video that shows how the shutter mechanism works. As you can see, the shutter is far from a tight fit – I’d recommend keeping the camera in a dark bag (as no lens cap is provided) when not in use if it’s loaded with film.
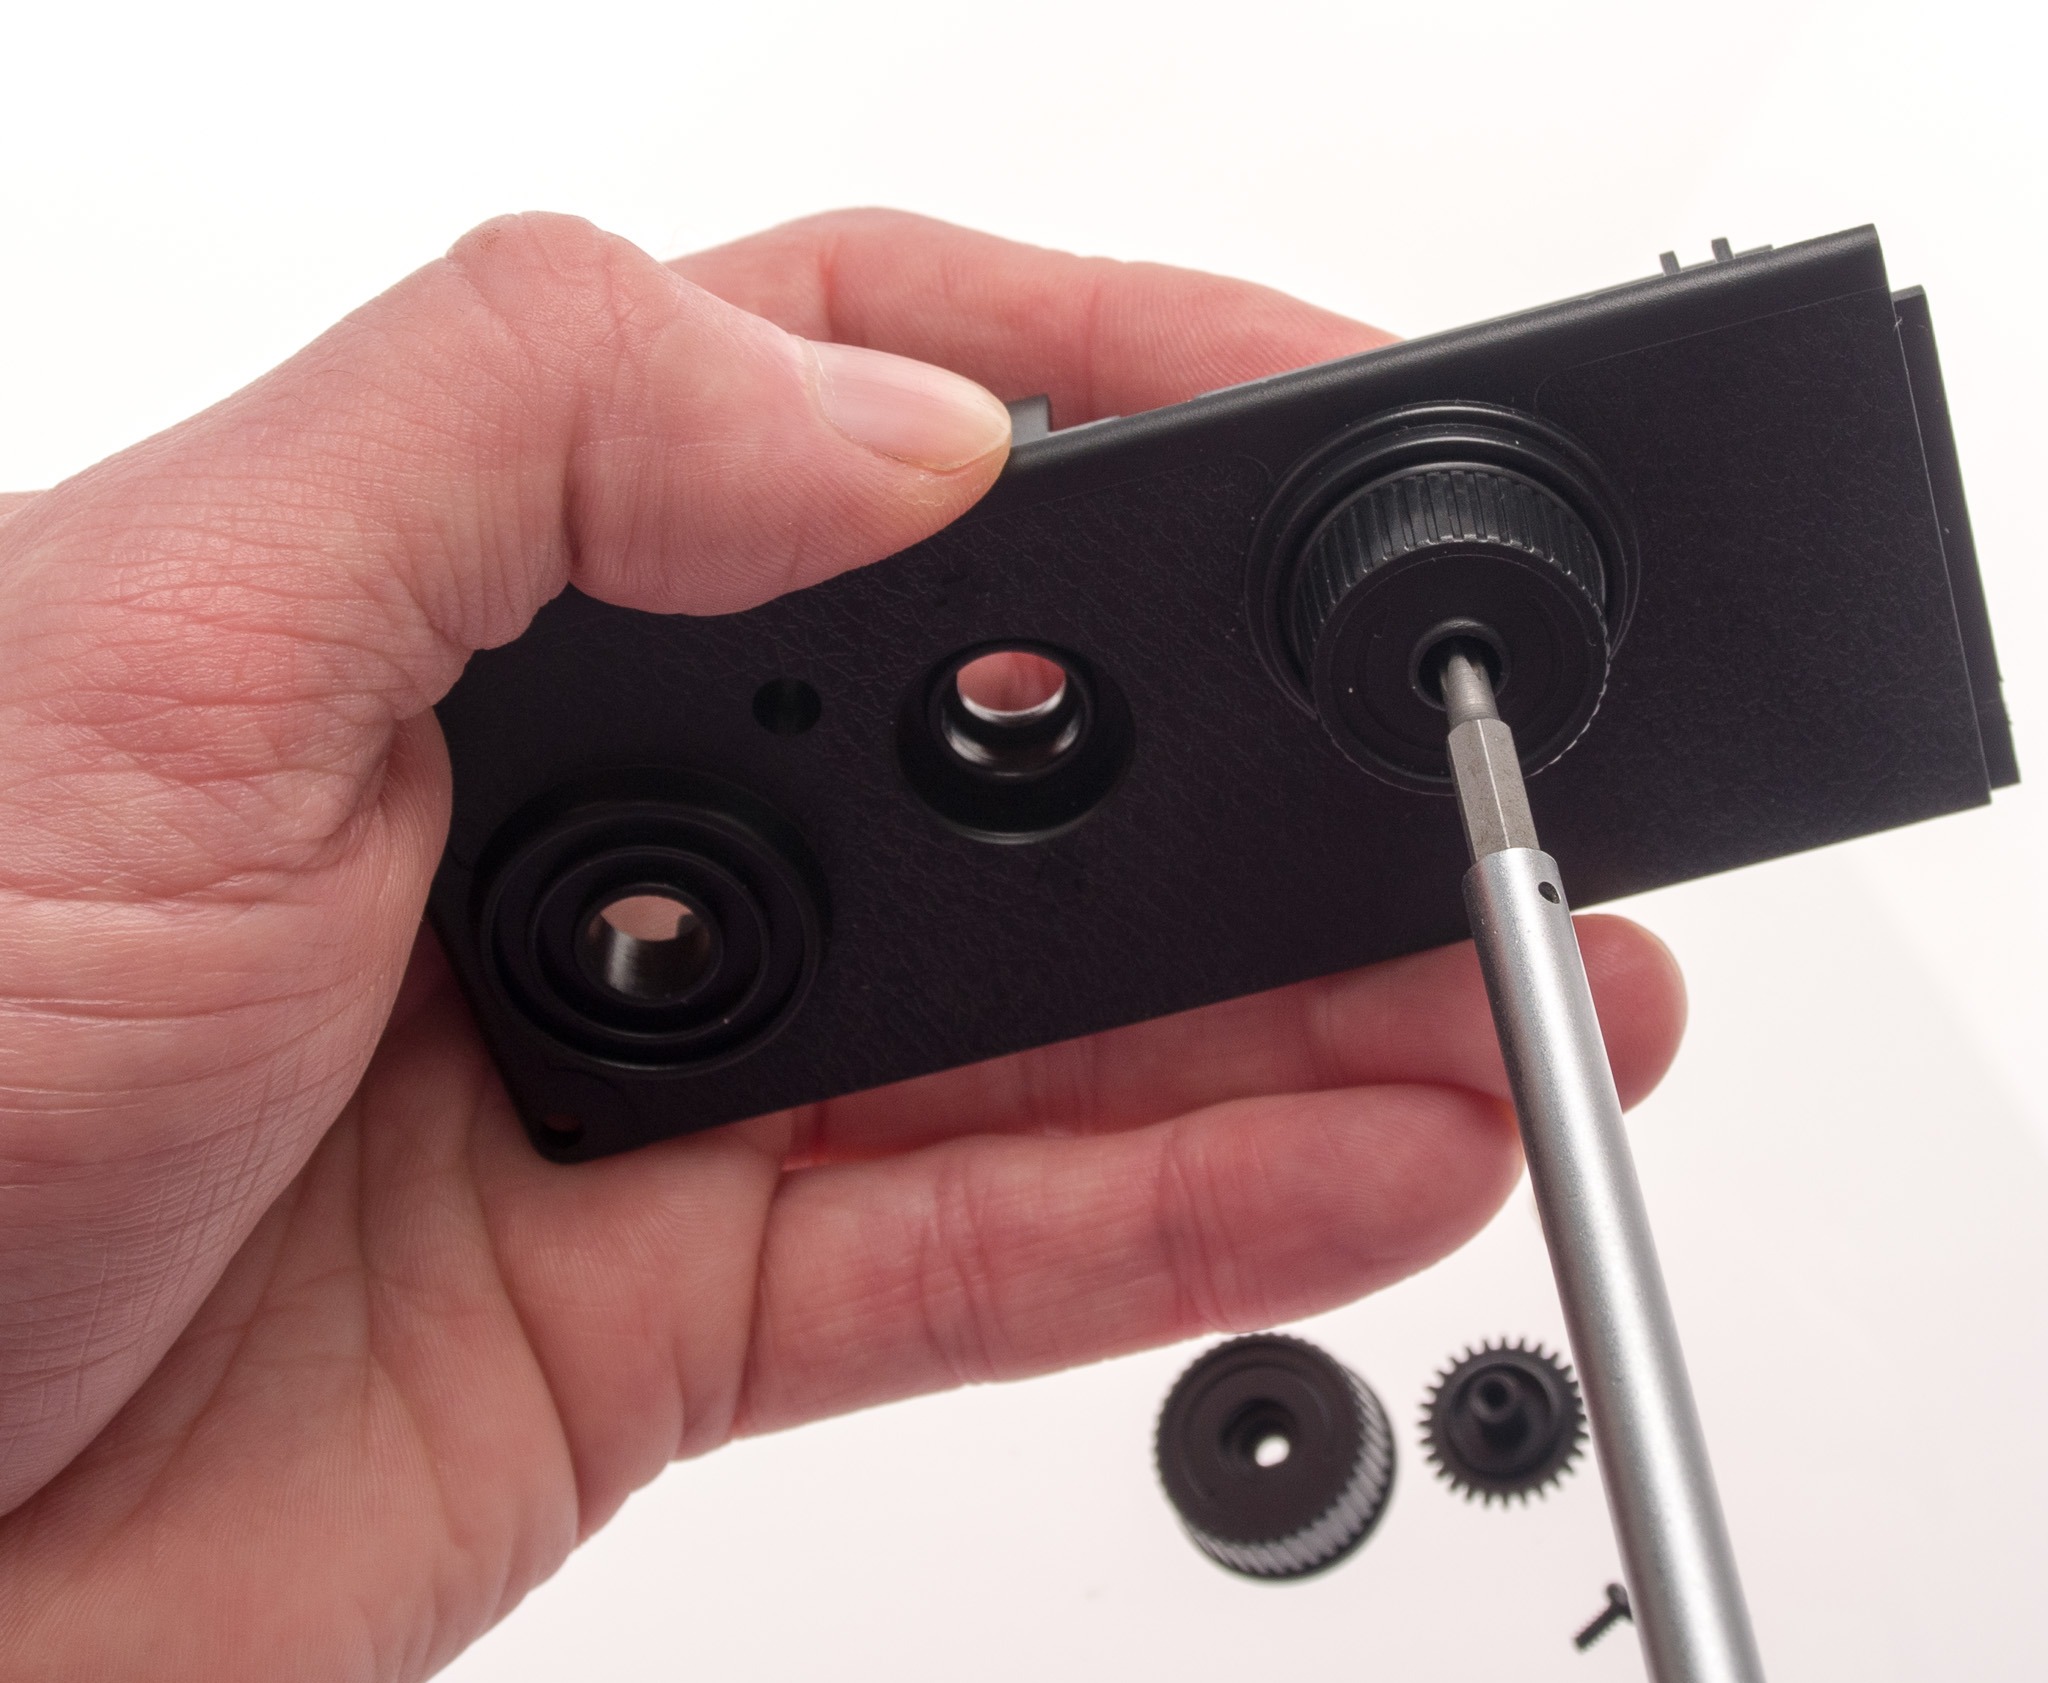
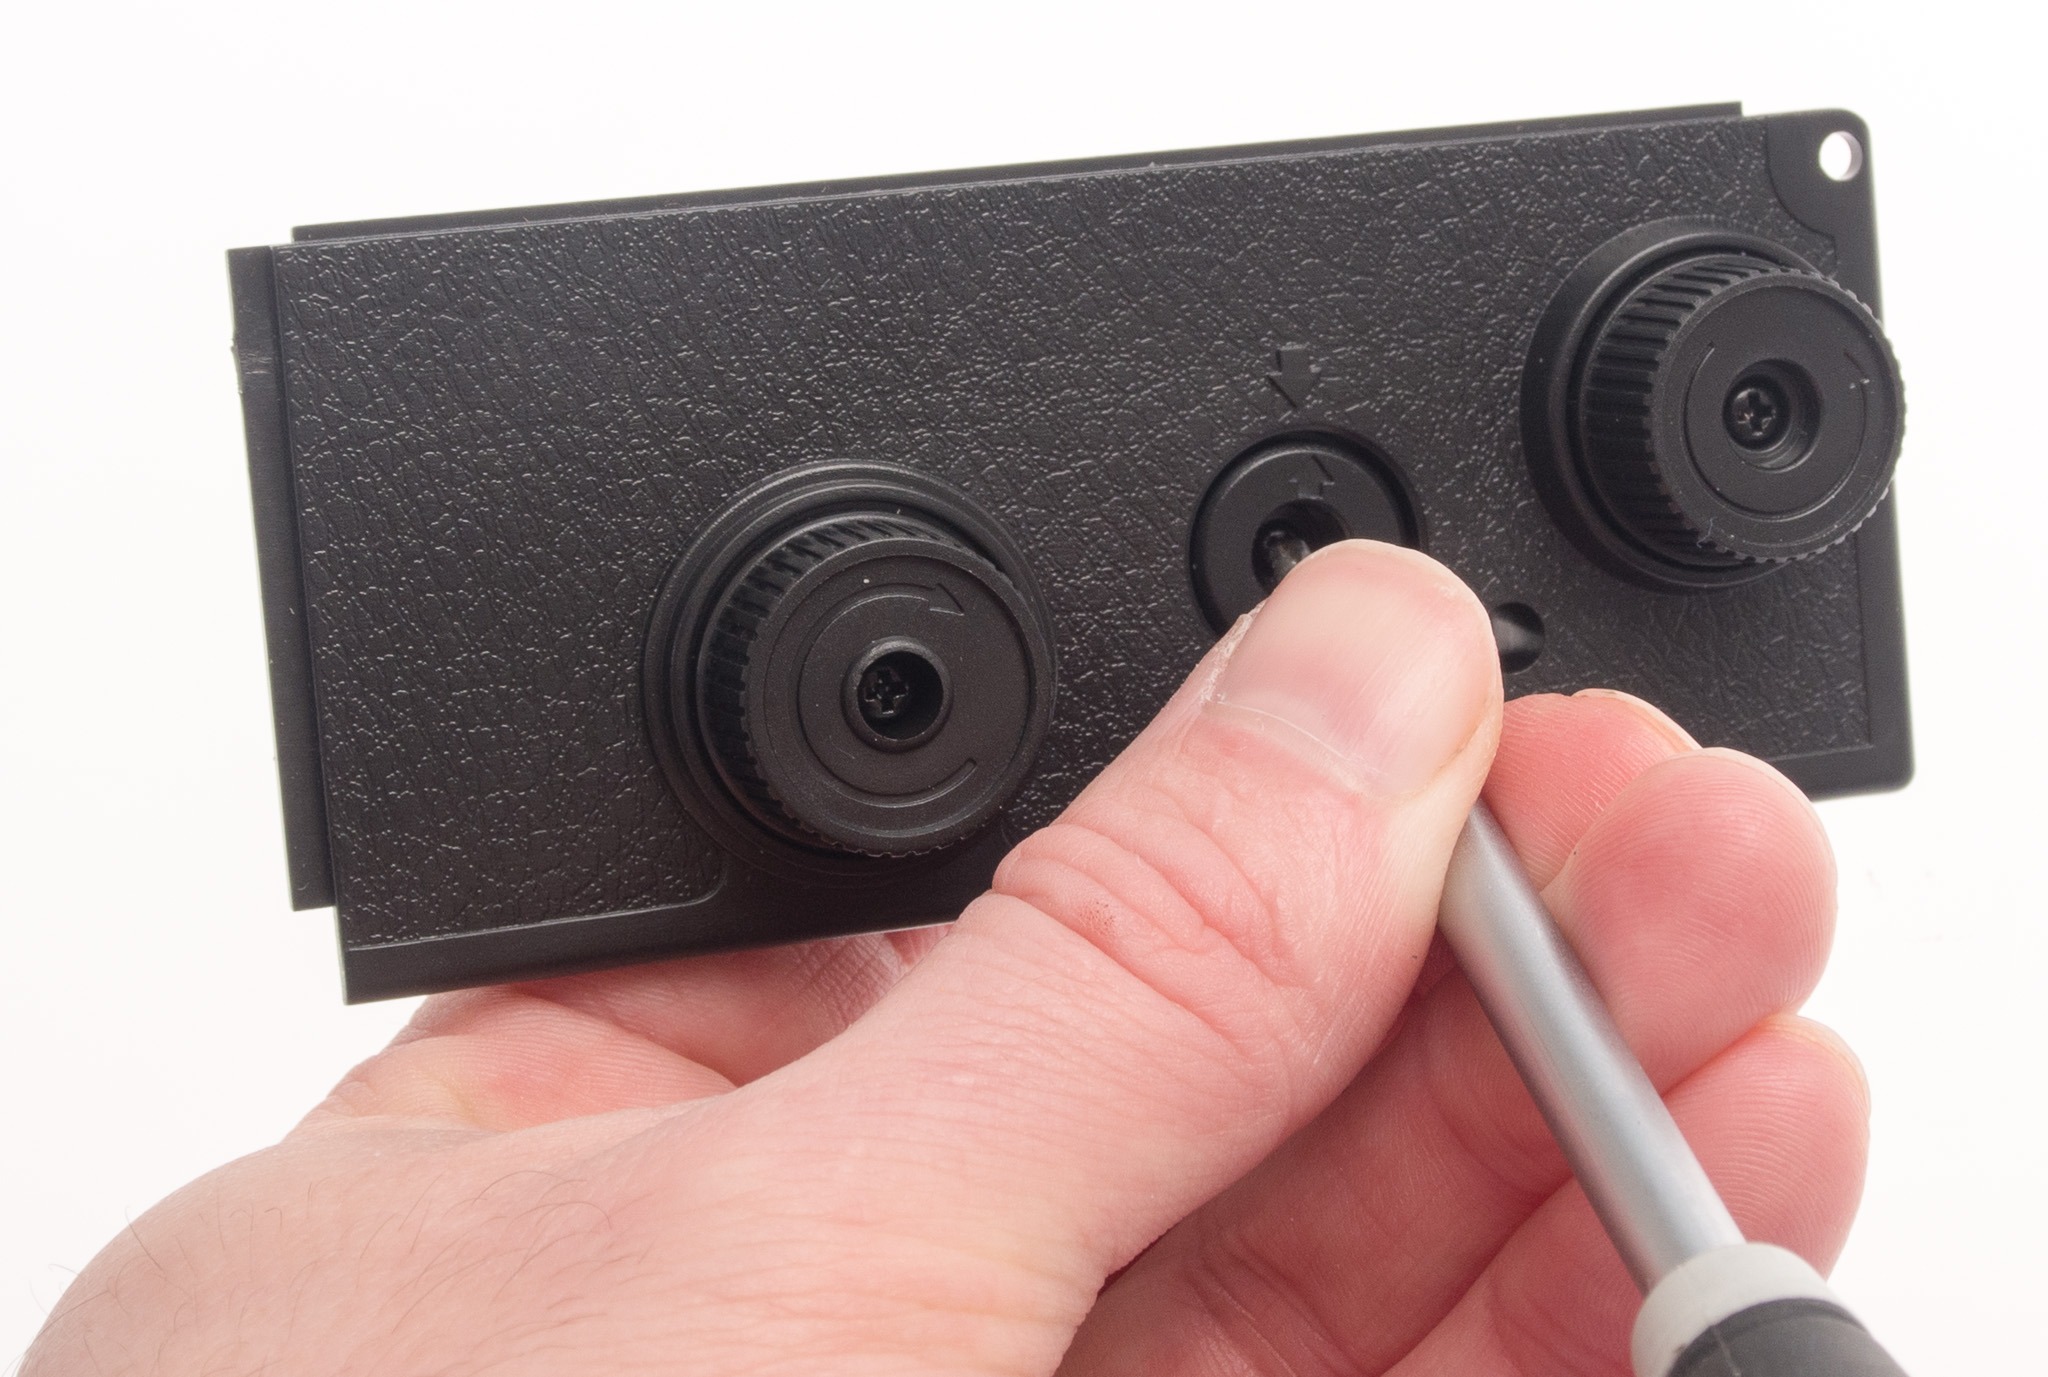
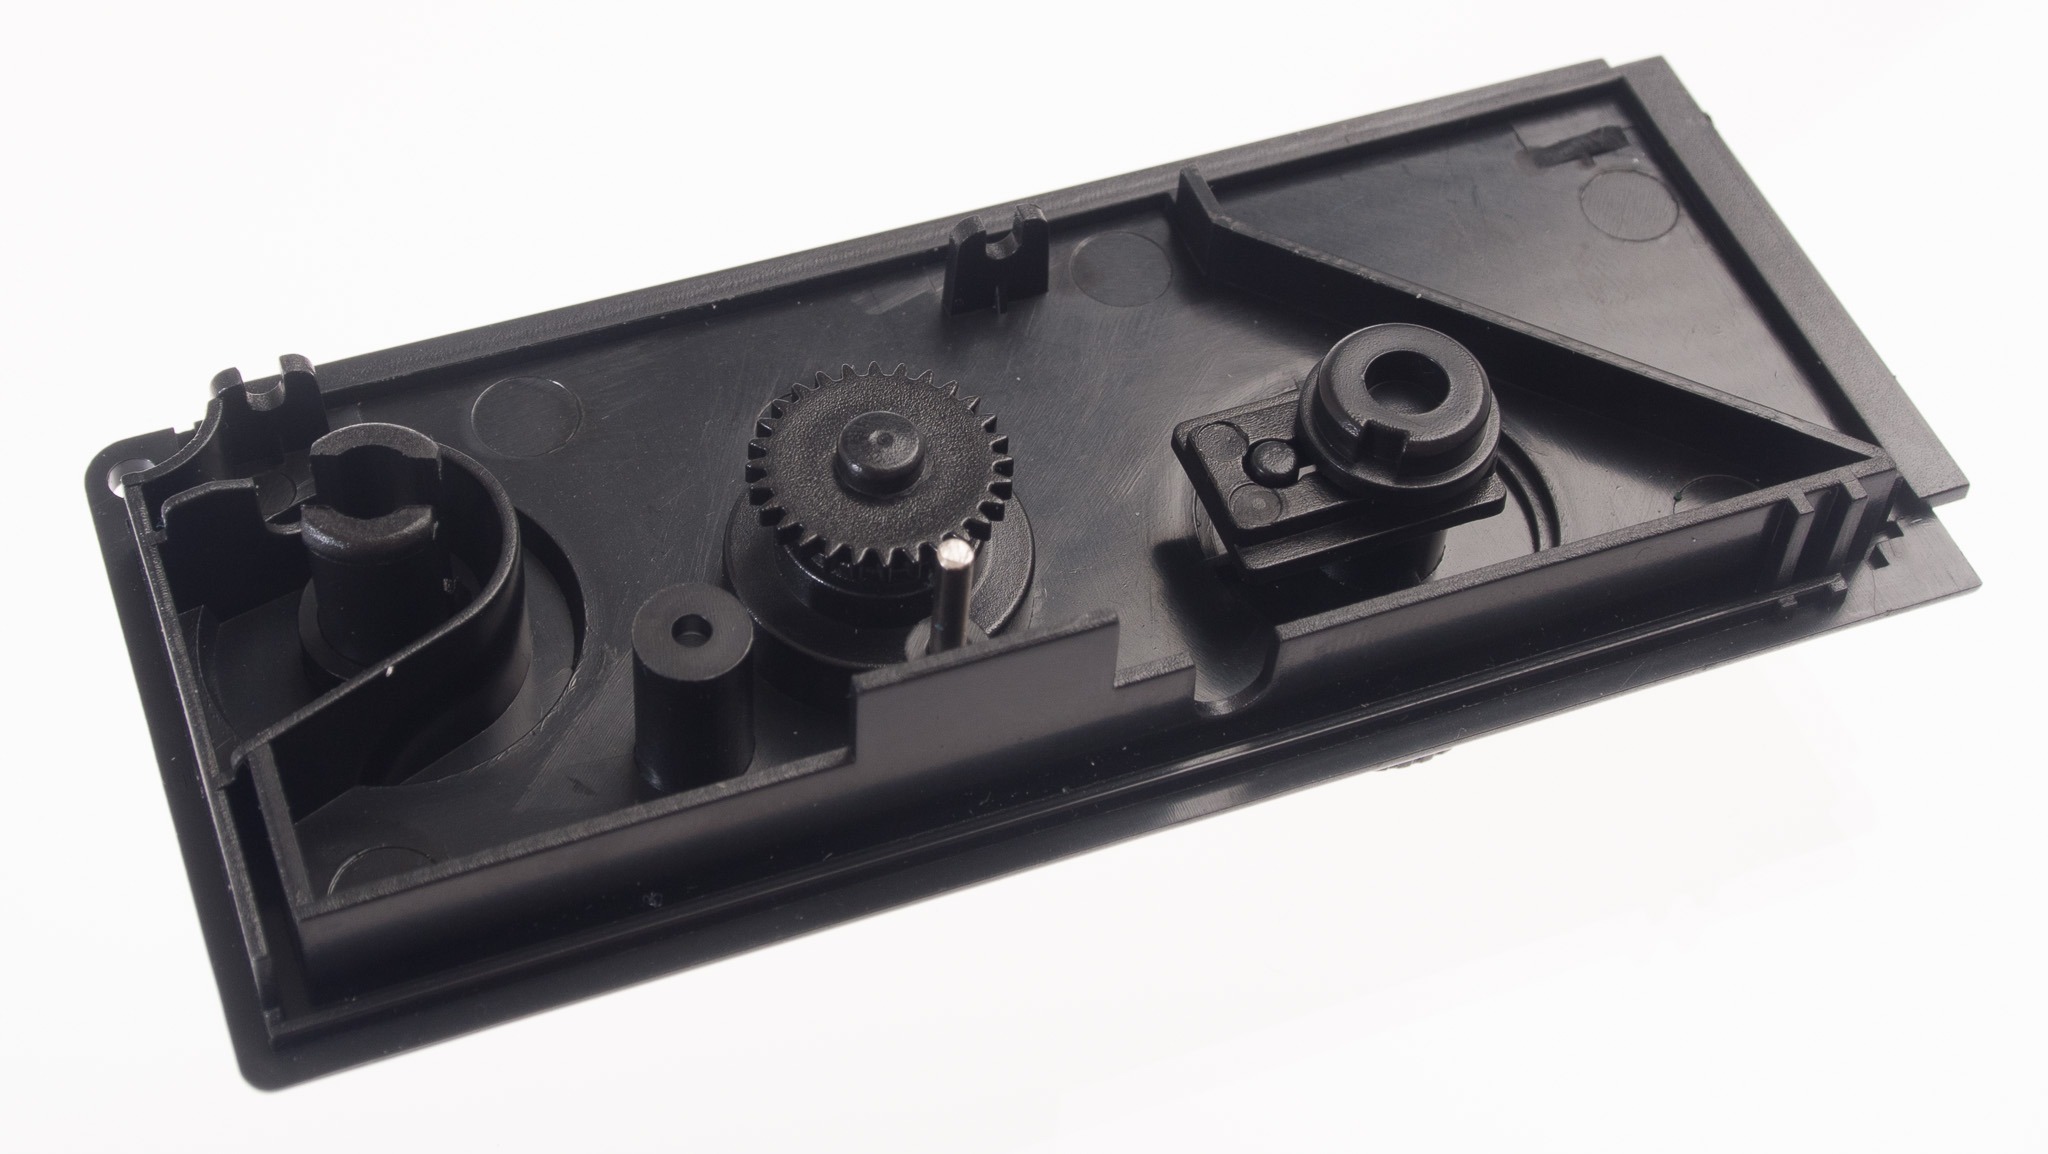
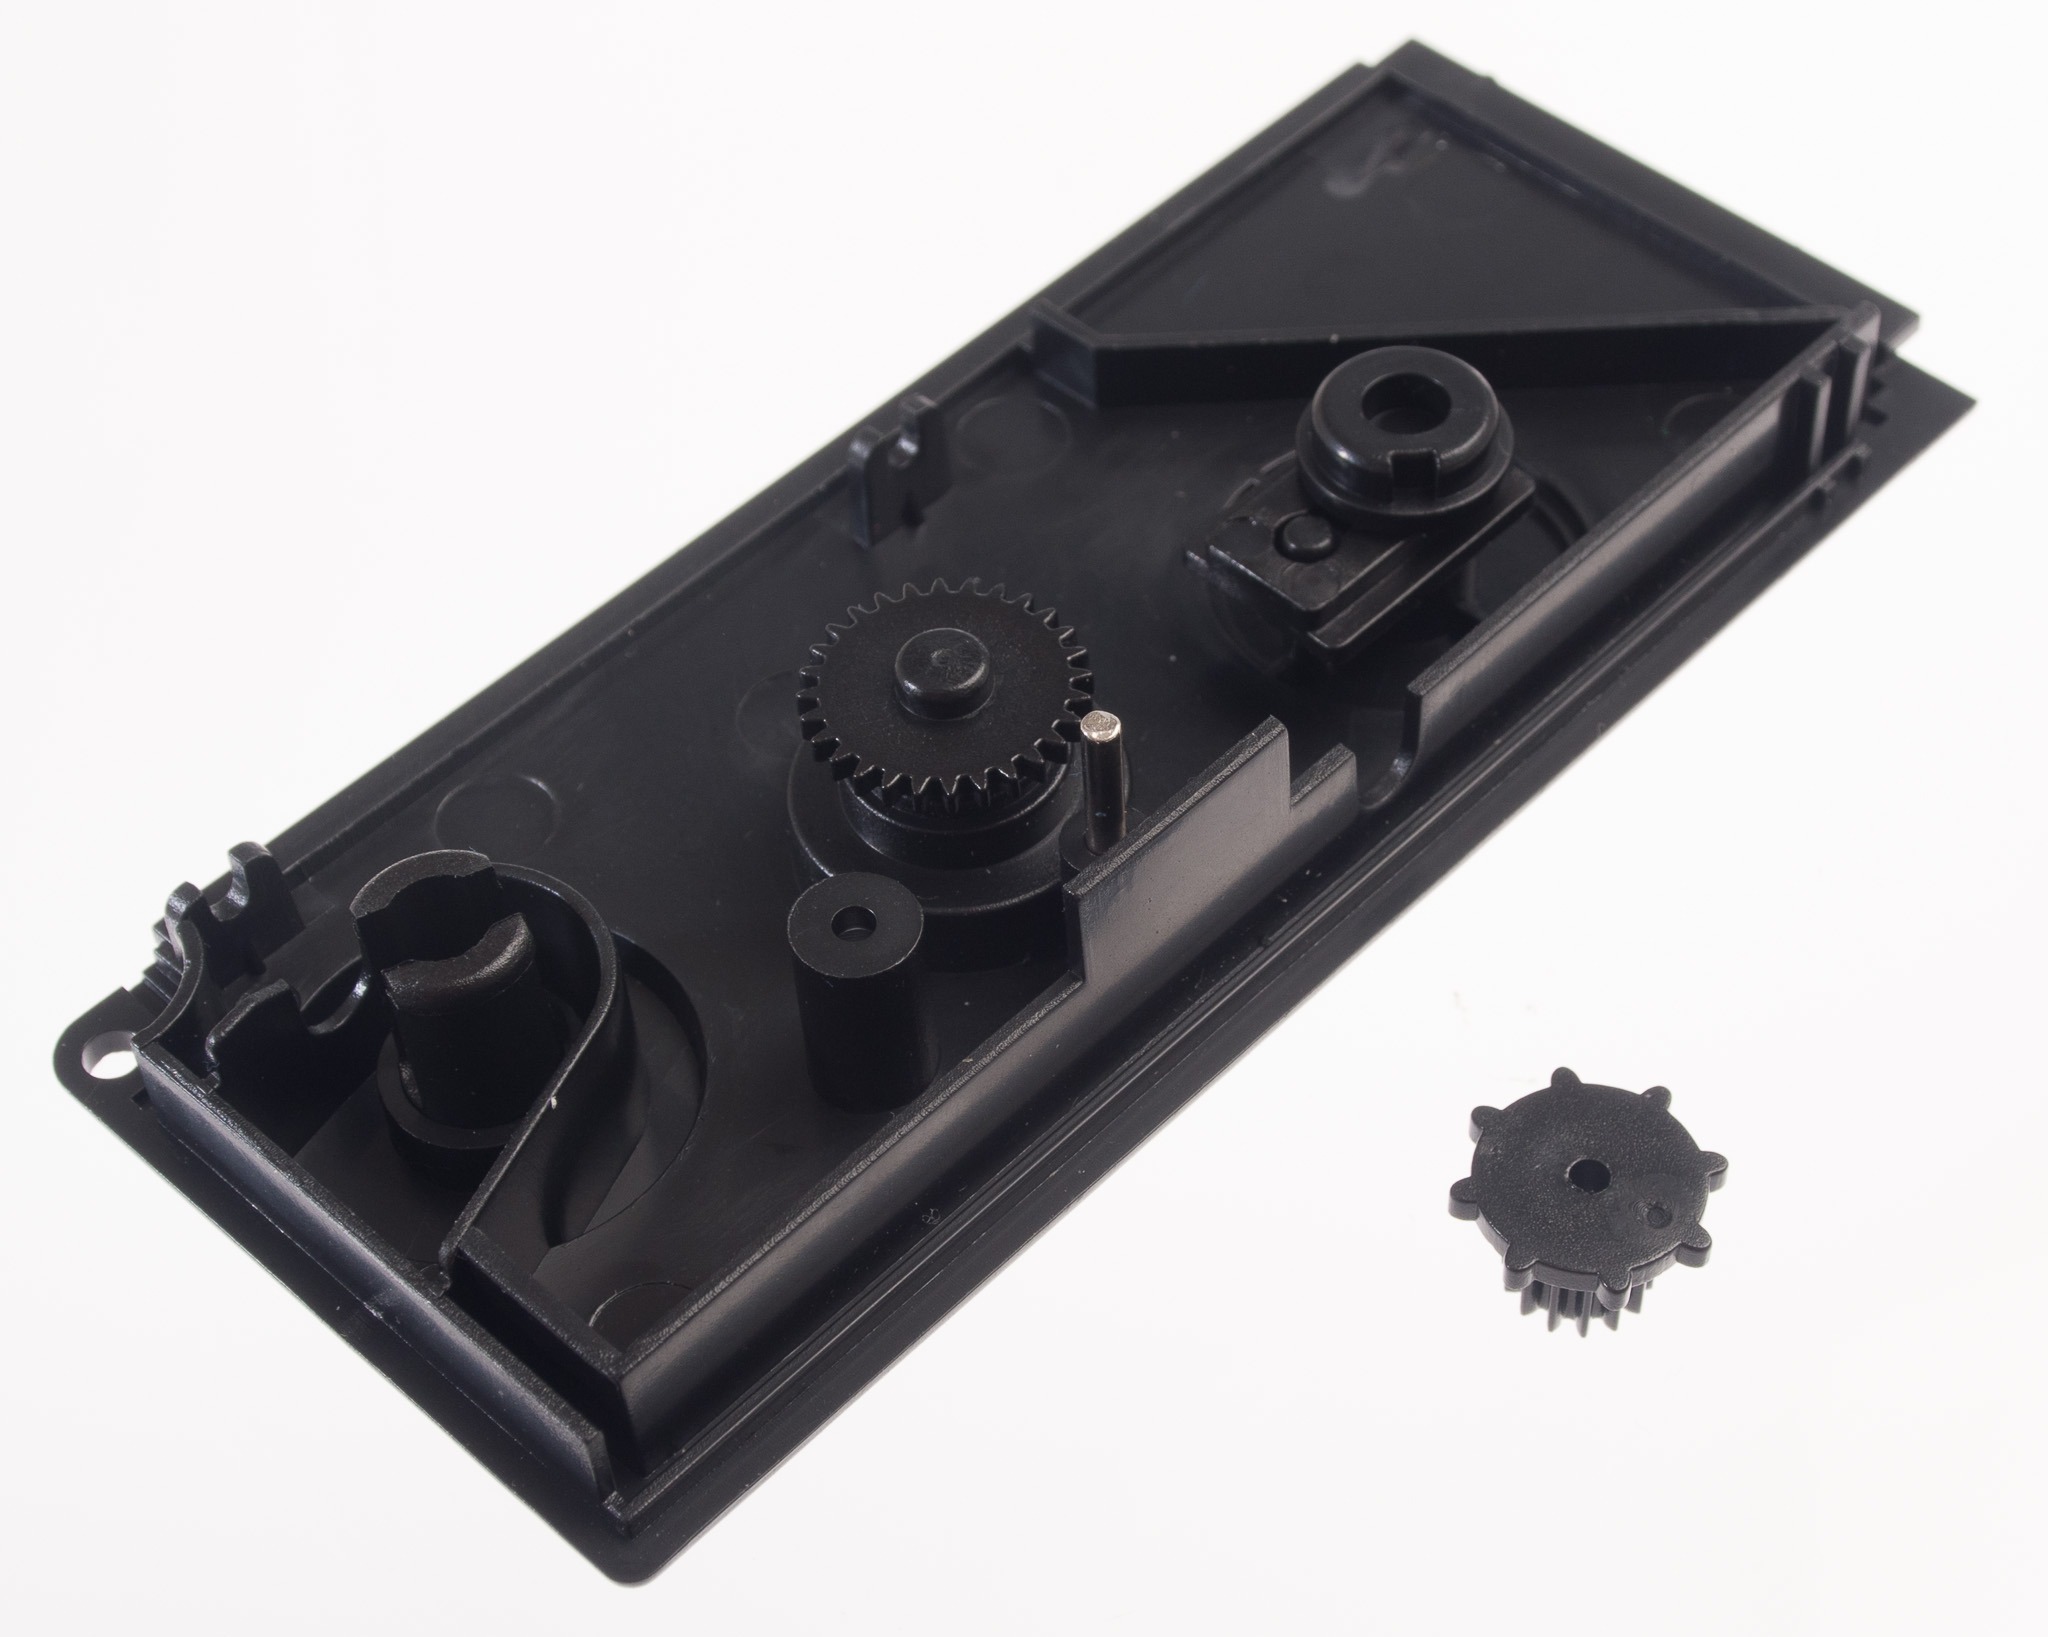
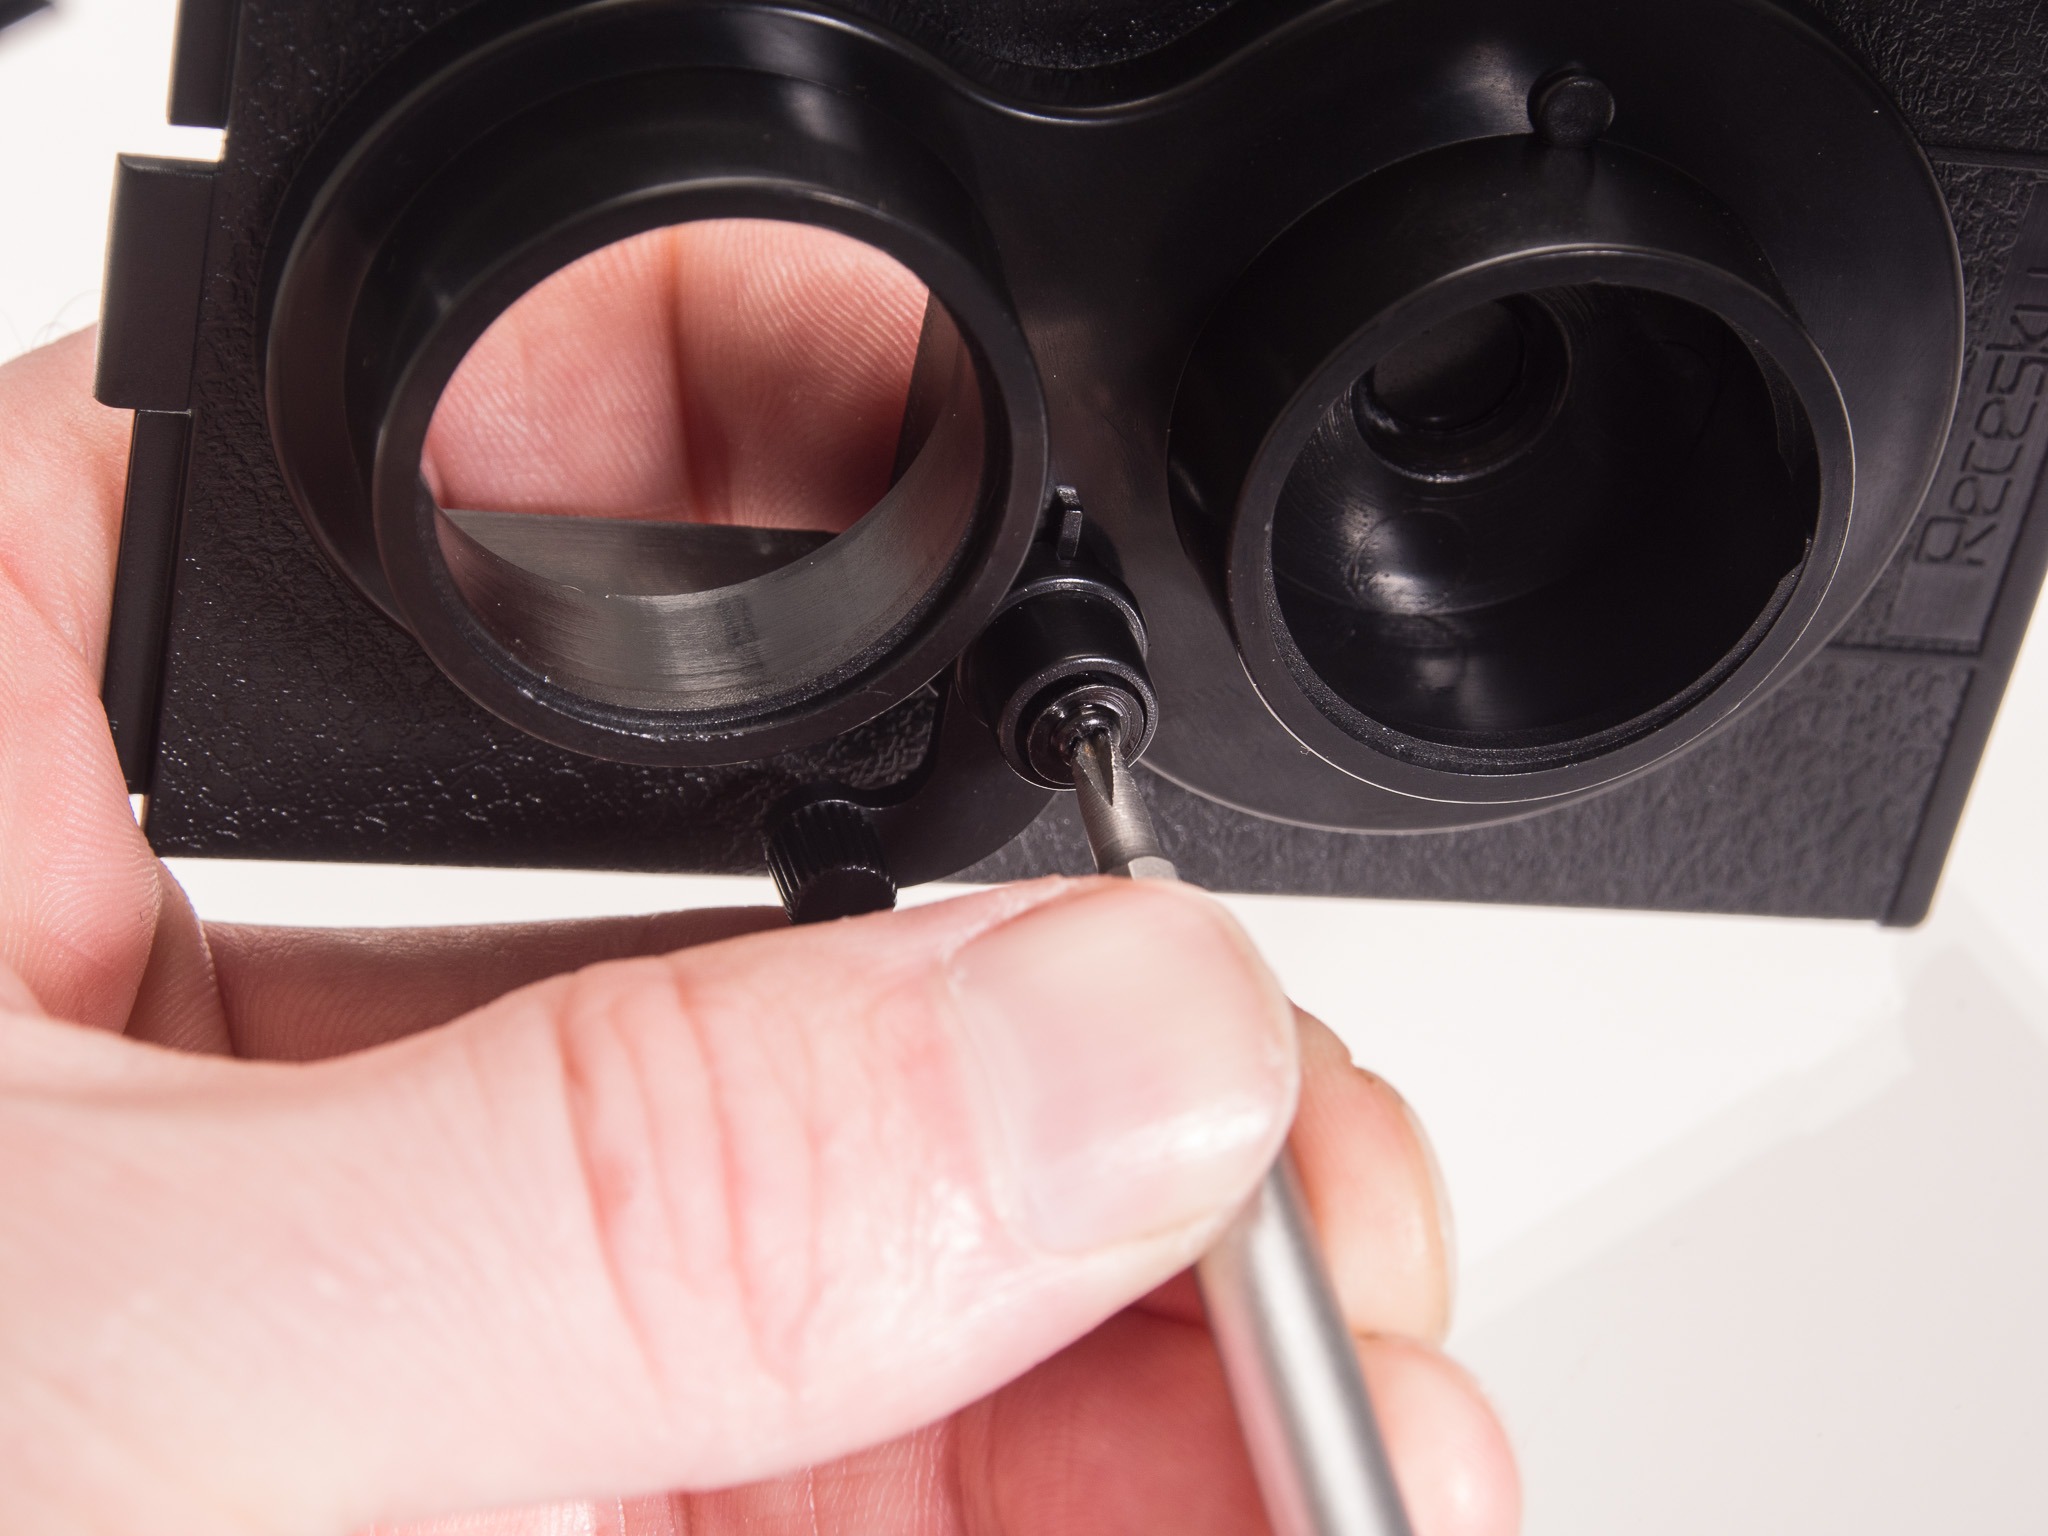
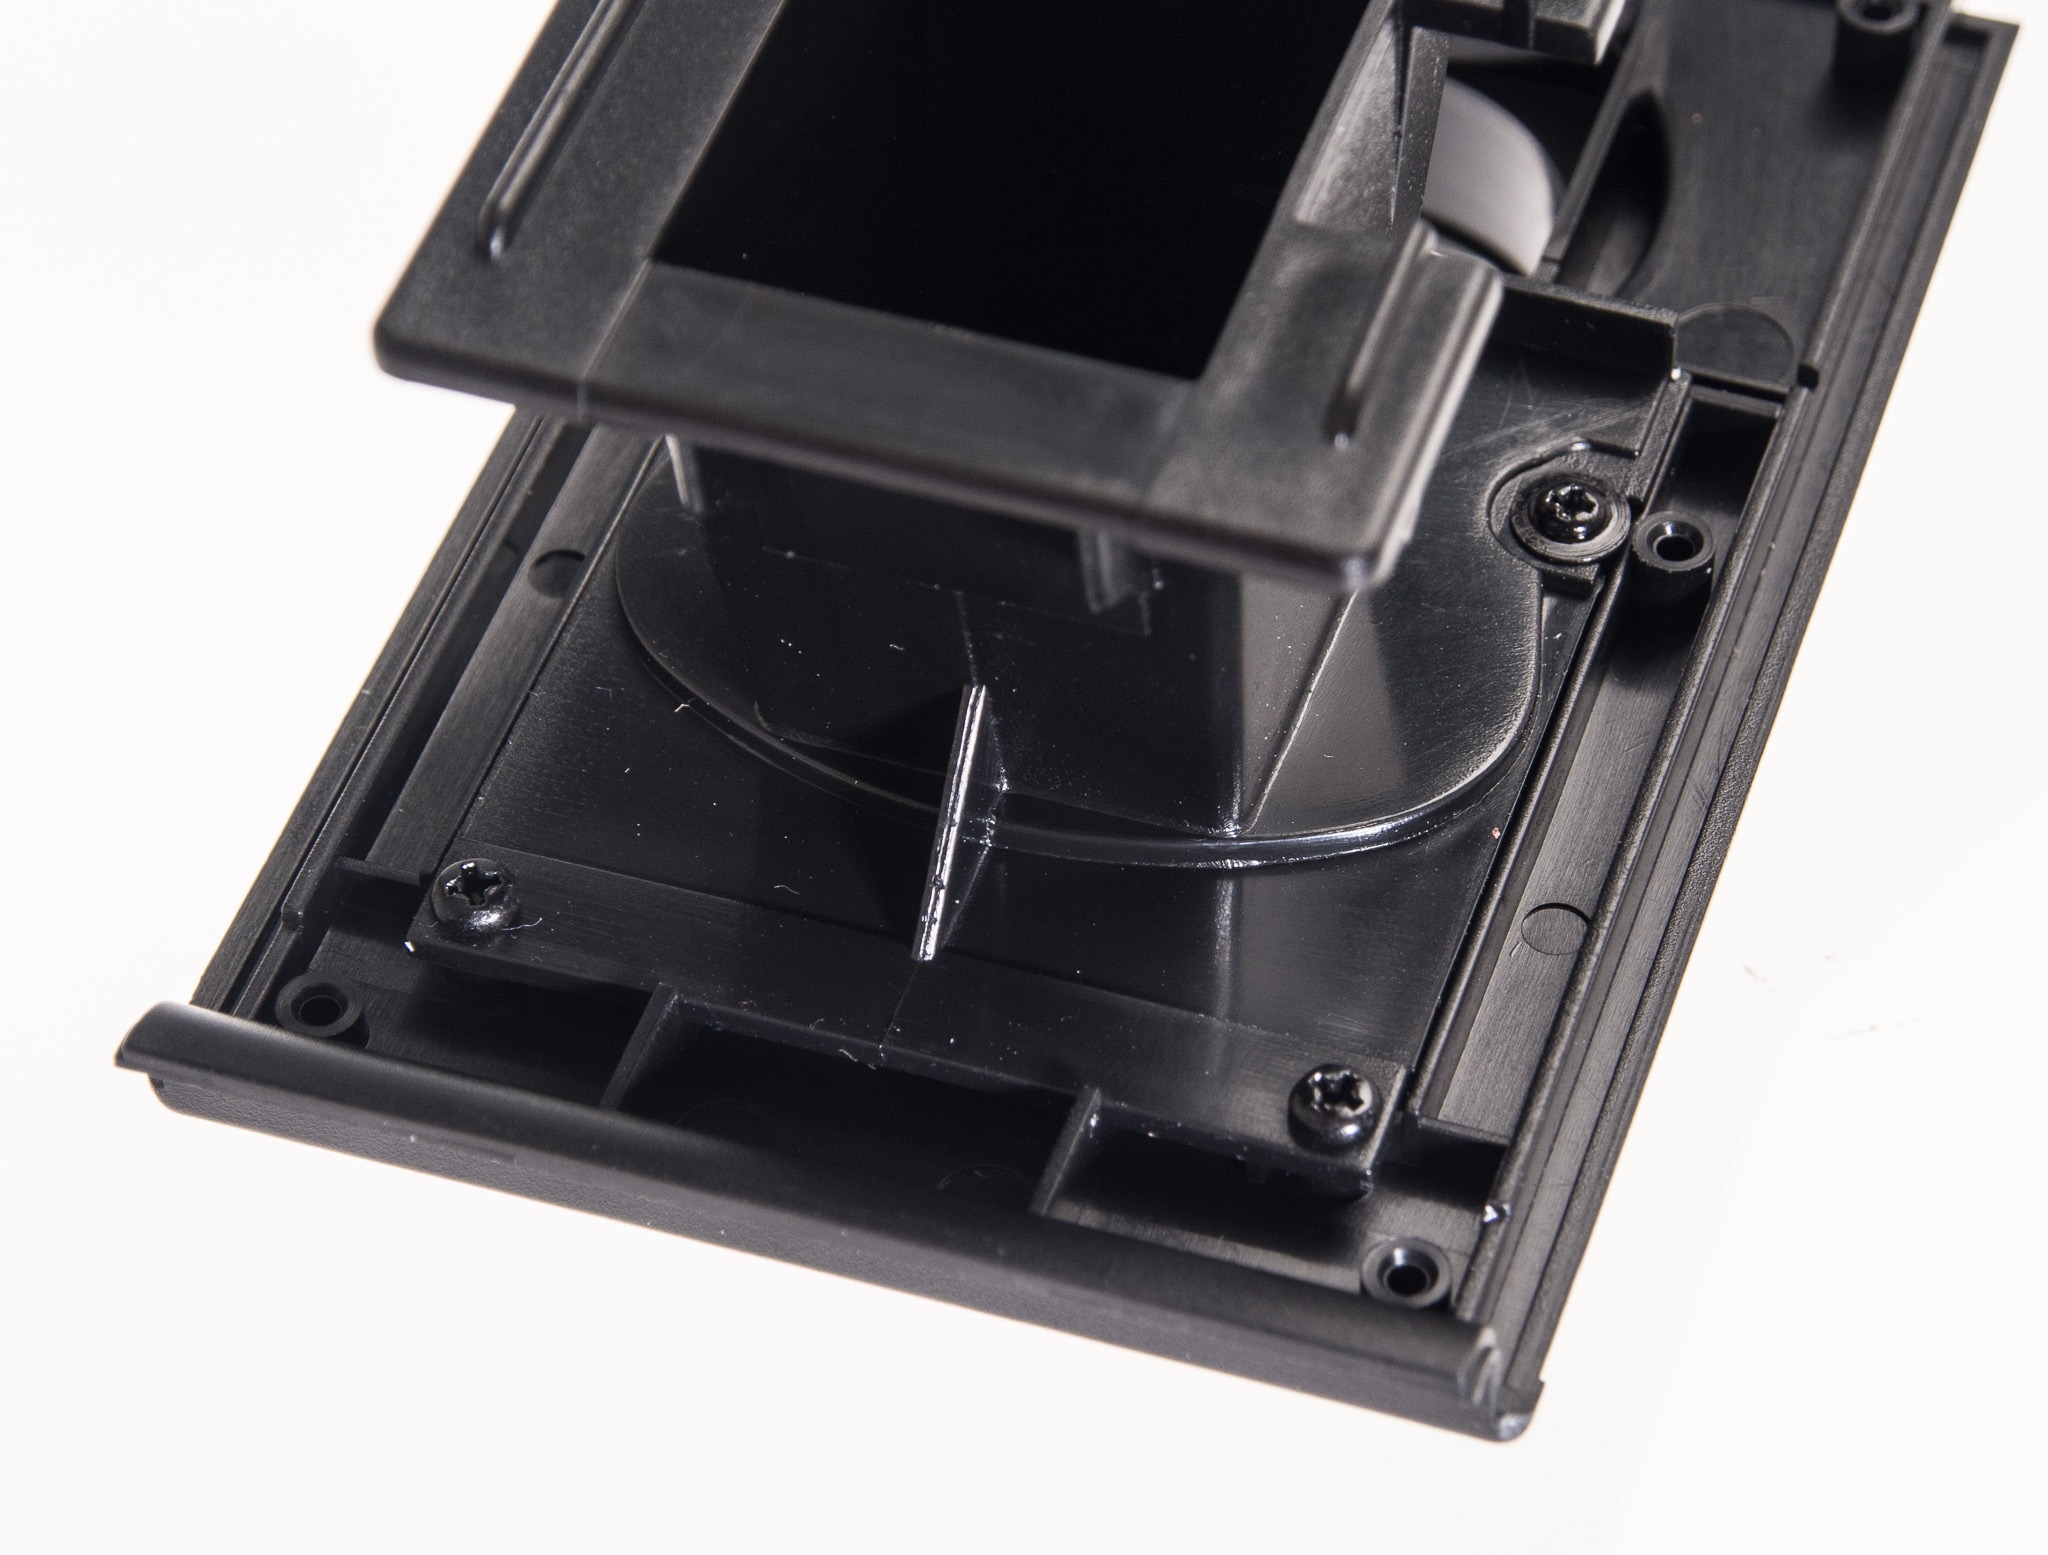
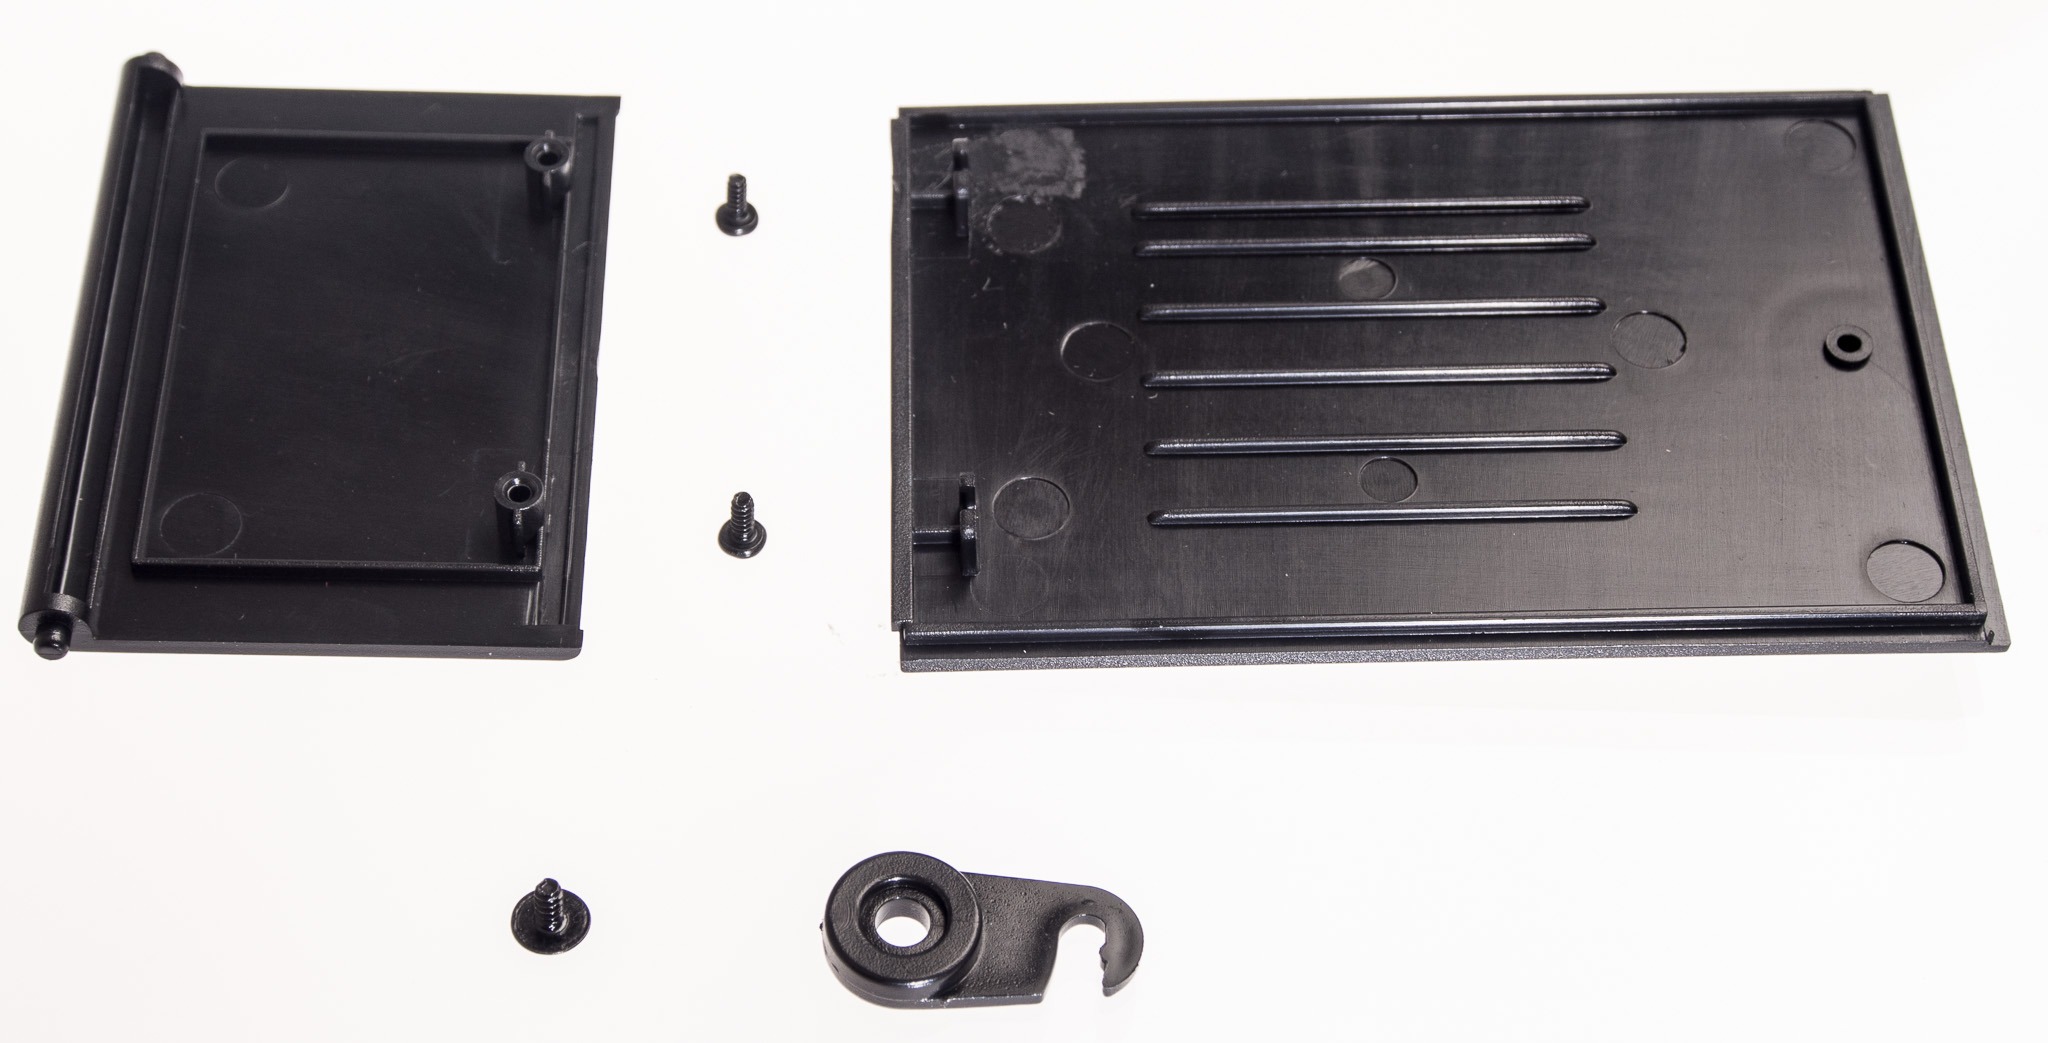
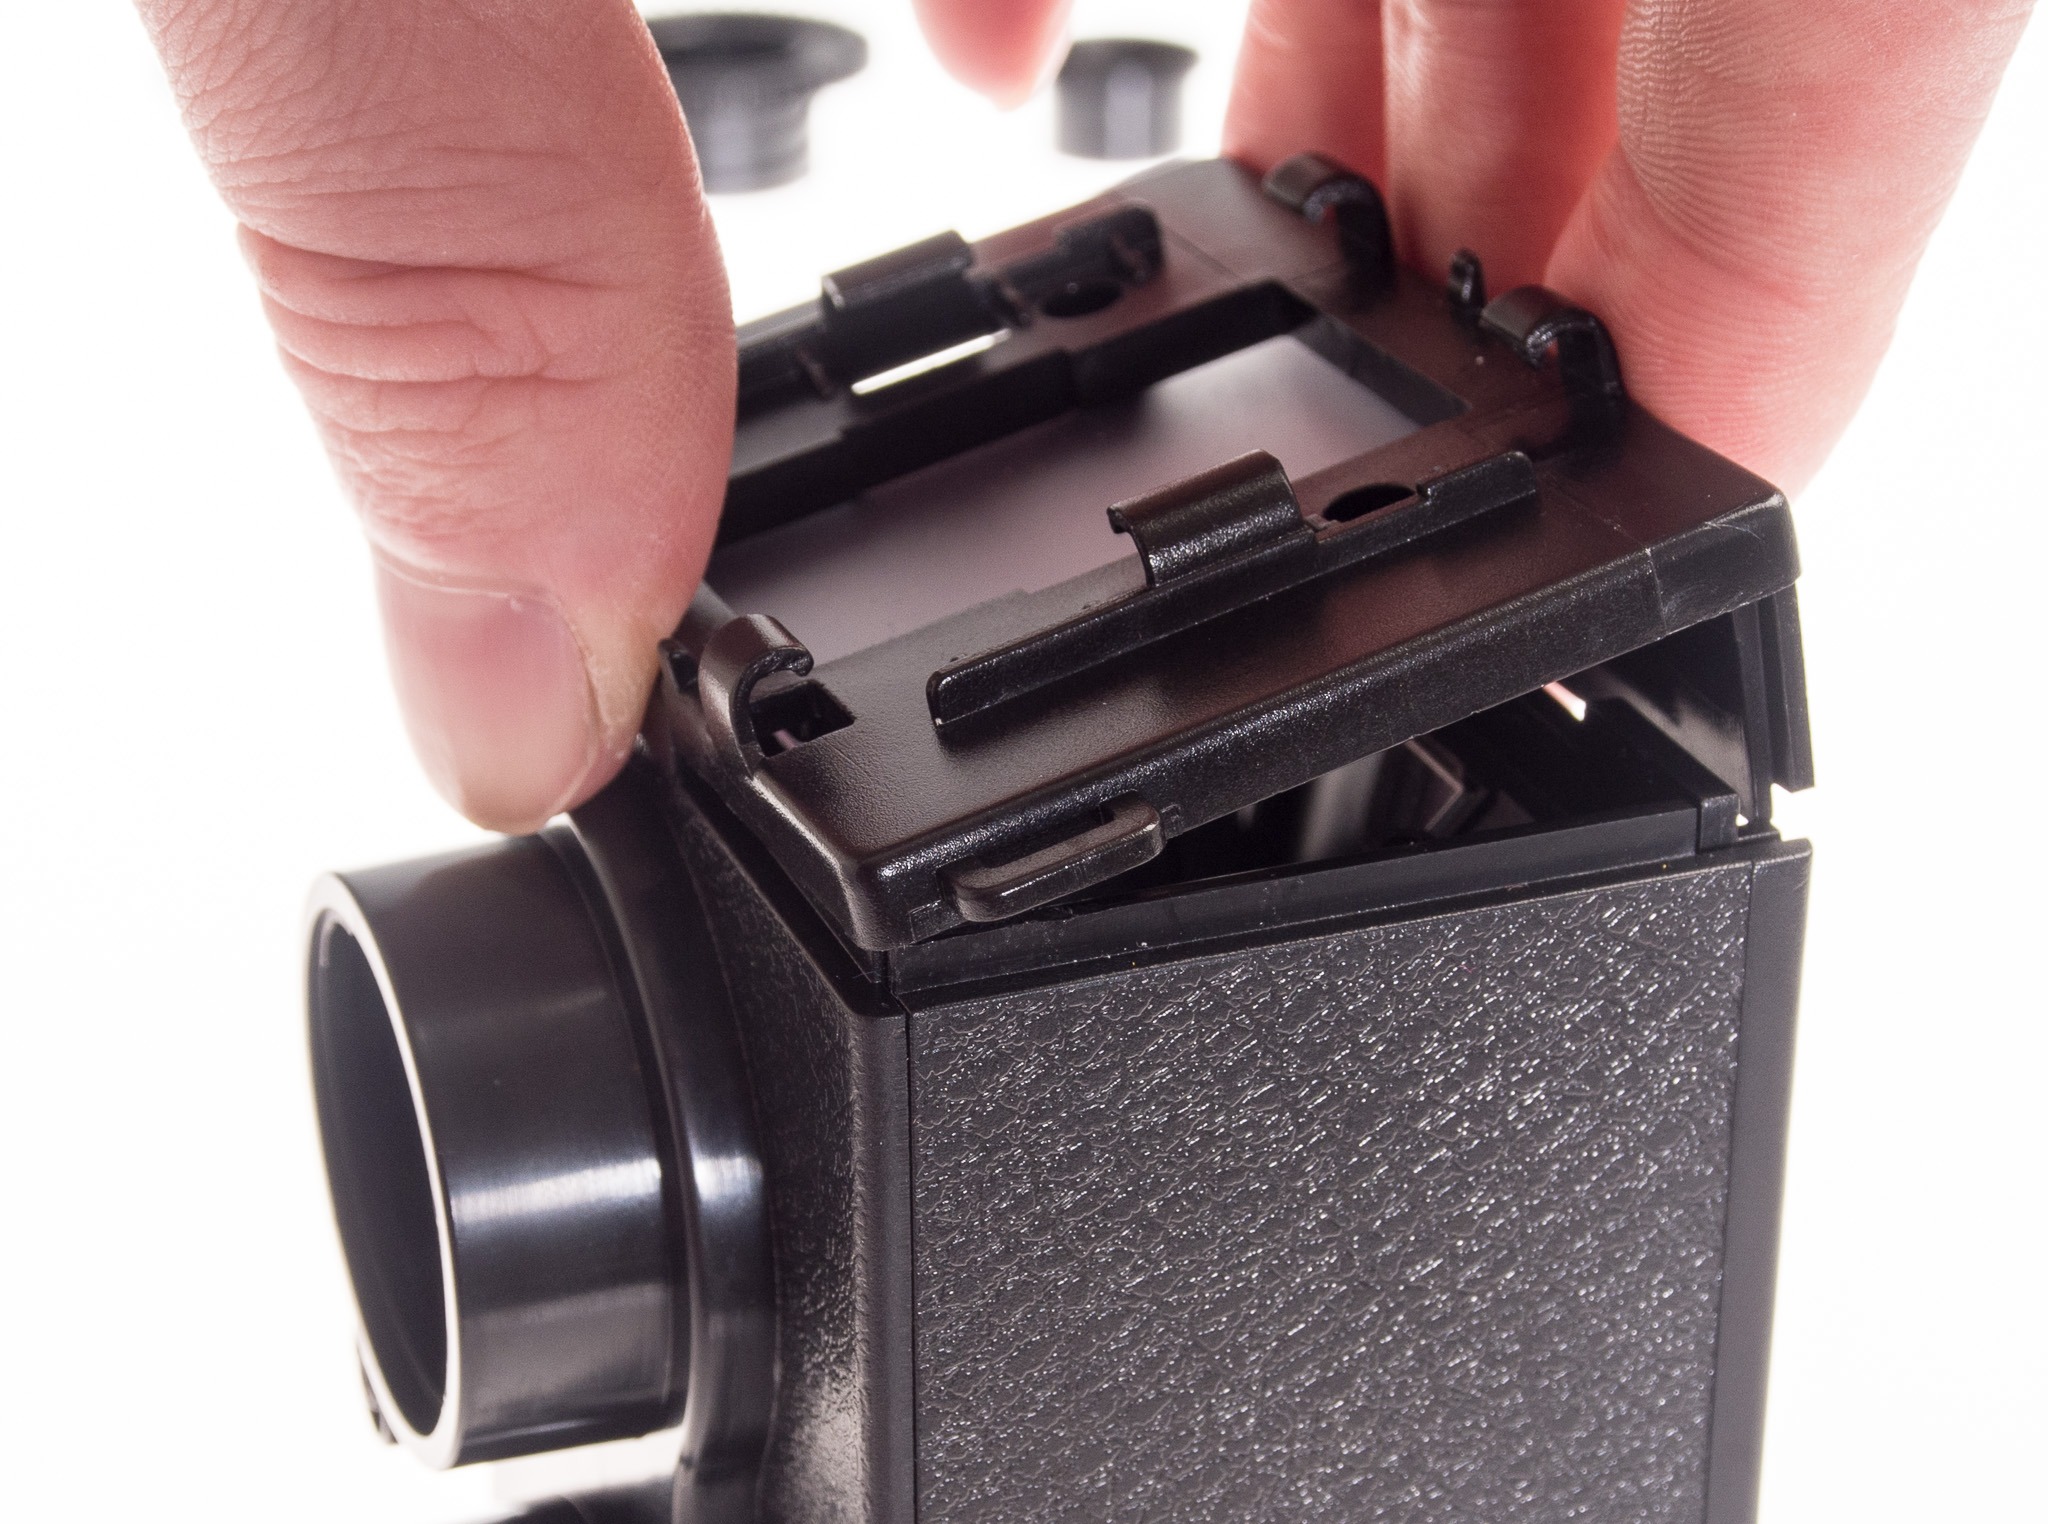
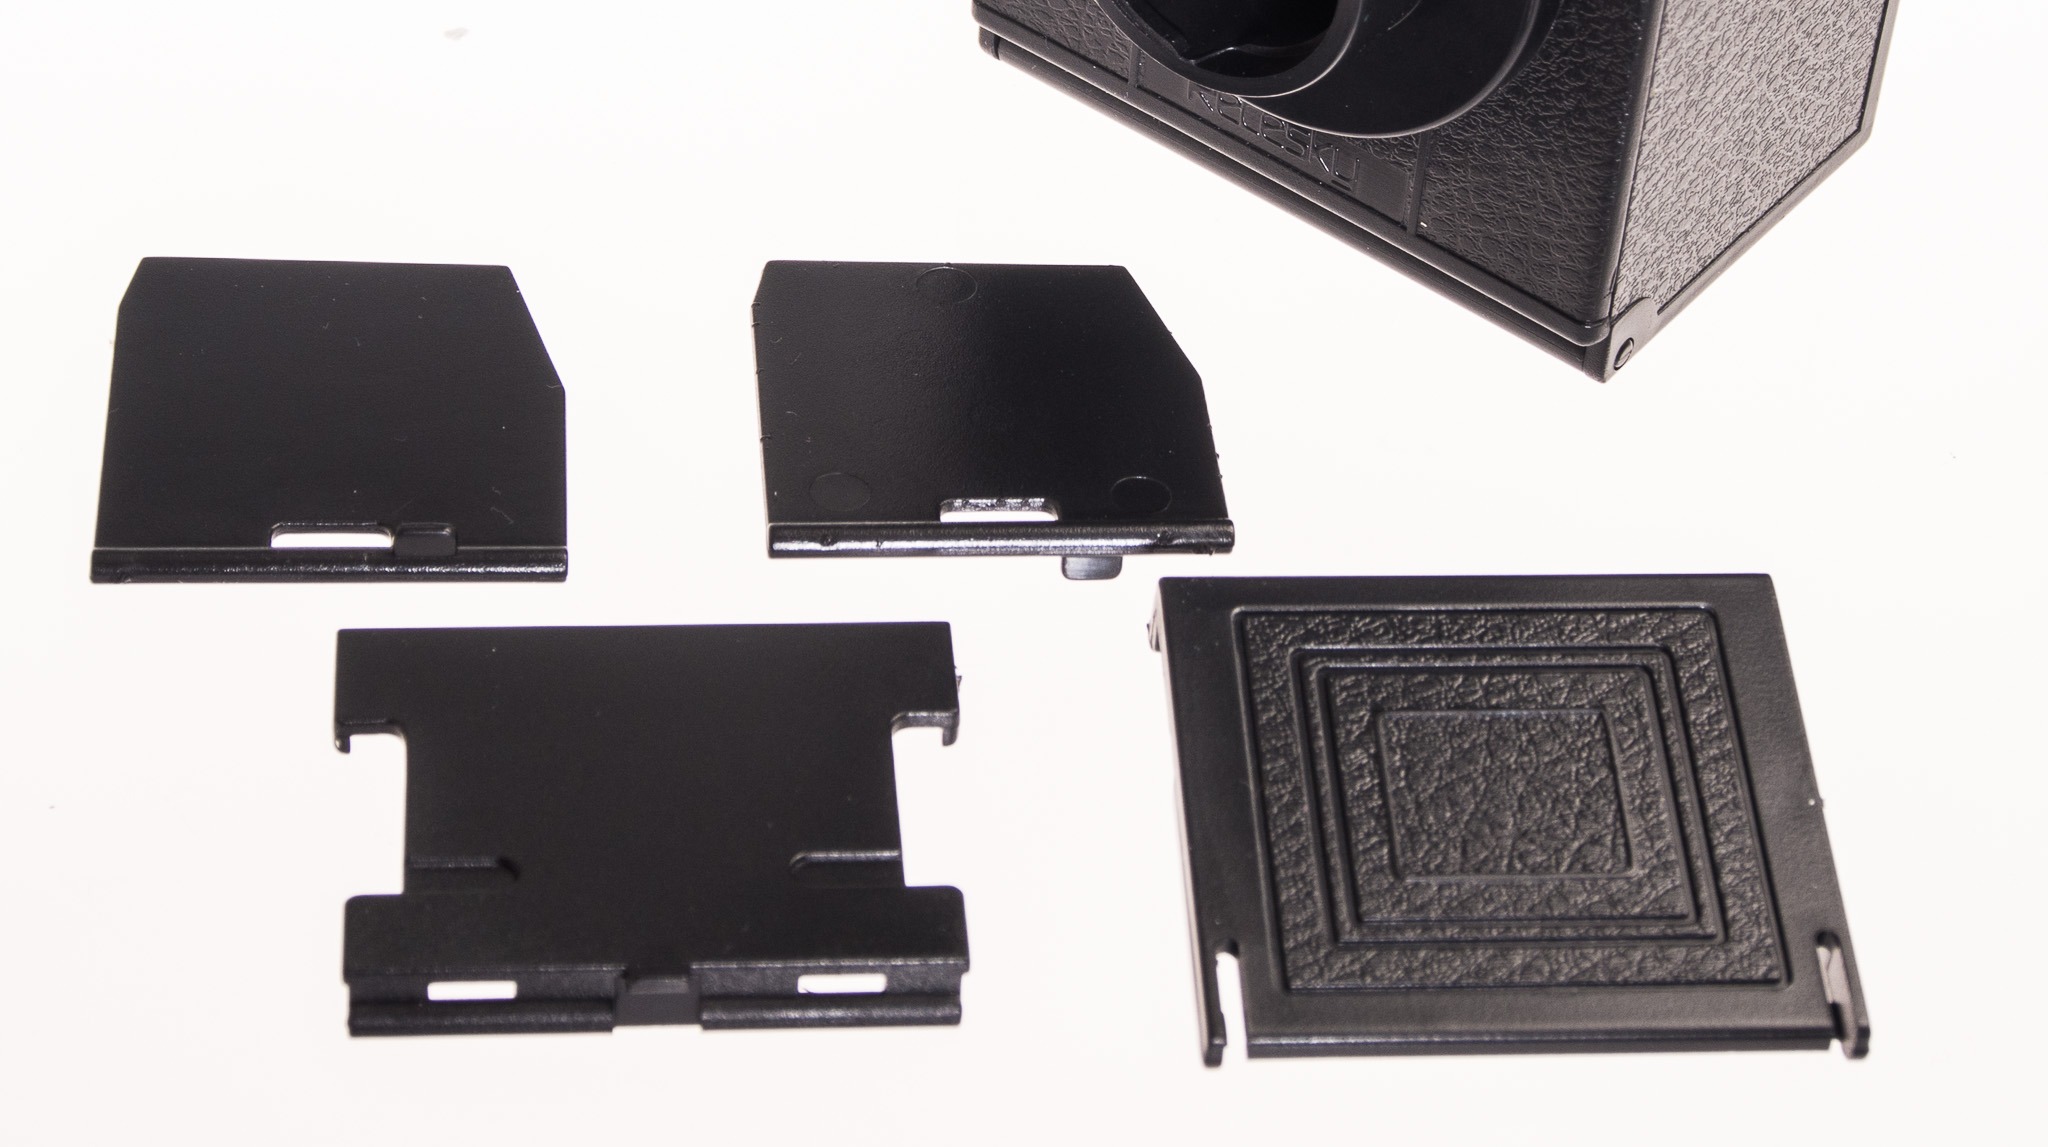
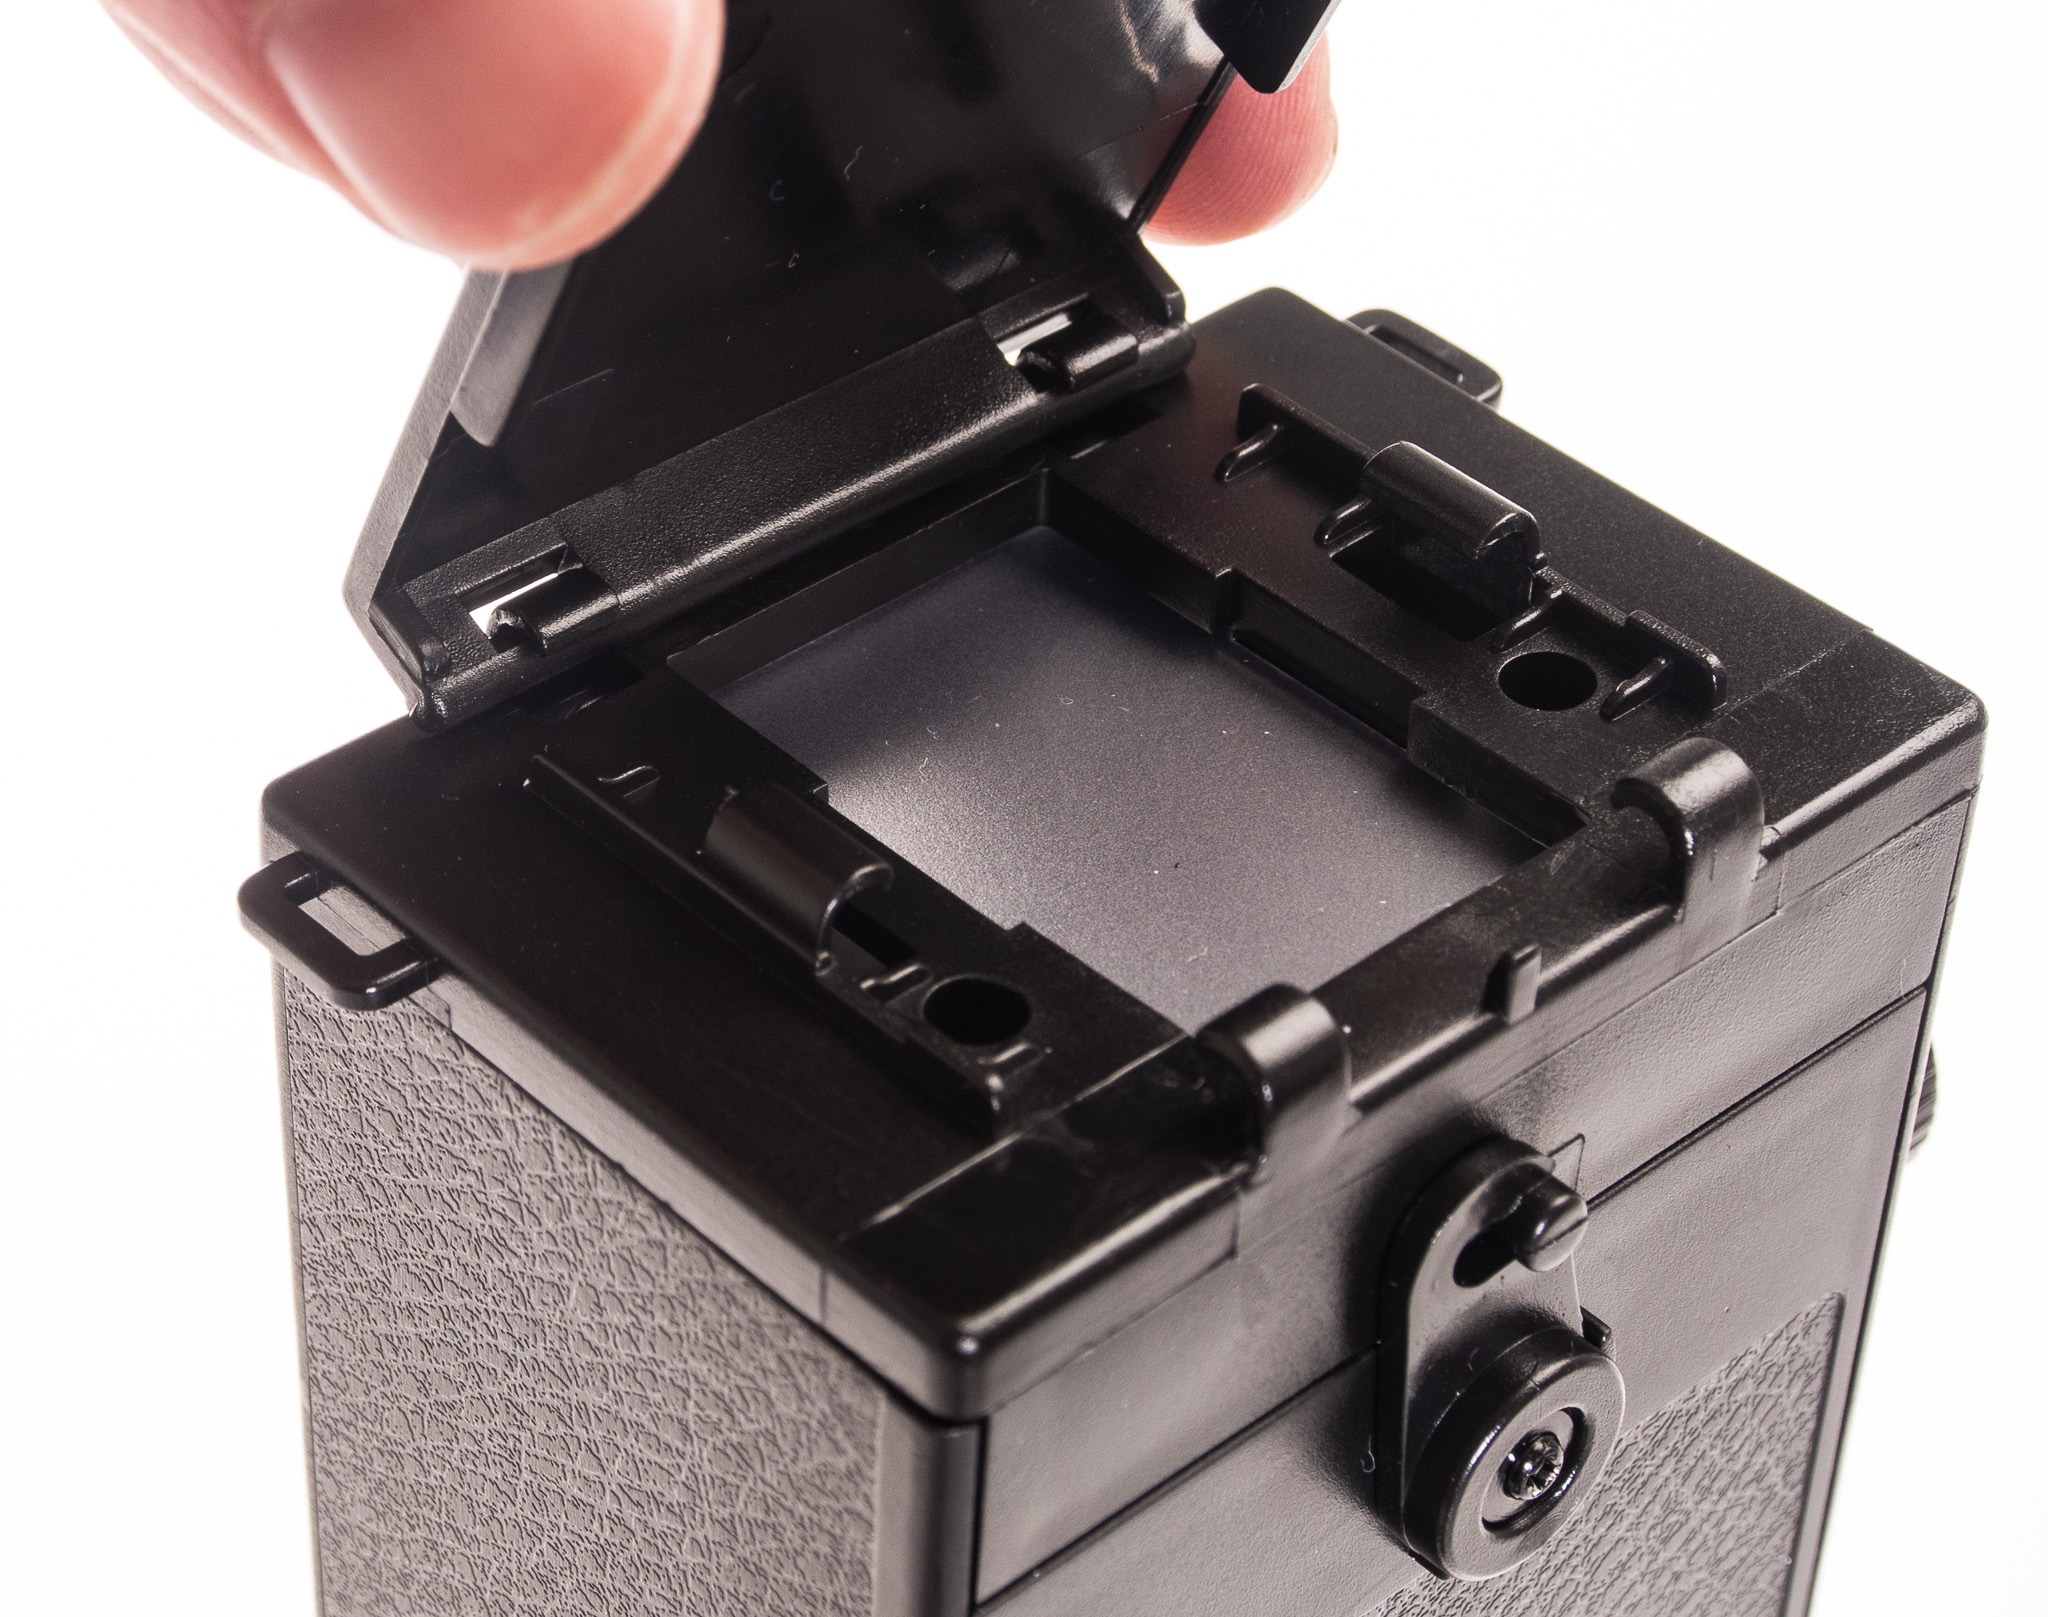
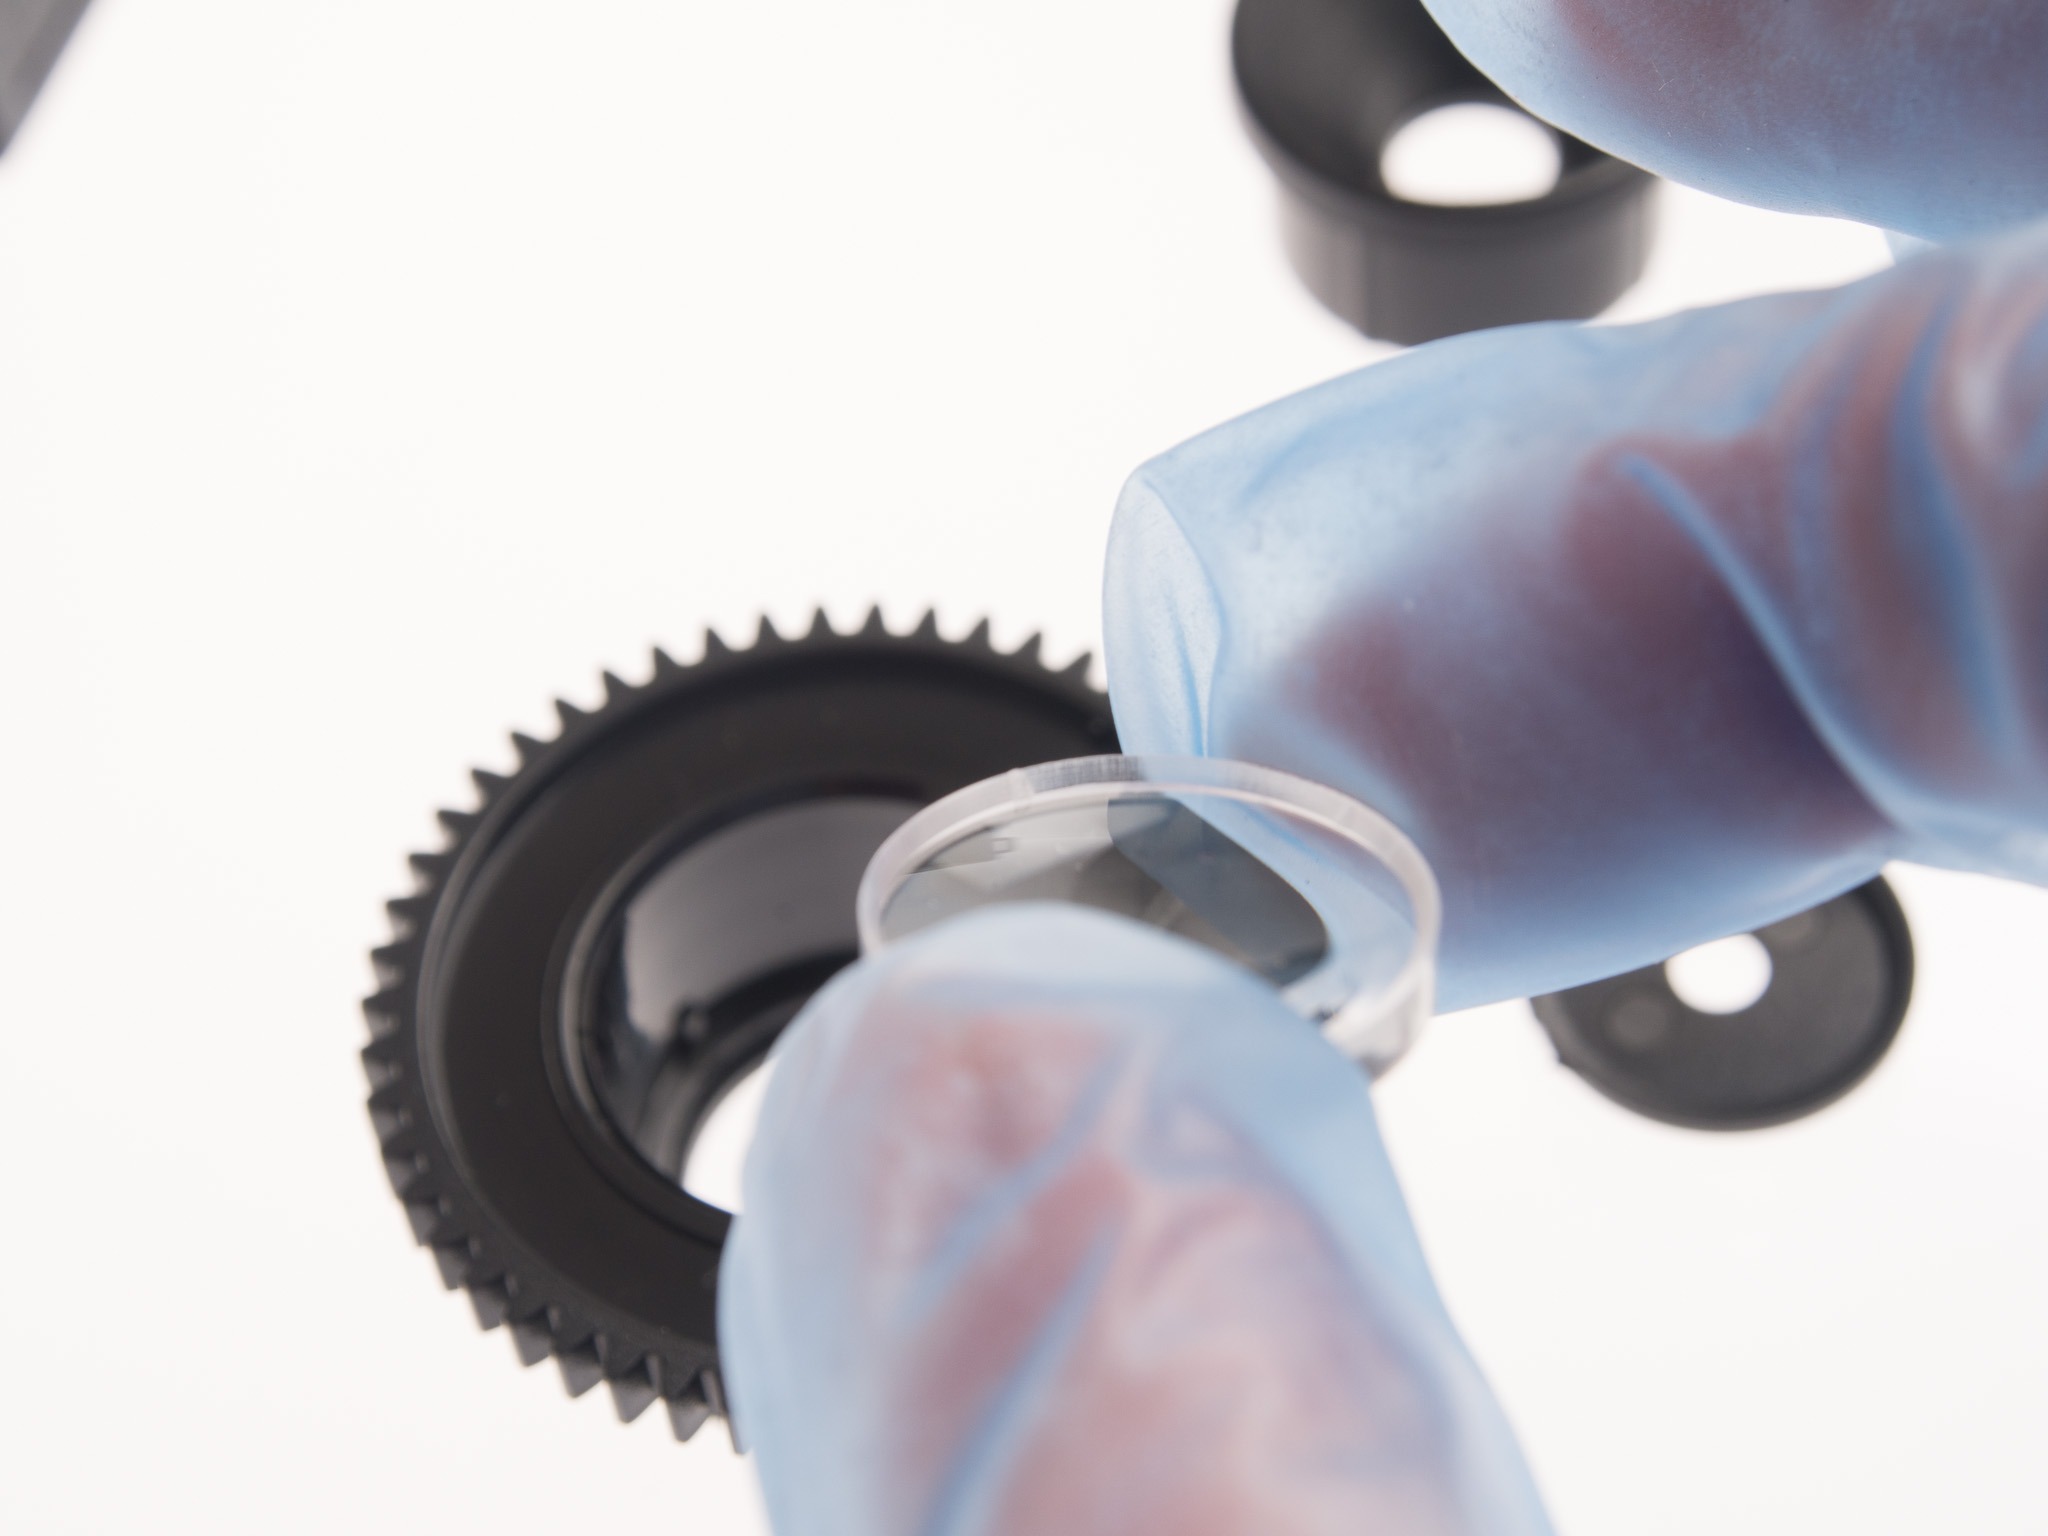
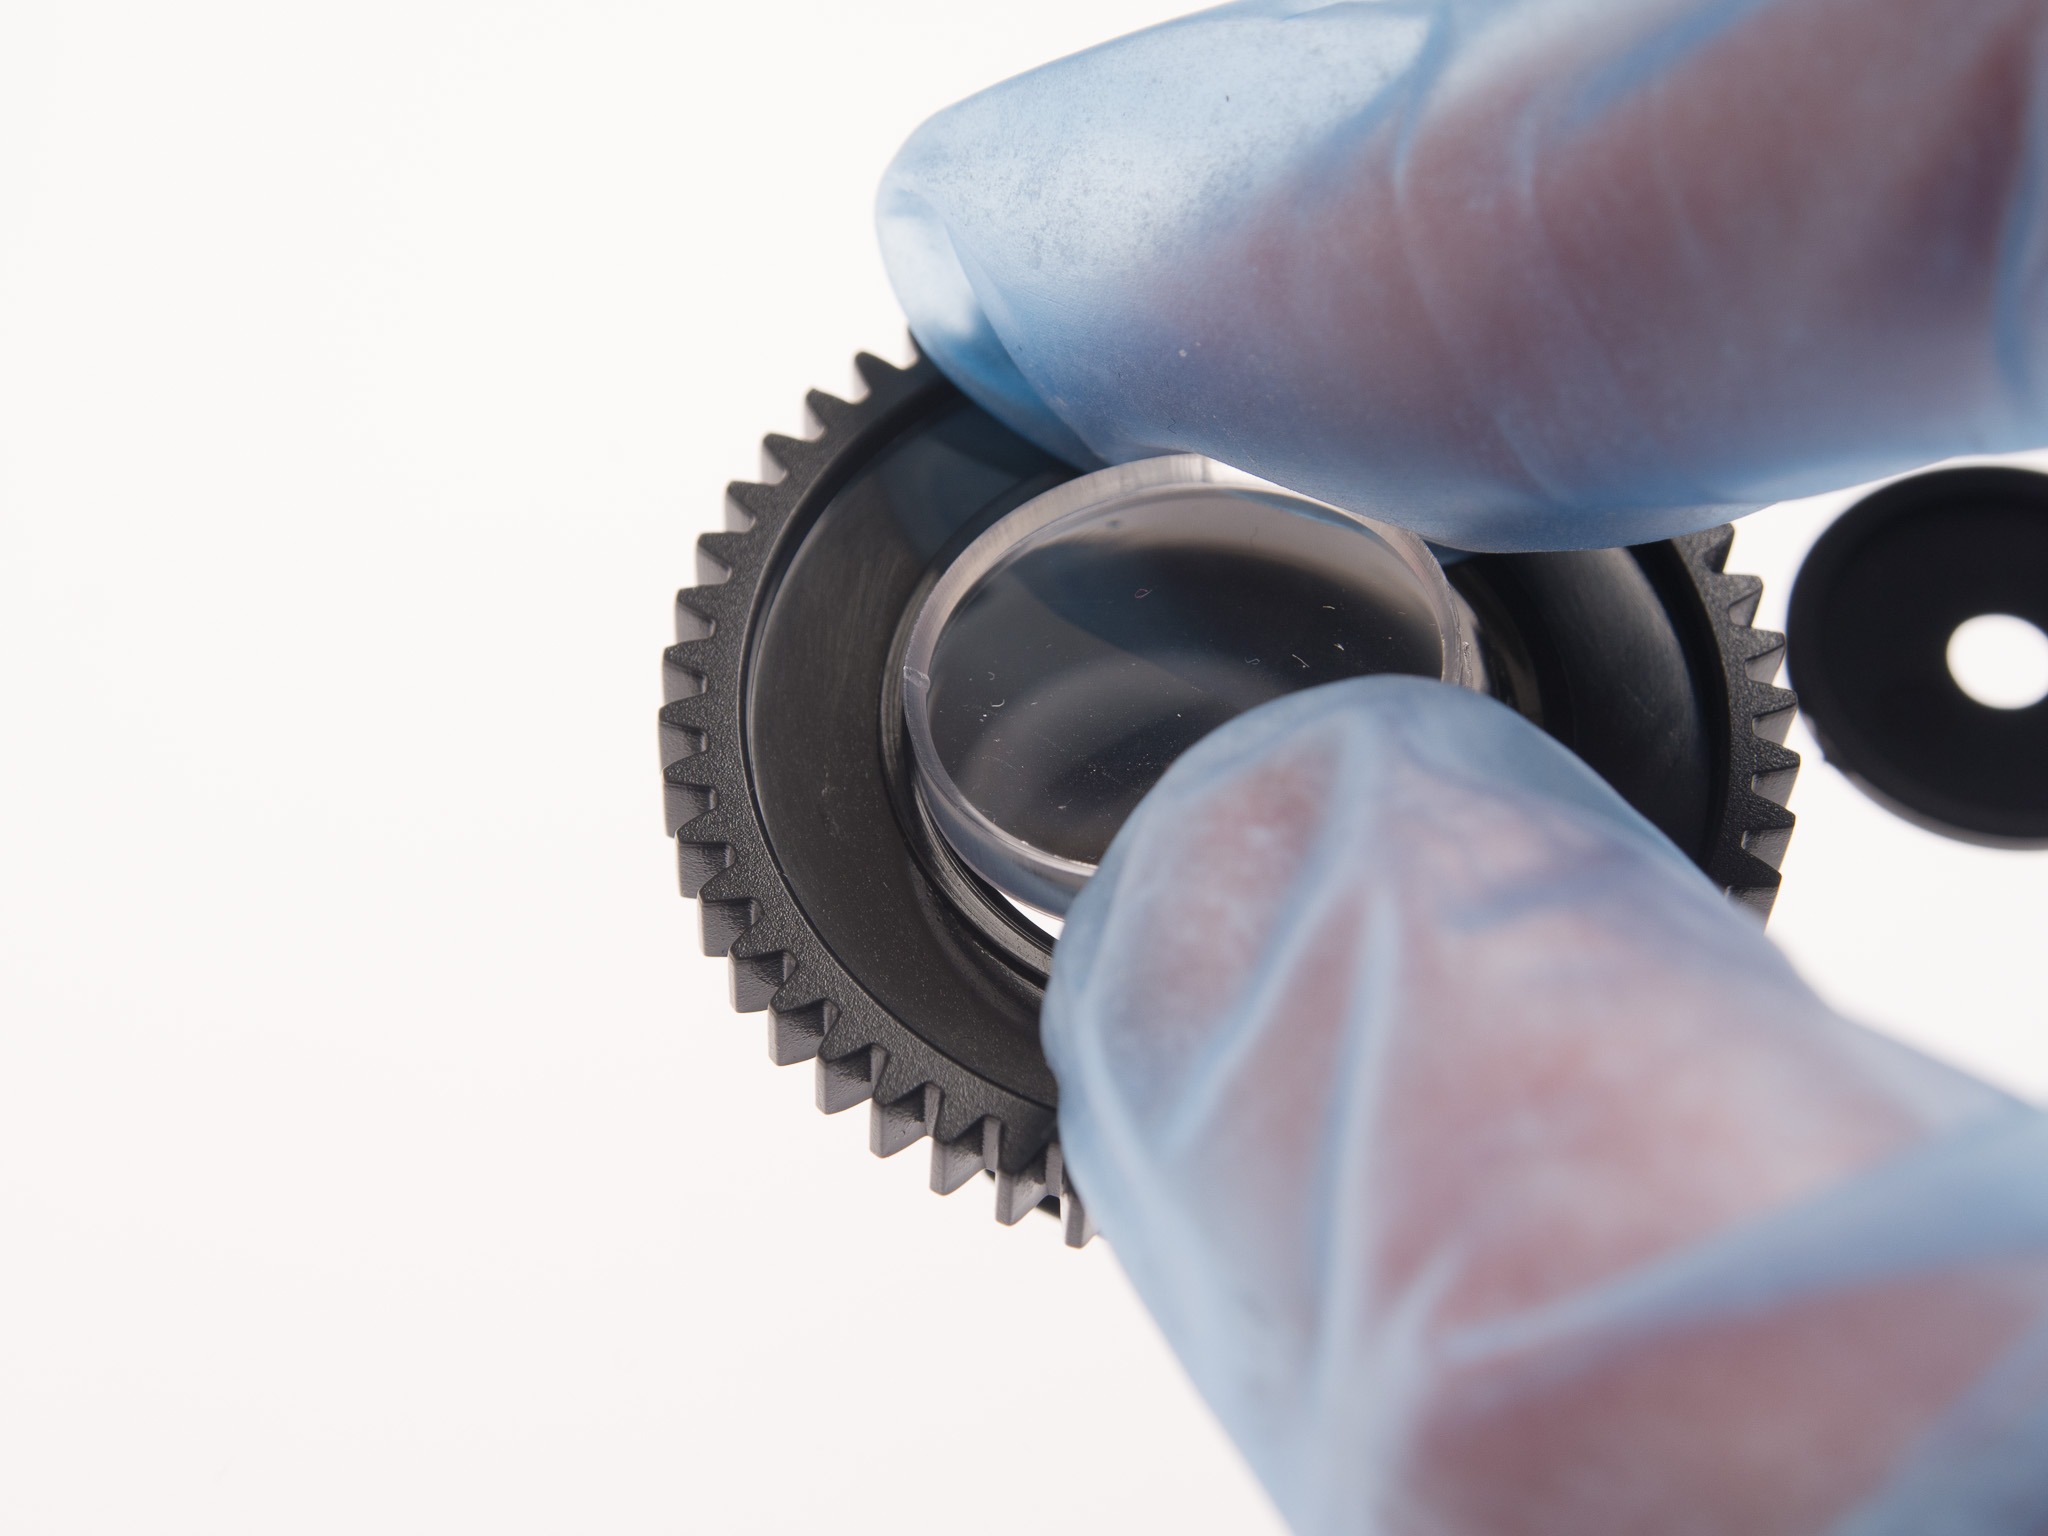
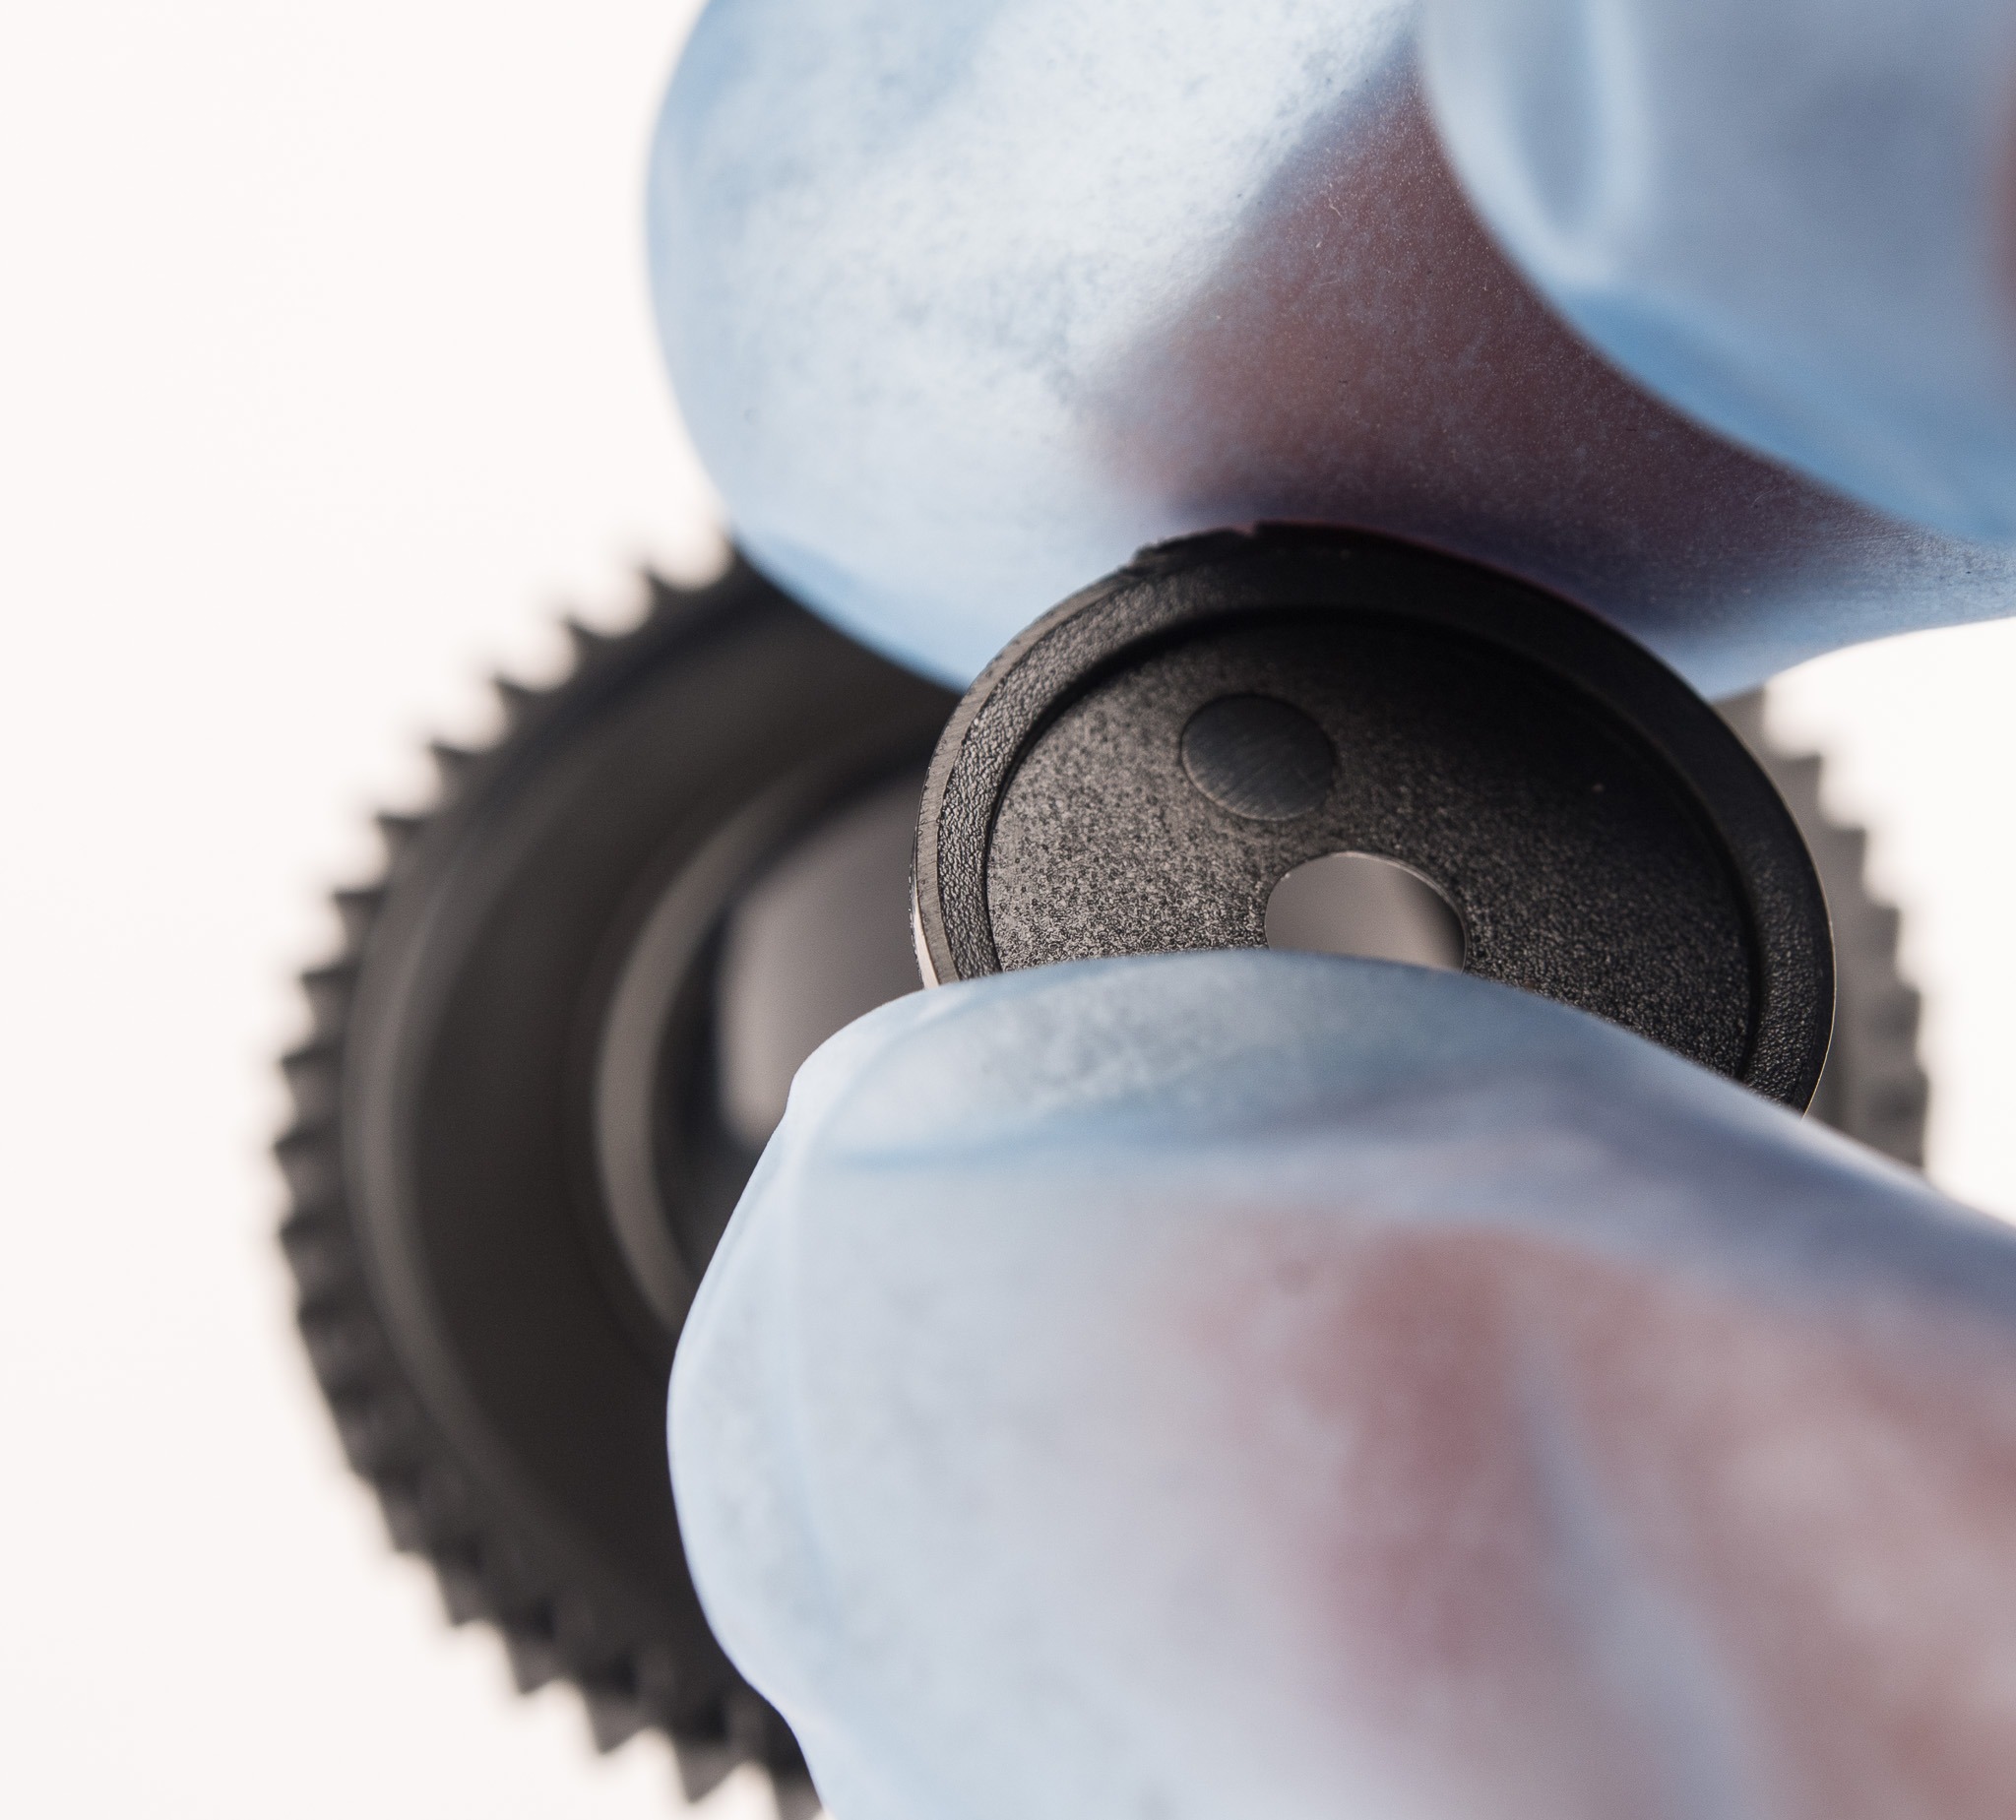
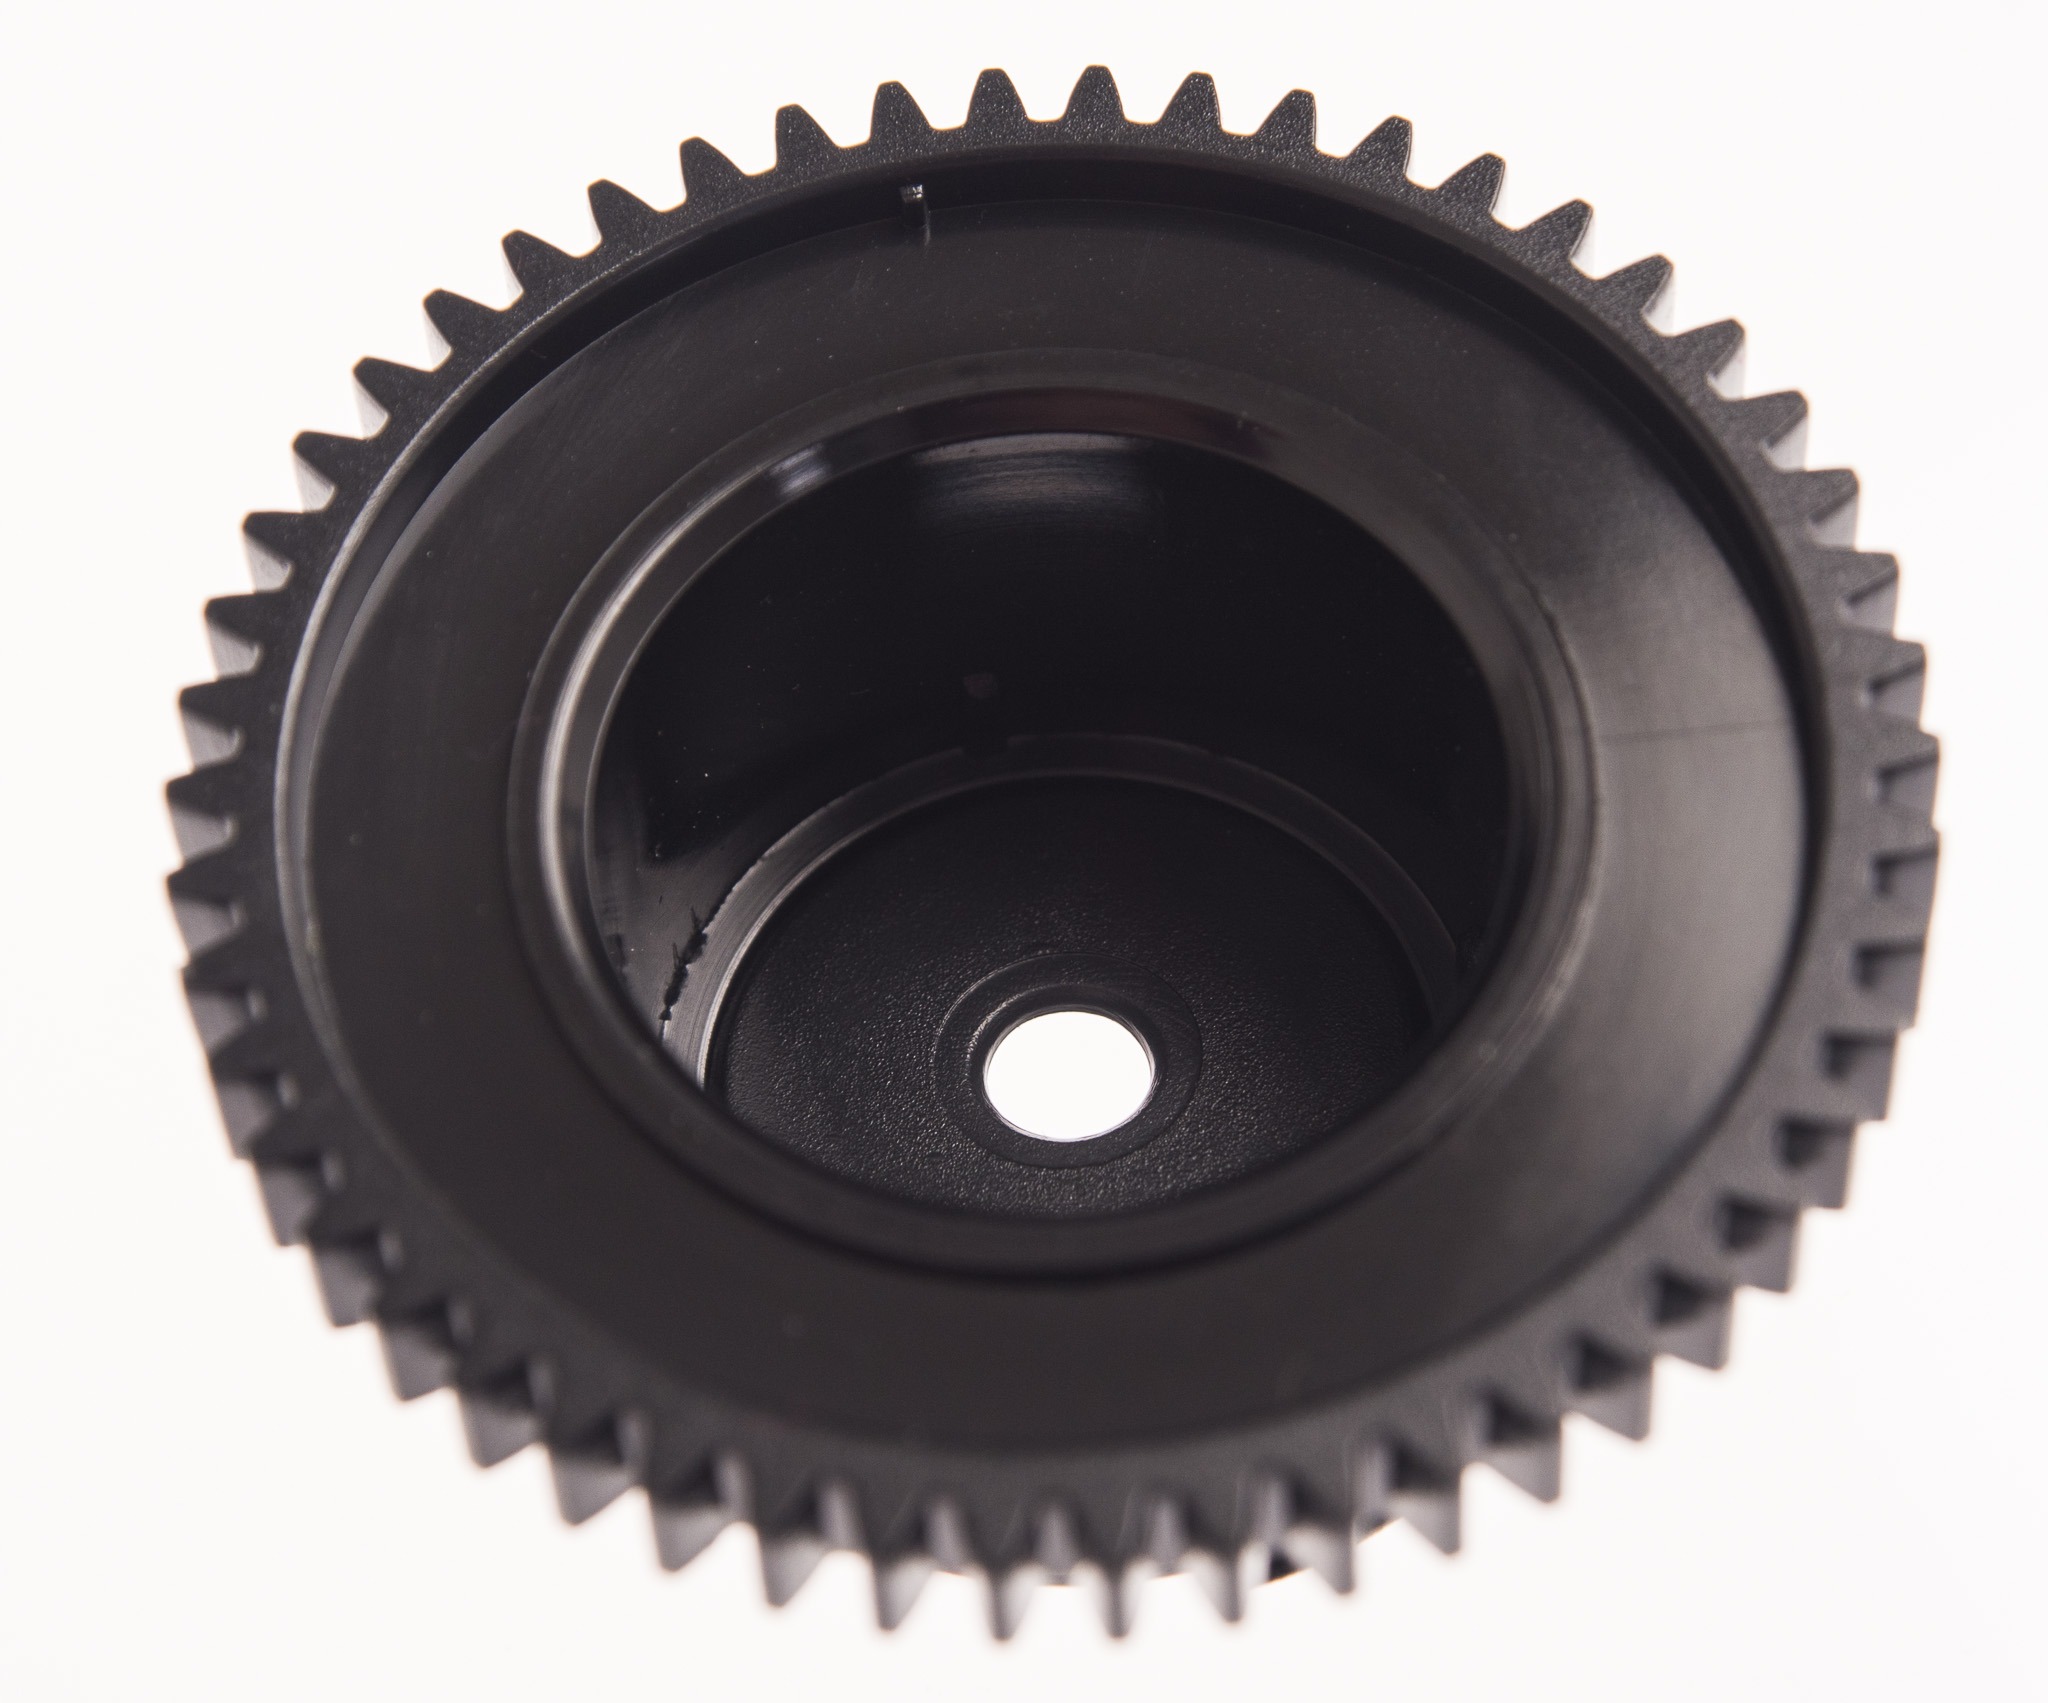
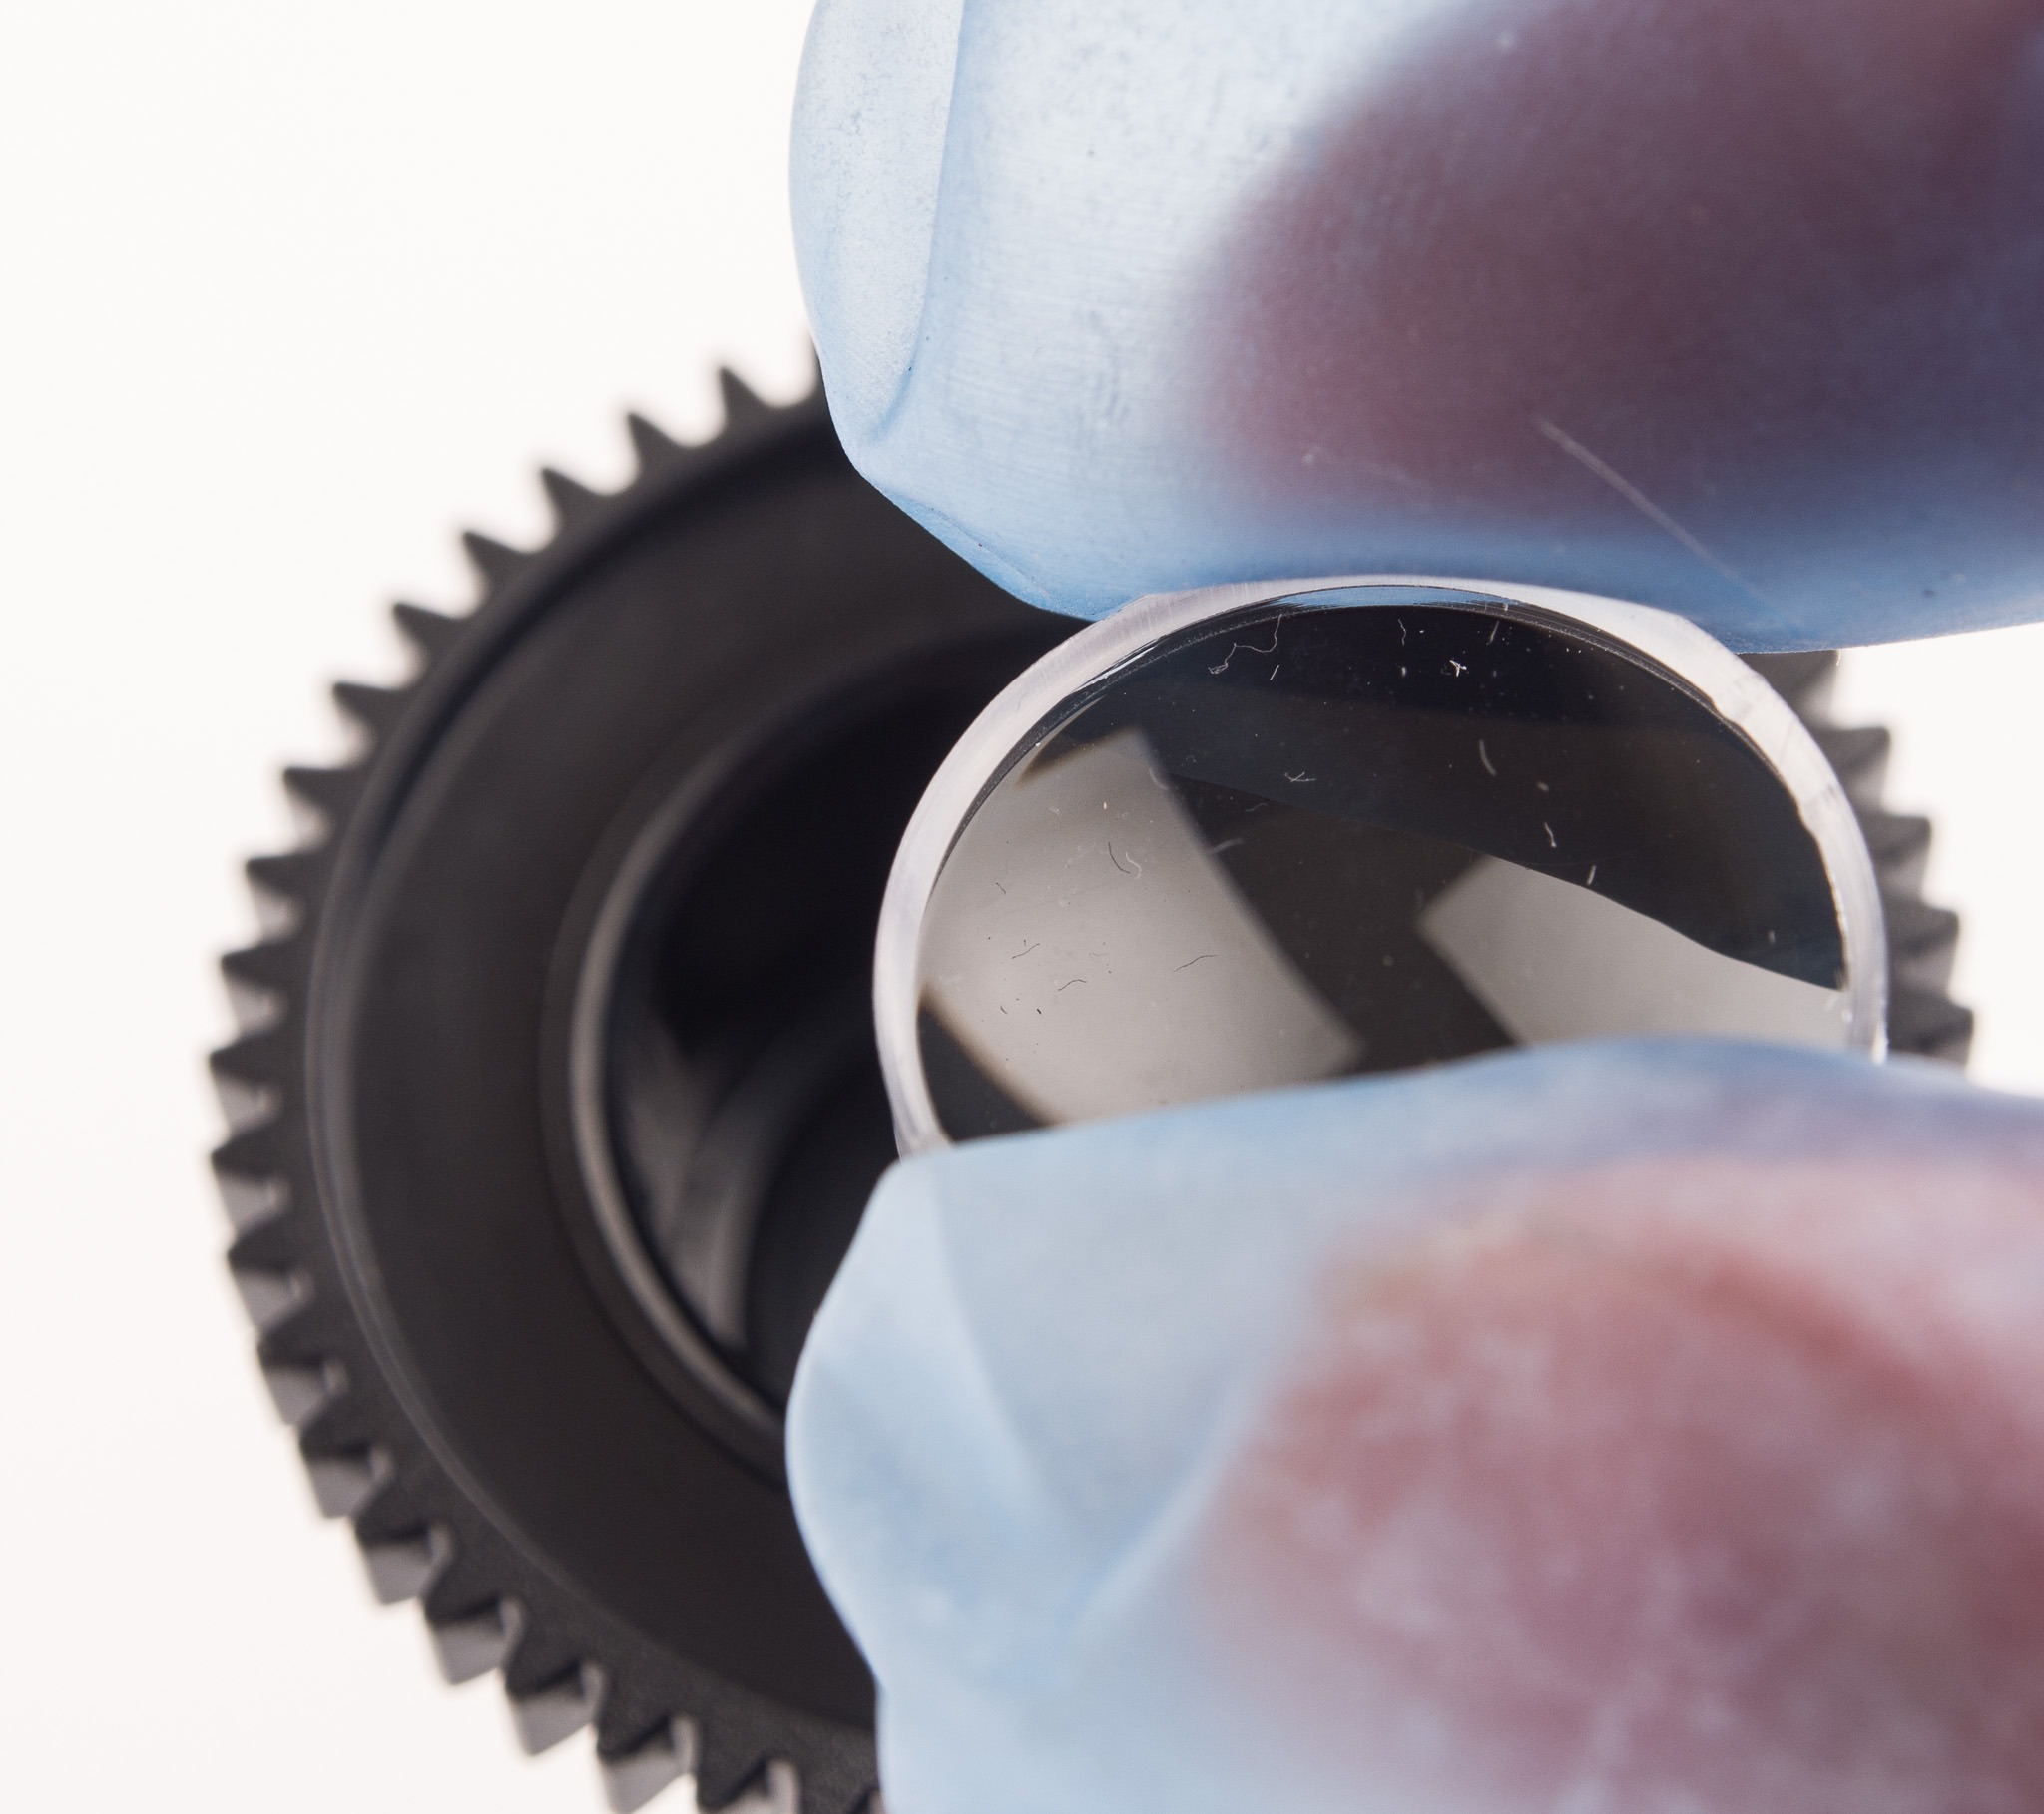
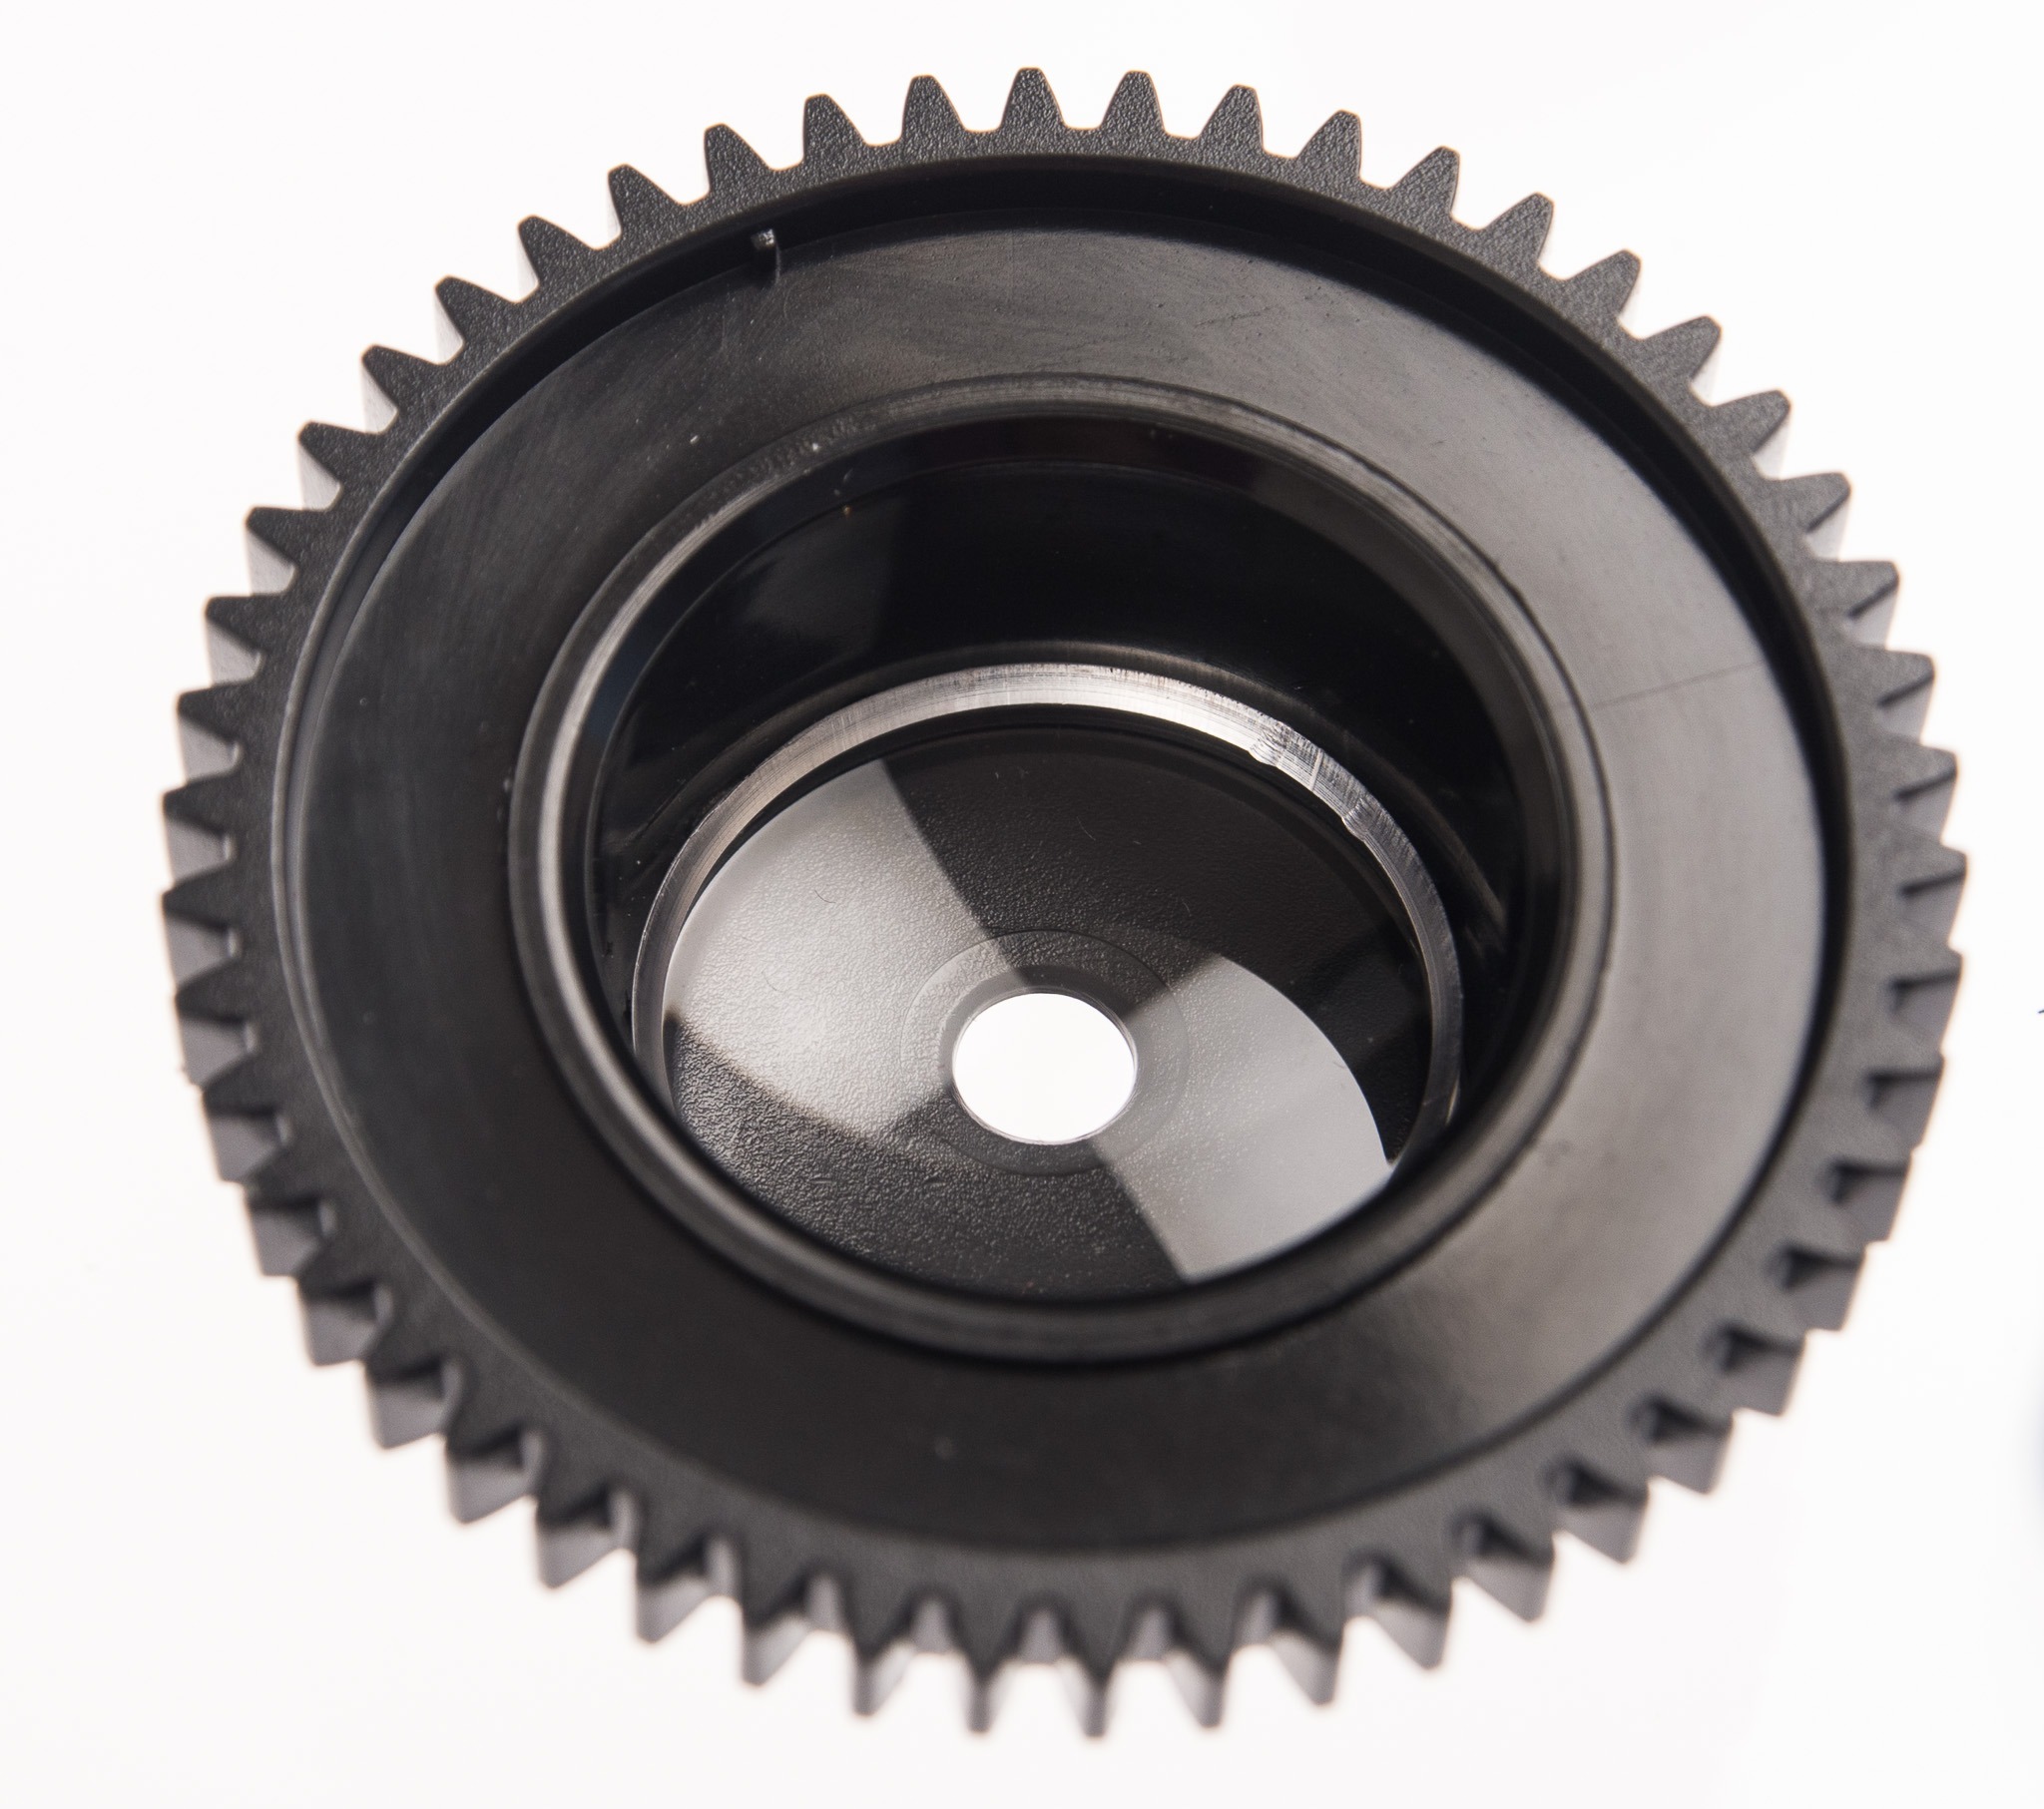
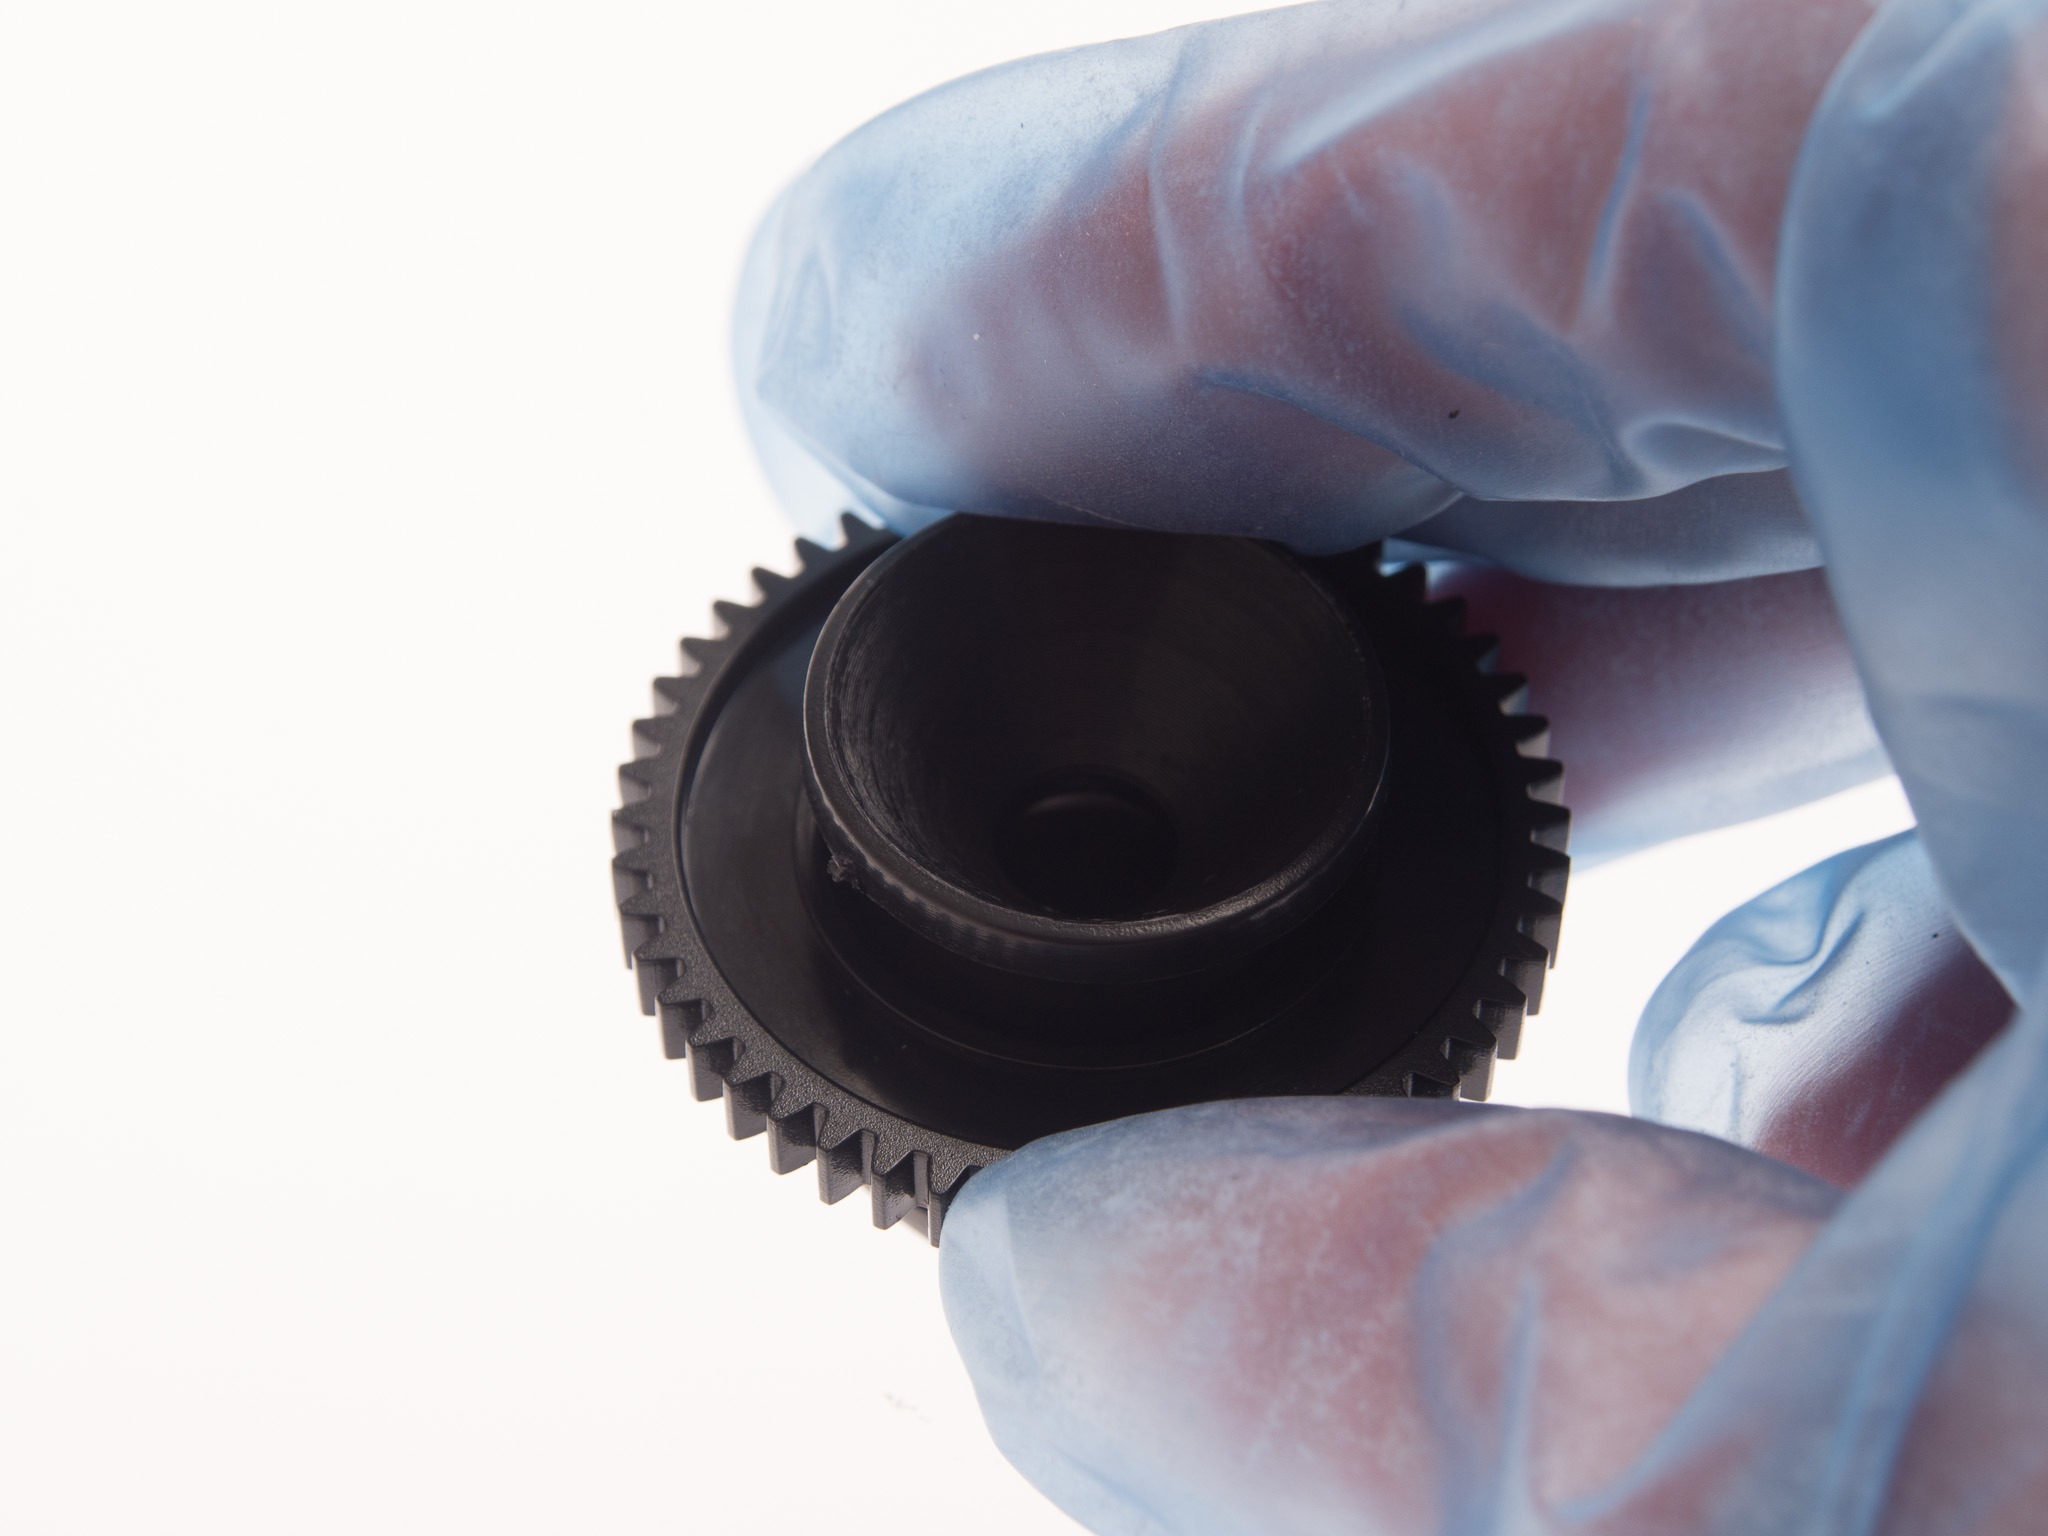
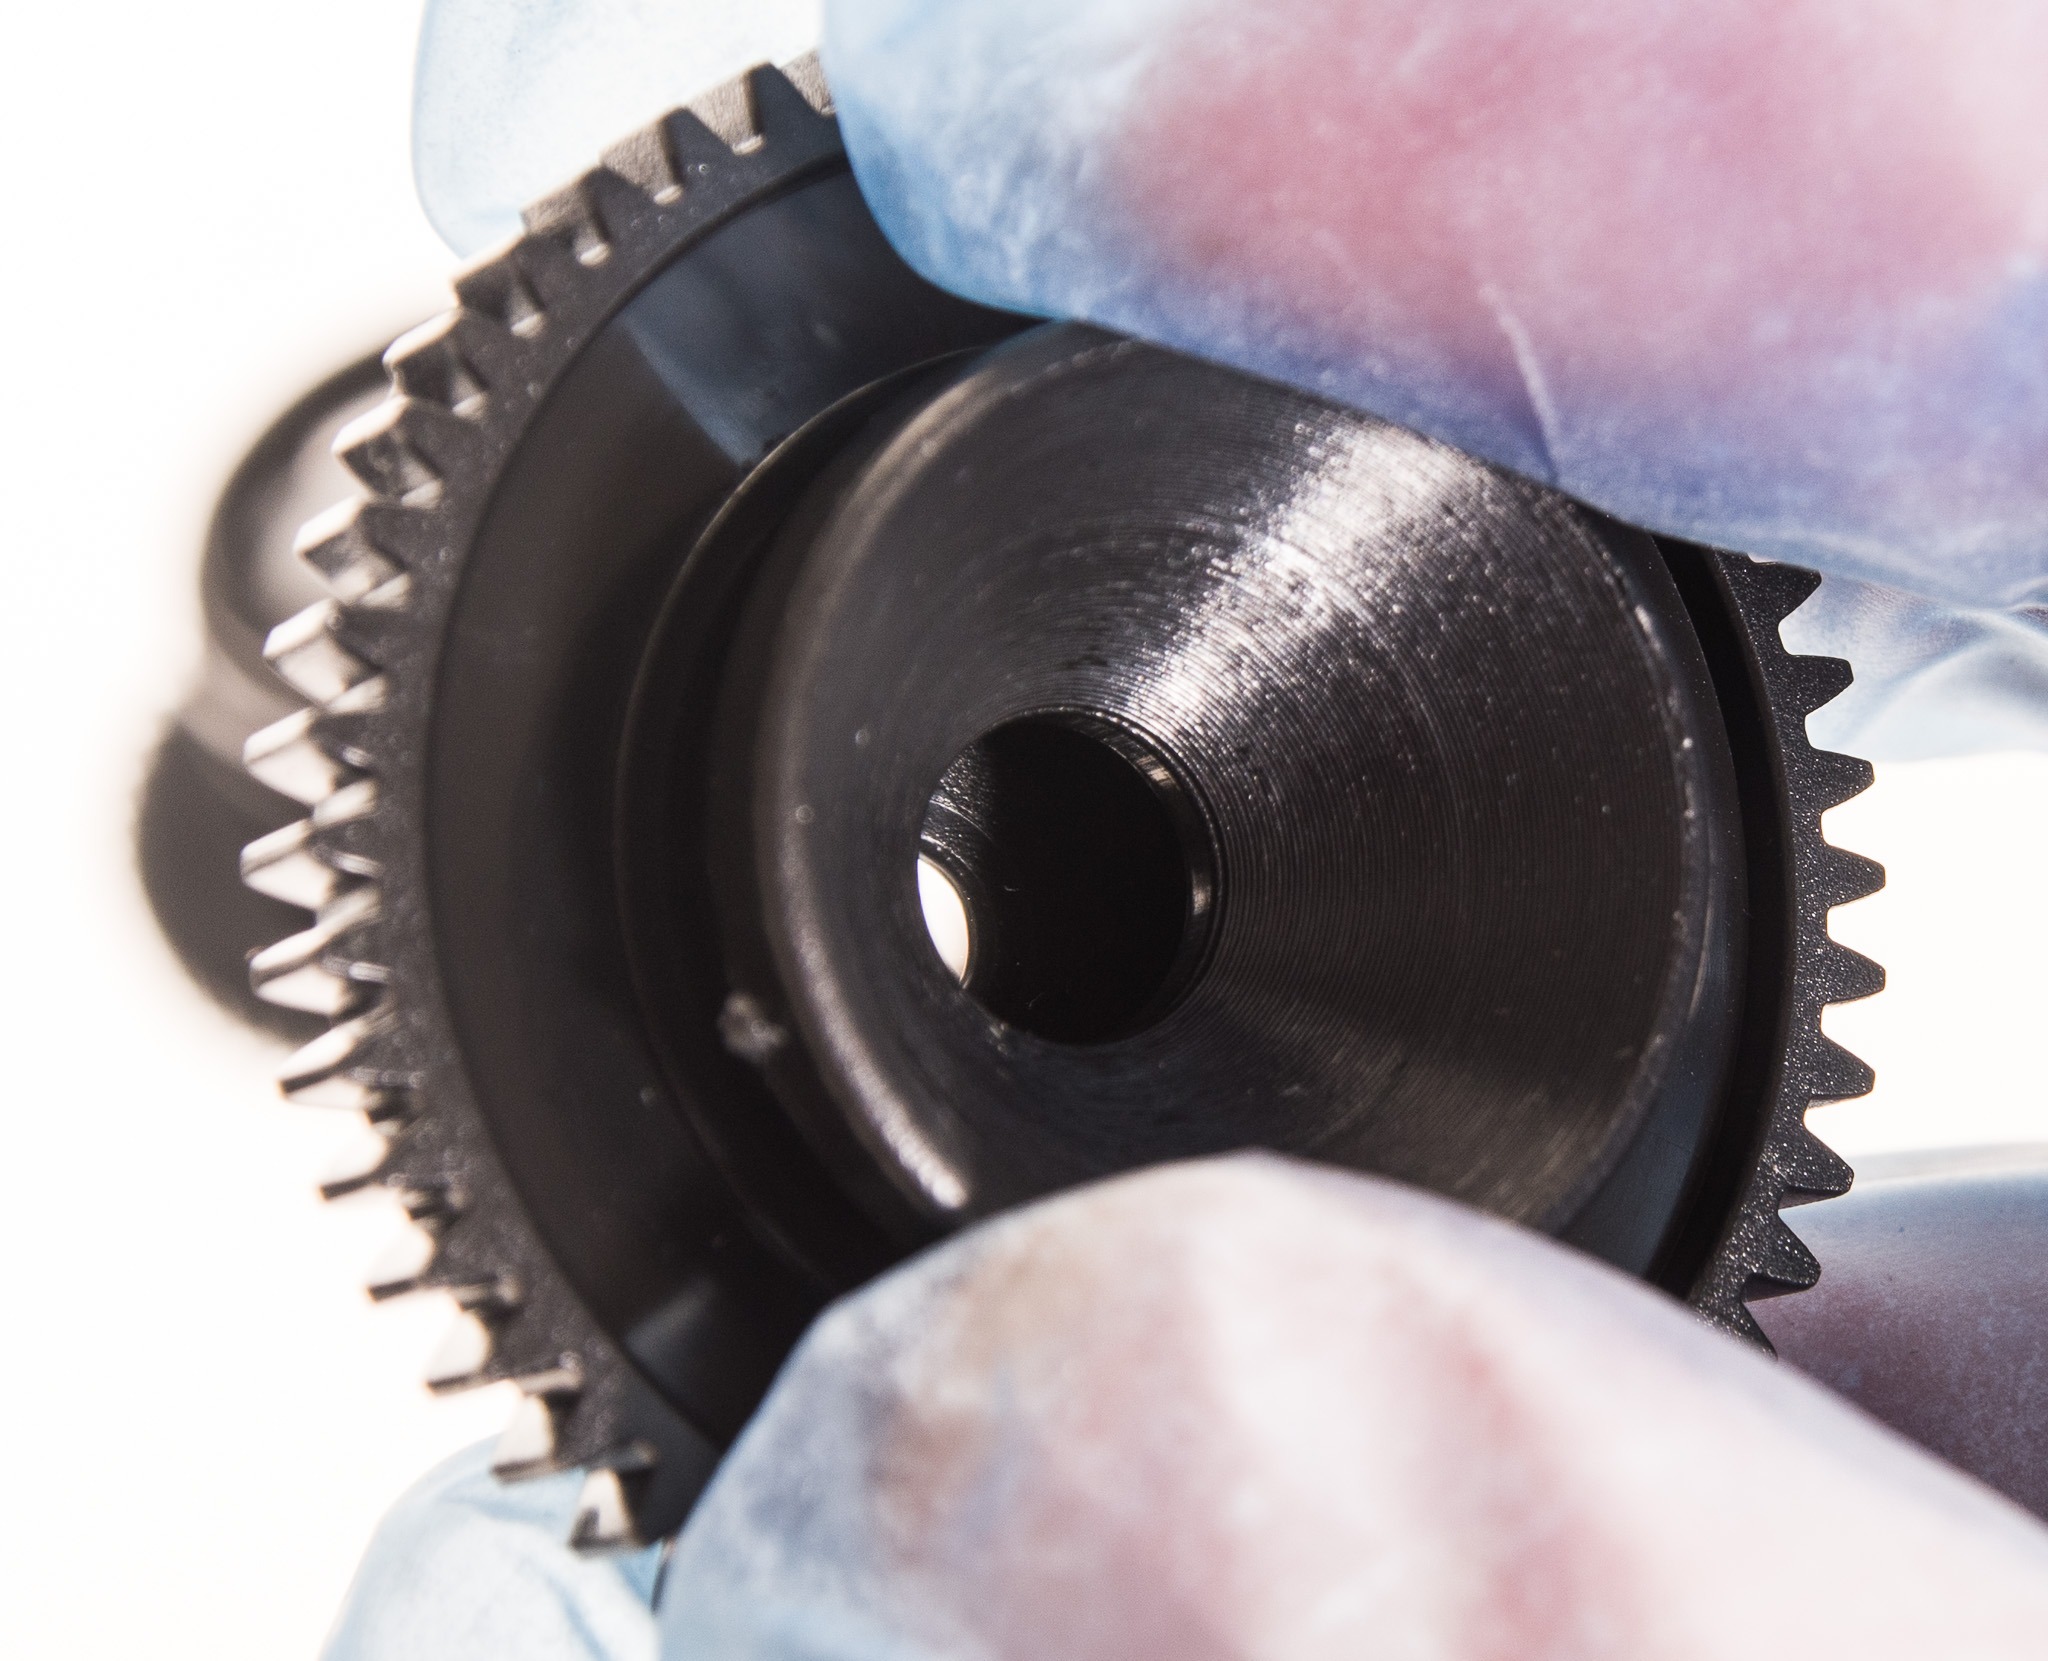
The kit may look daunting if you’ve never taken on a reasonably complex model or project, but it really isn’t. The instructions, in Chinese, are reasonably easy to understand just from the pictures, and it’s crucial to identify which screws are needed for each stage, other than that the plastic parts fit well and need no trimming or finishing.
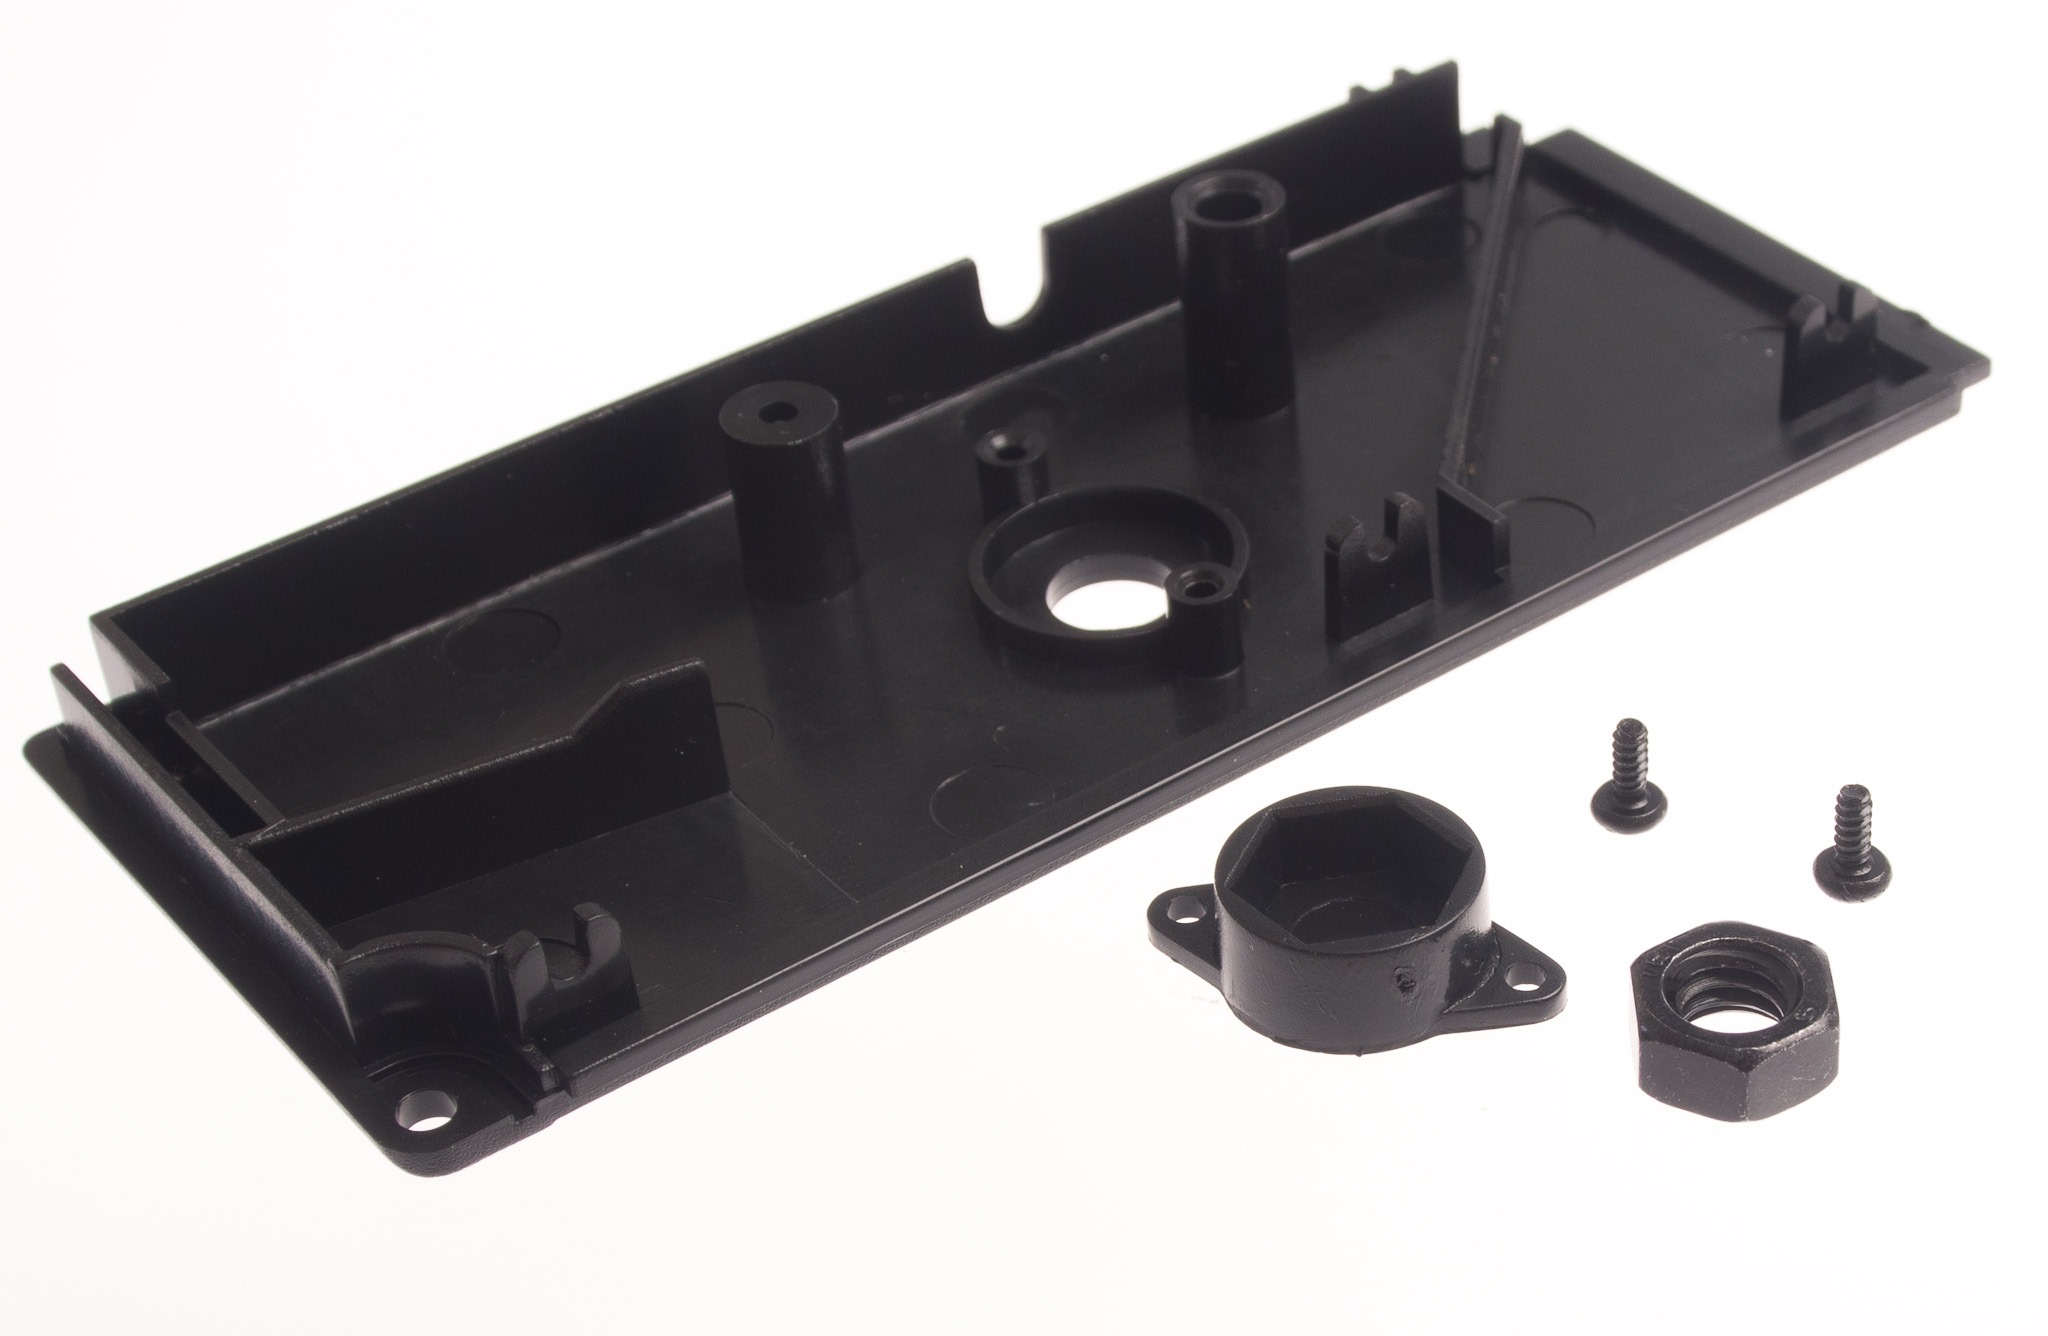
Start off with some basics:

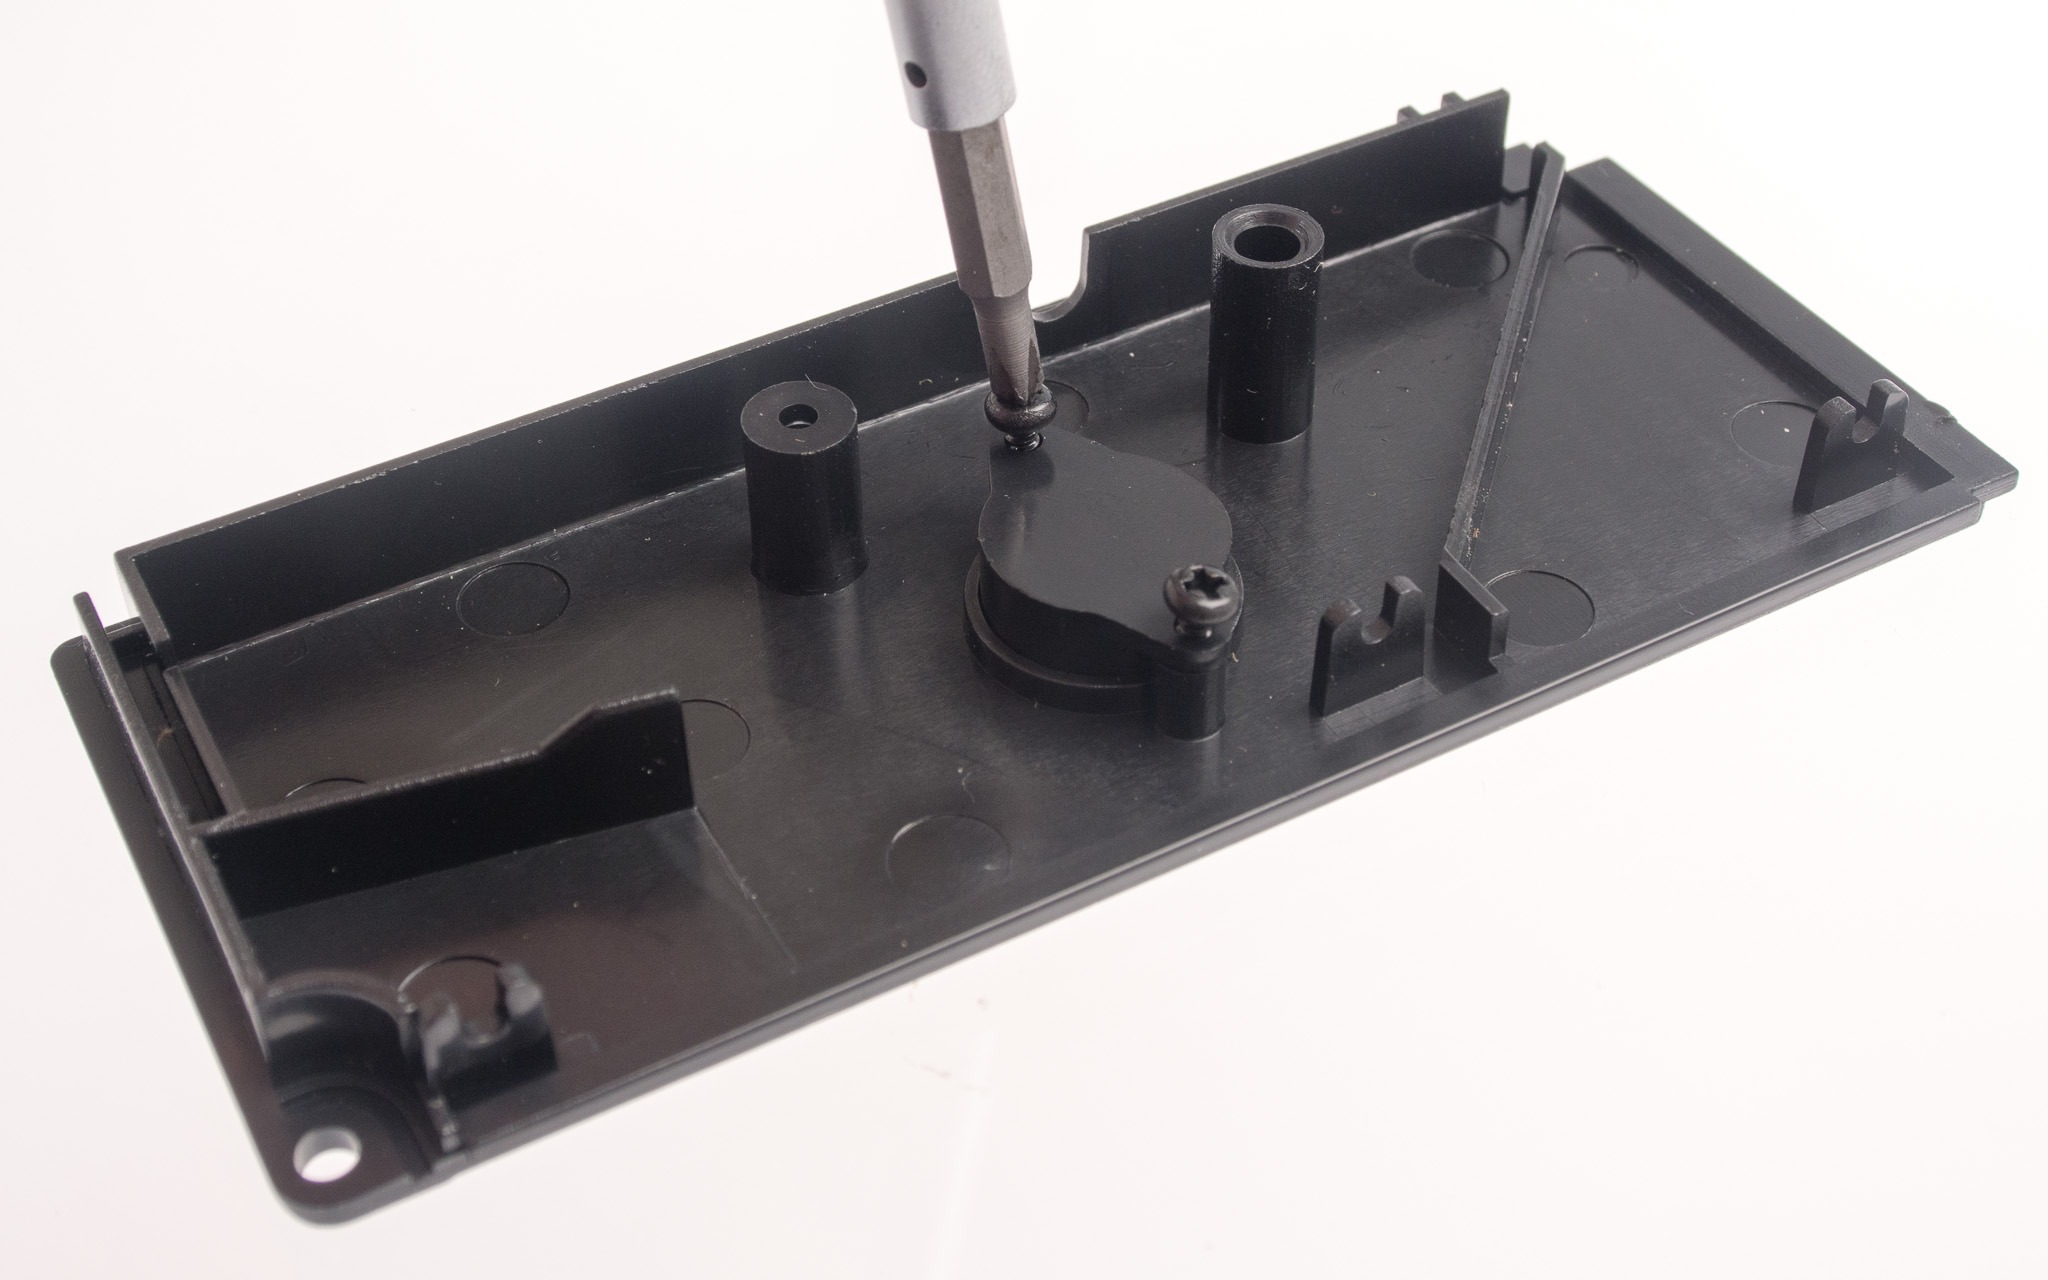
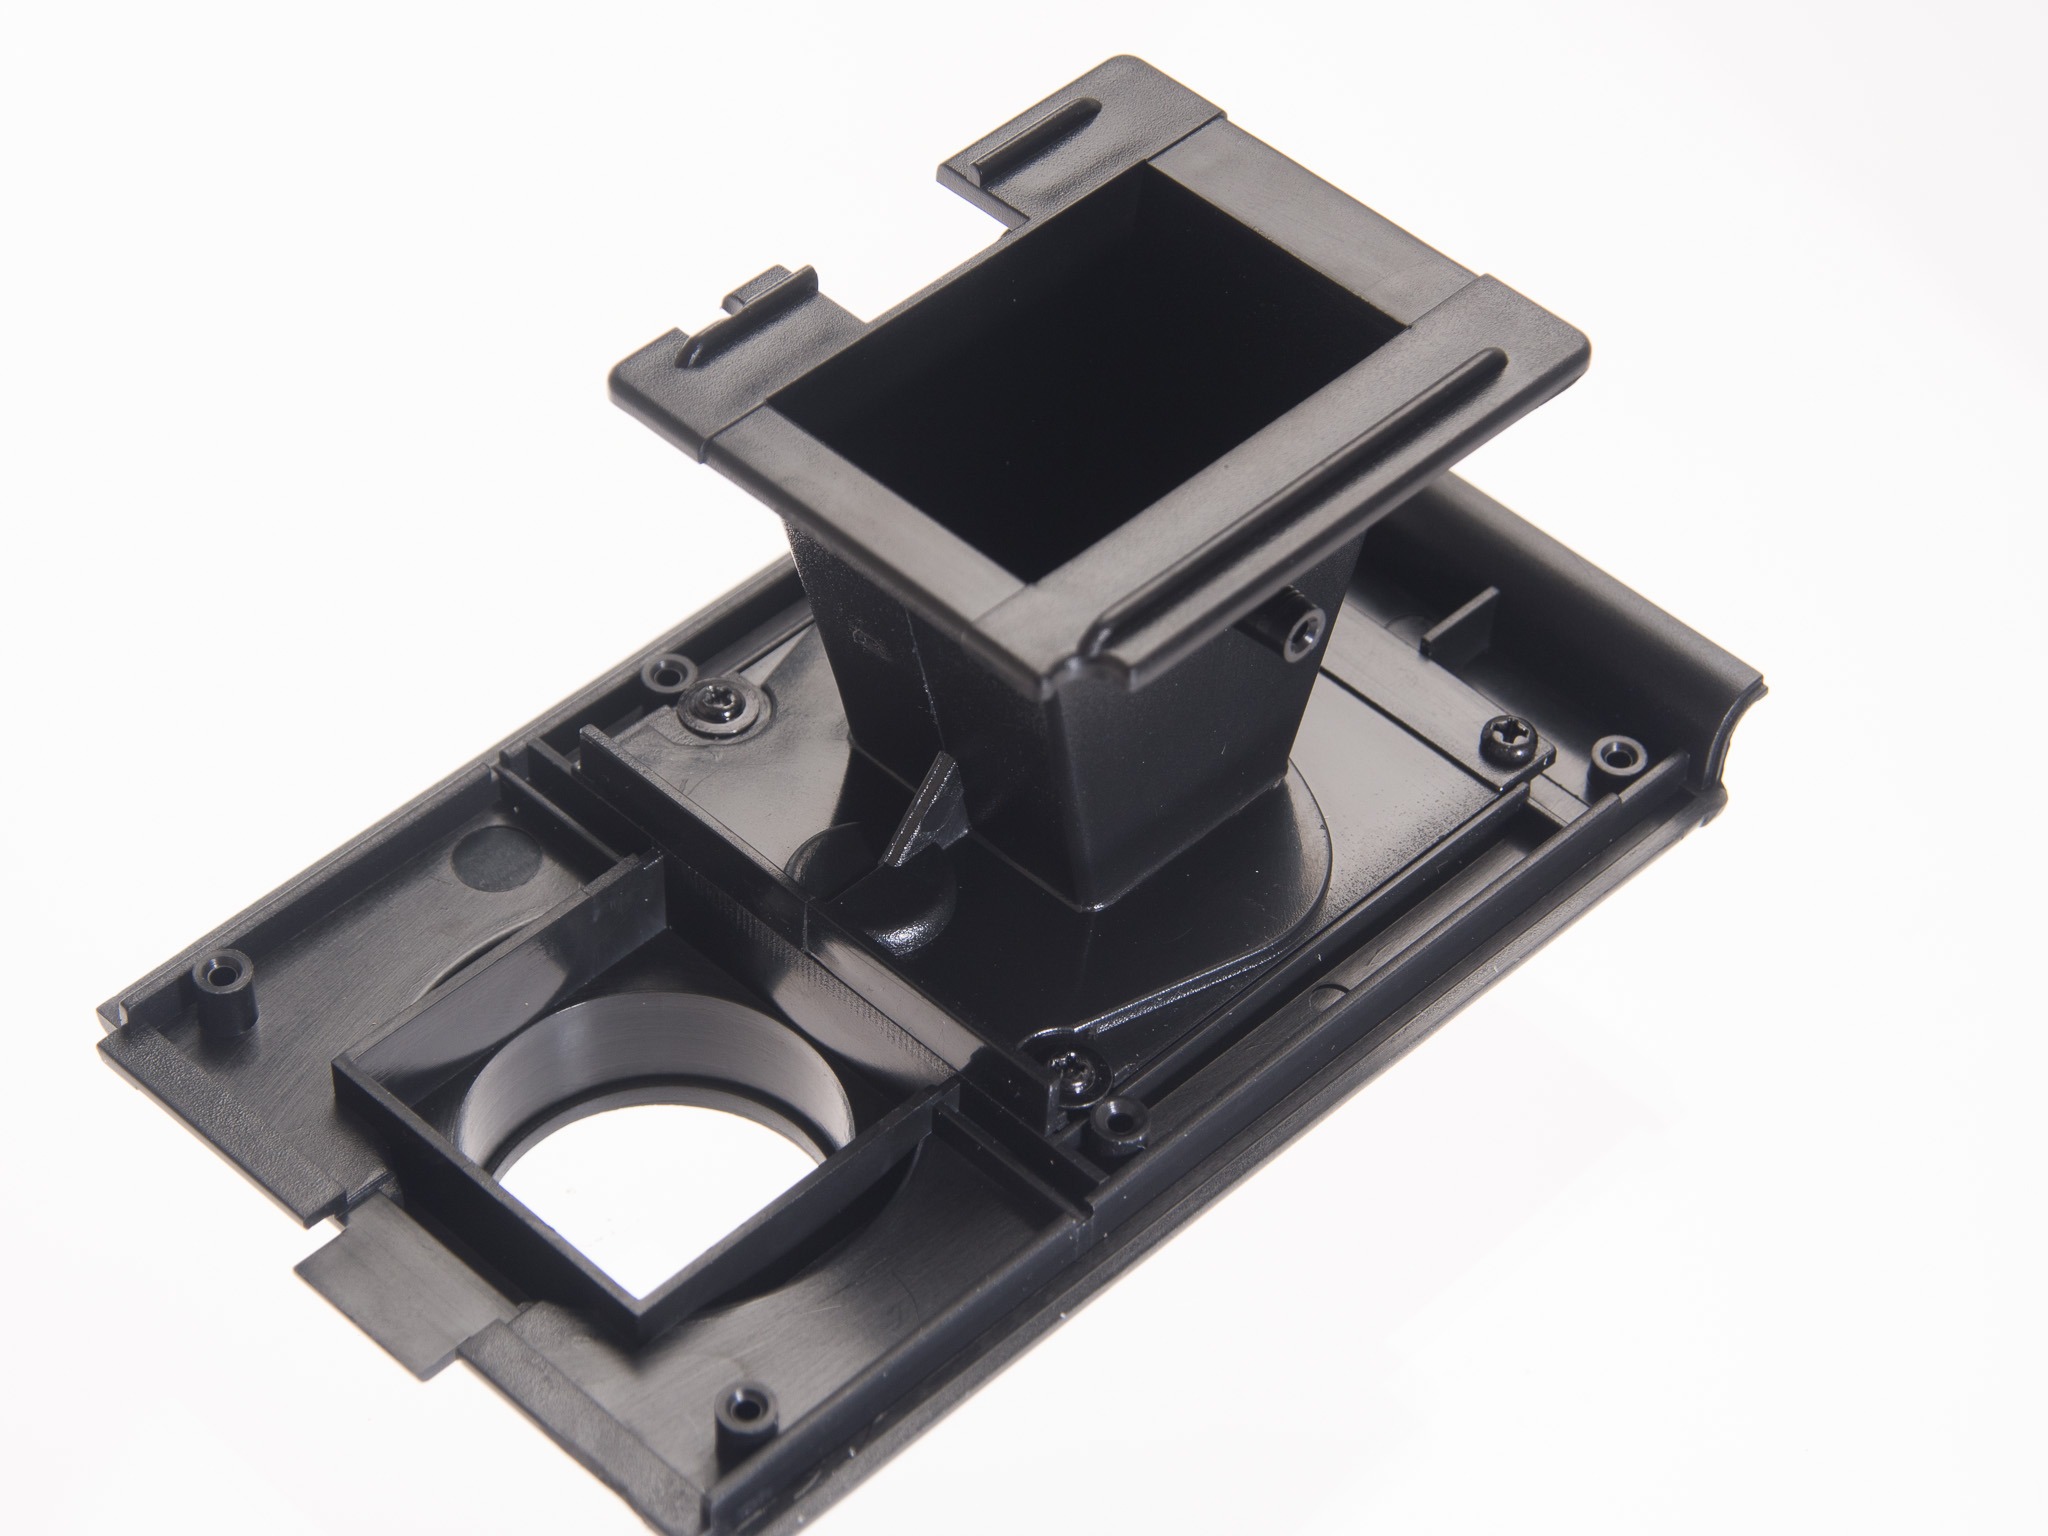
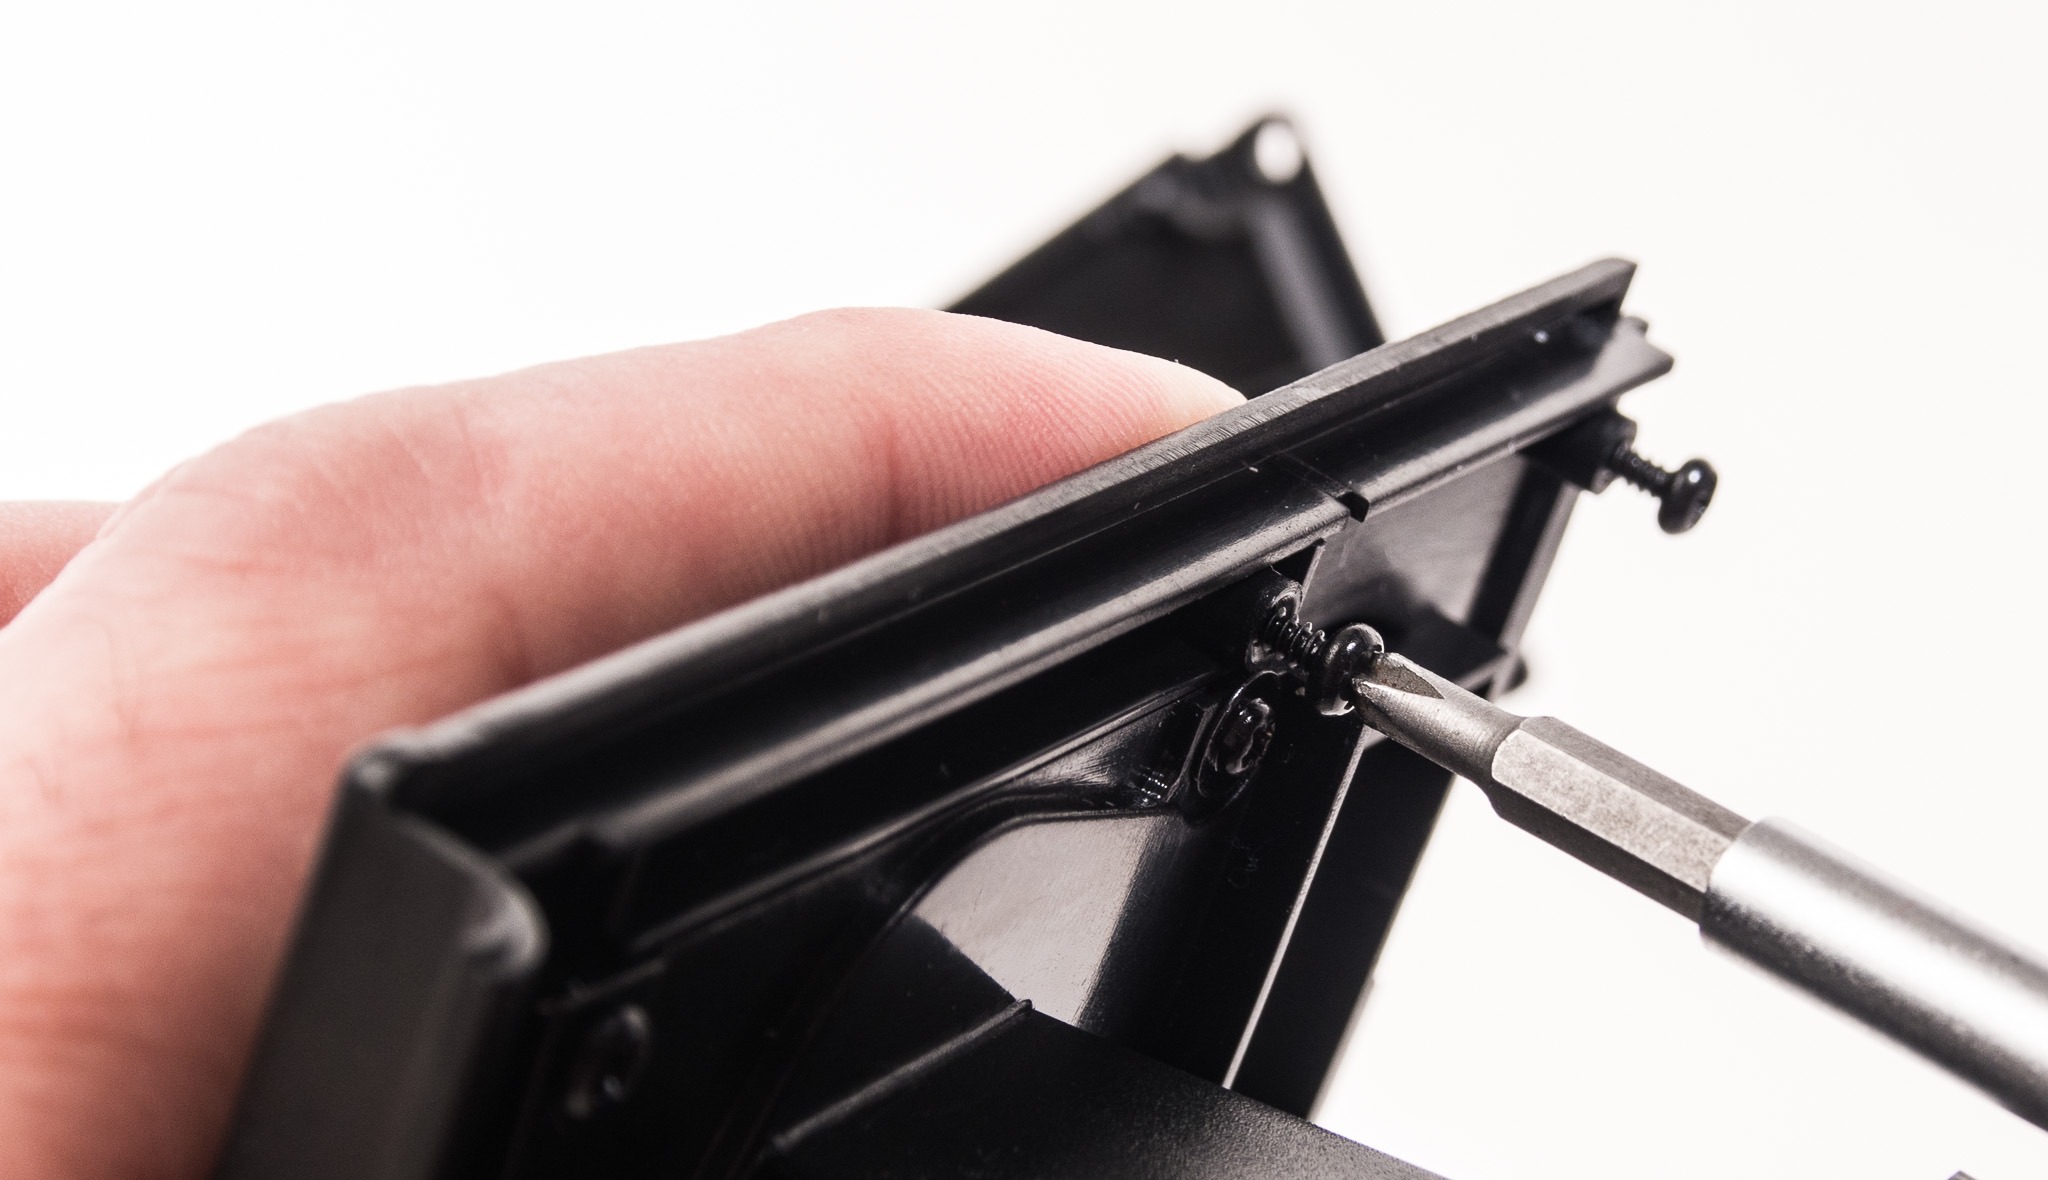
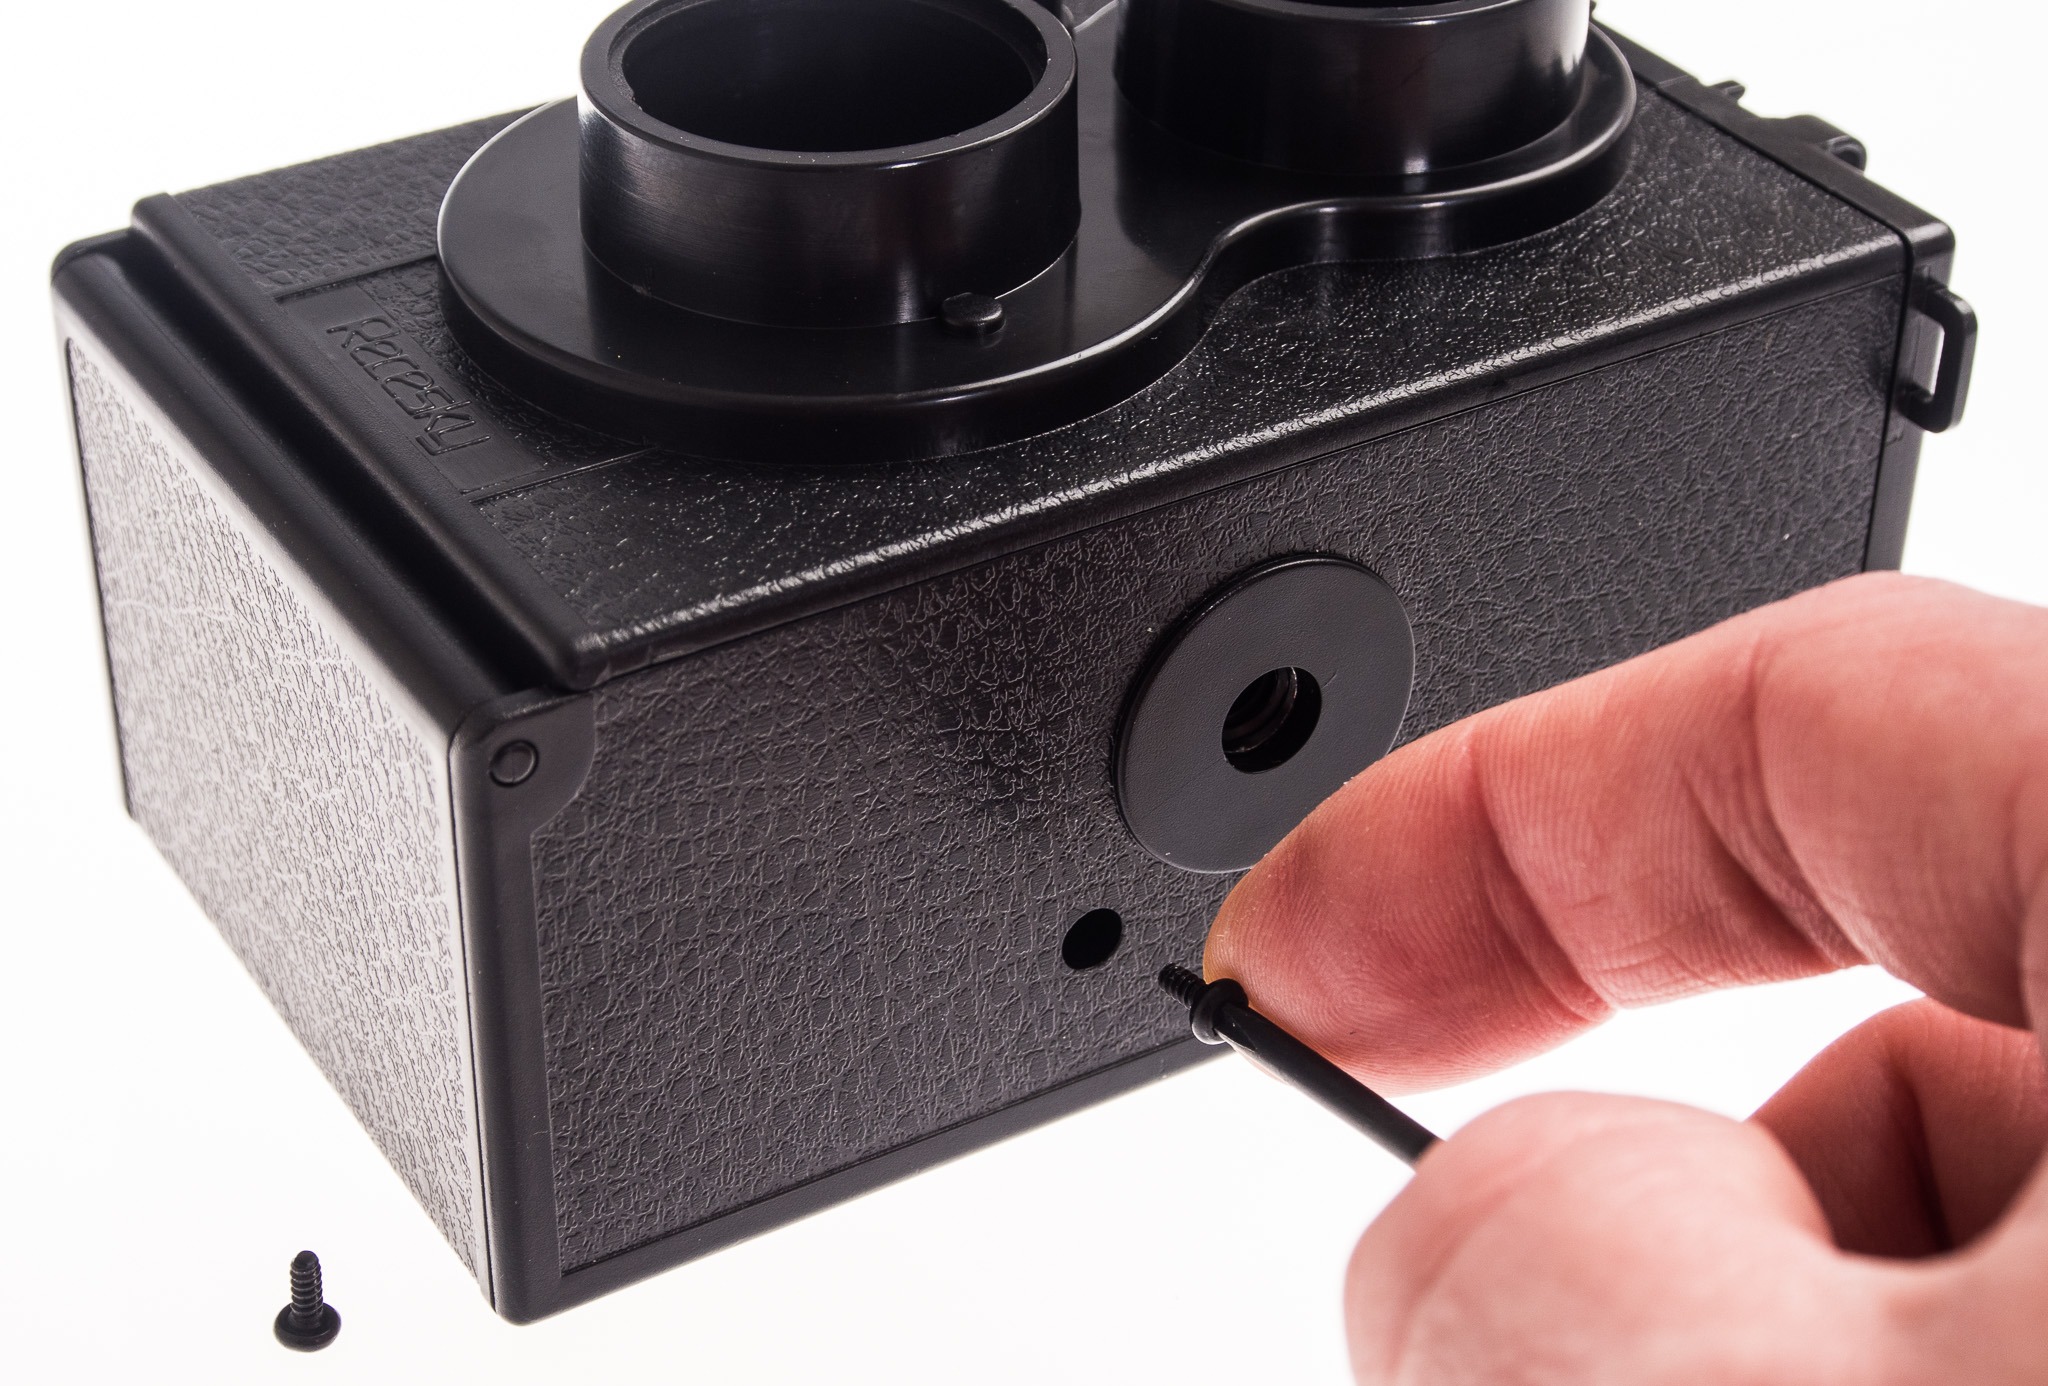
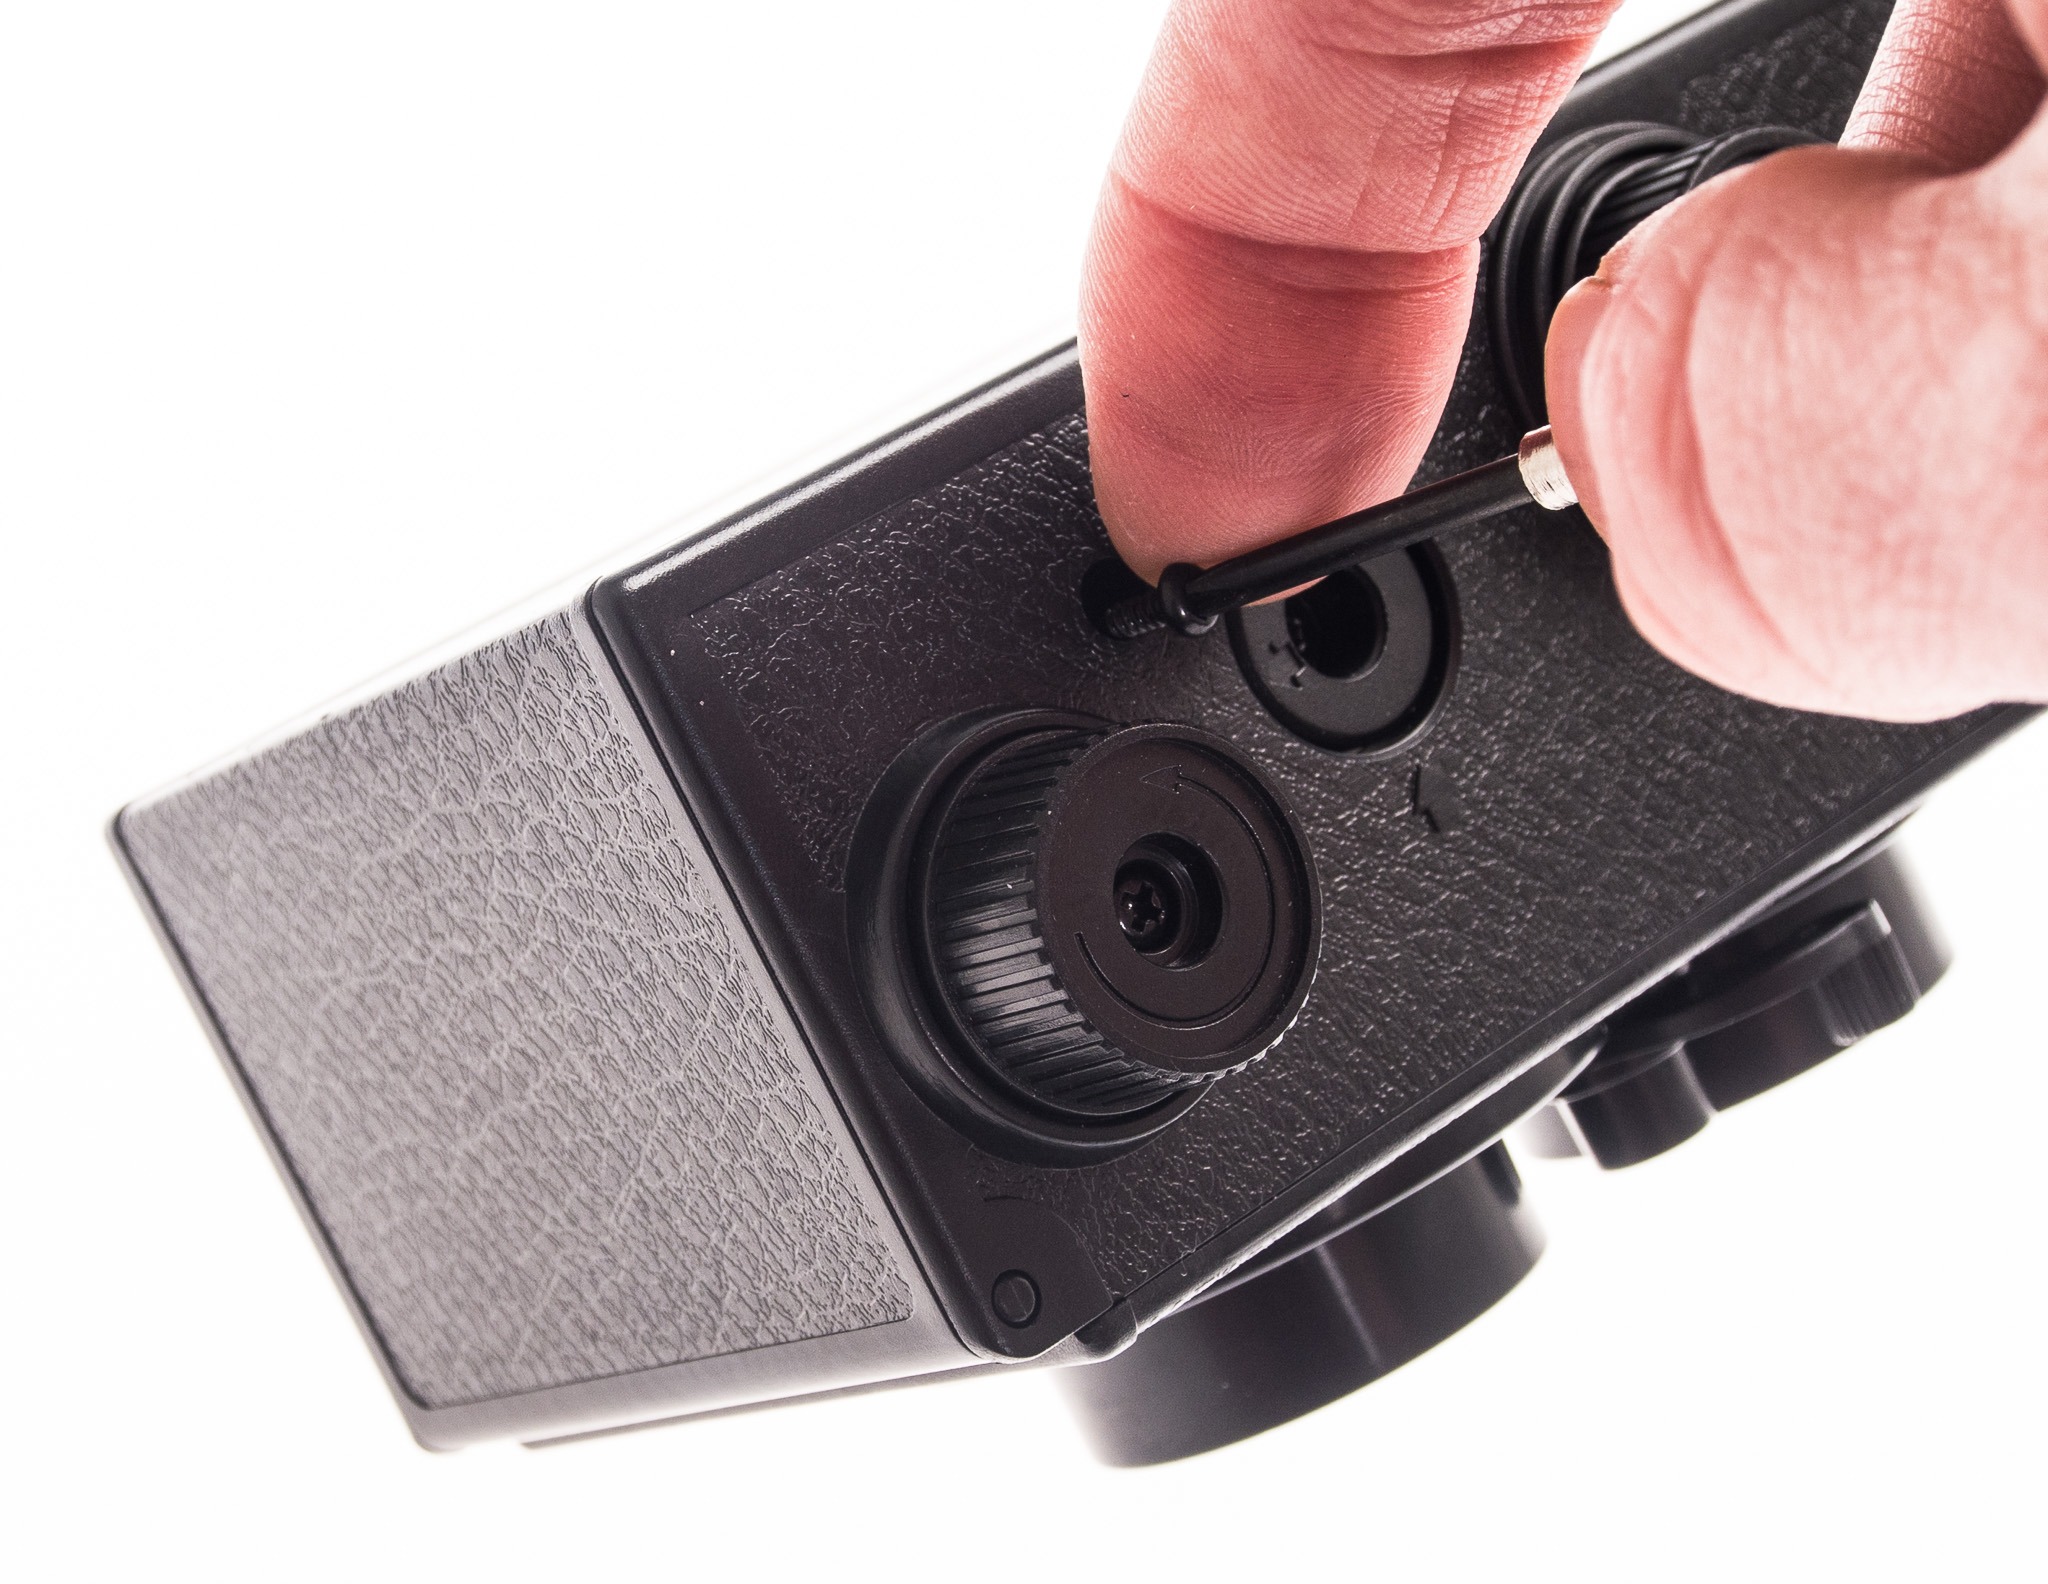
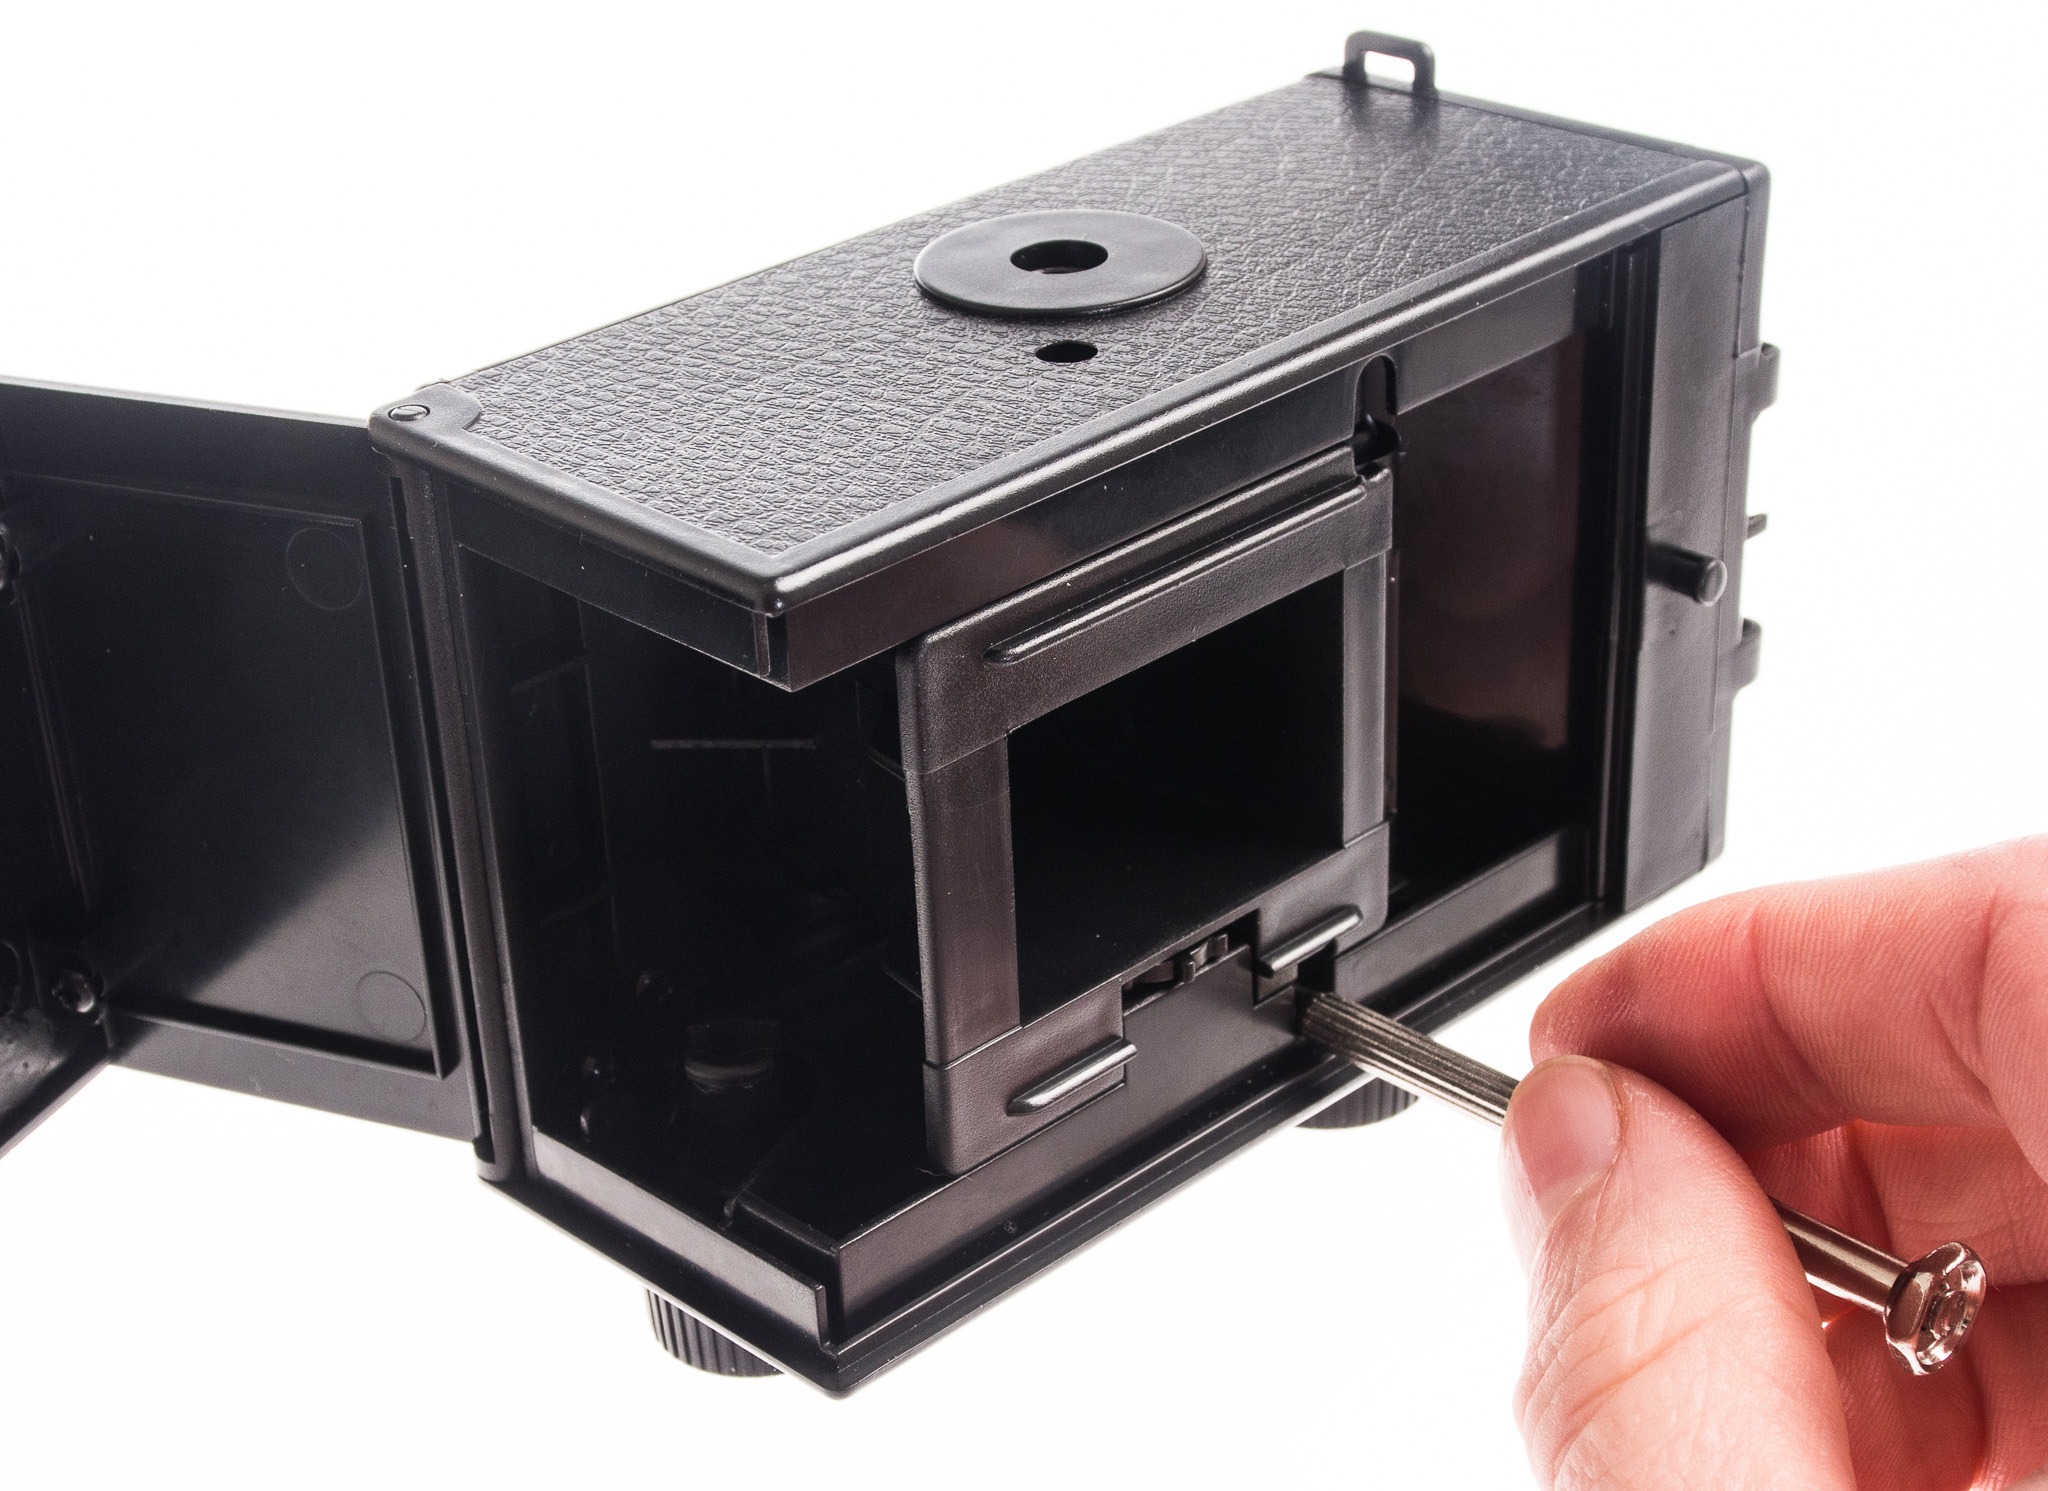
Place the nut inside the plastic cup, then attach the two parts to the body using two of the smaller, round-headed screws. An easy start!

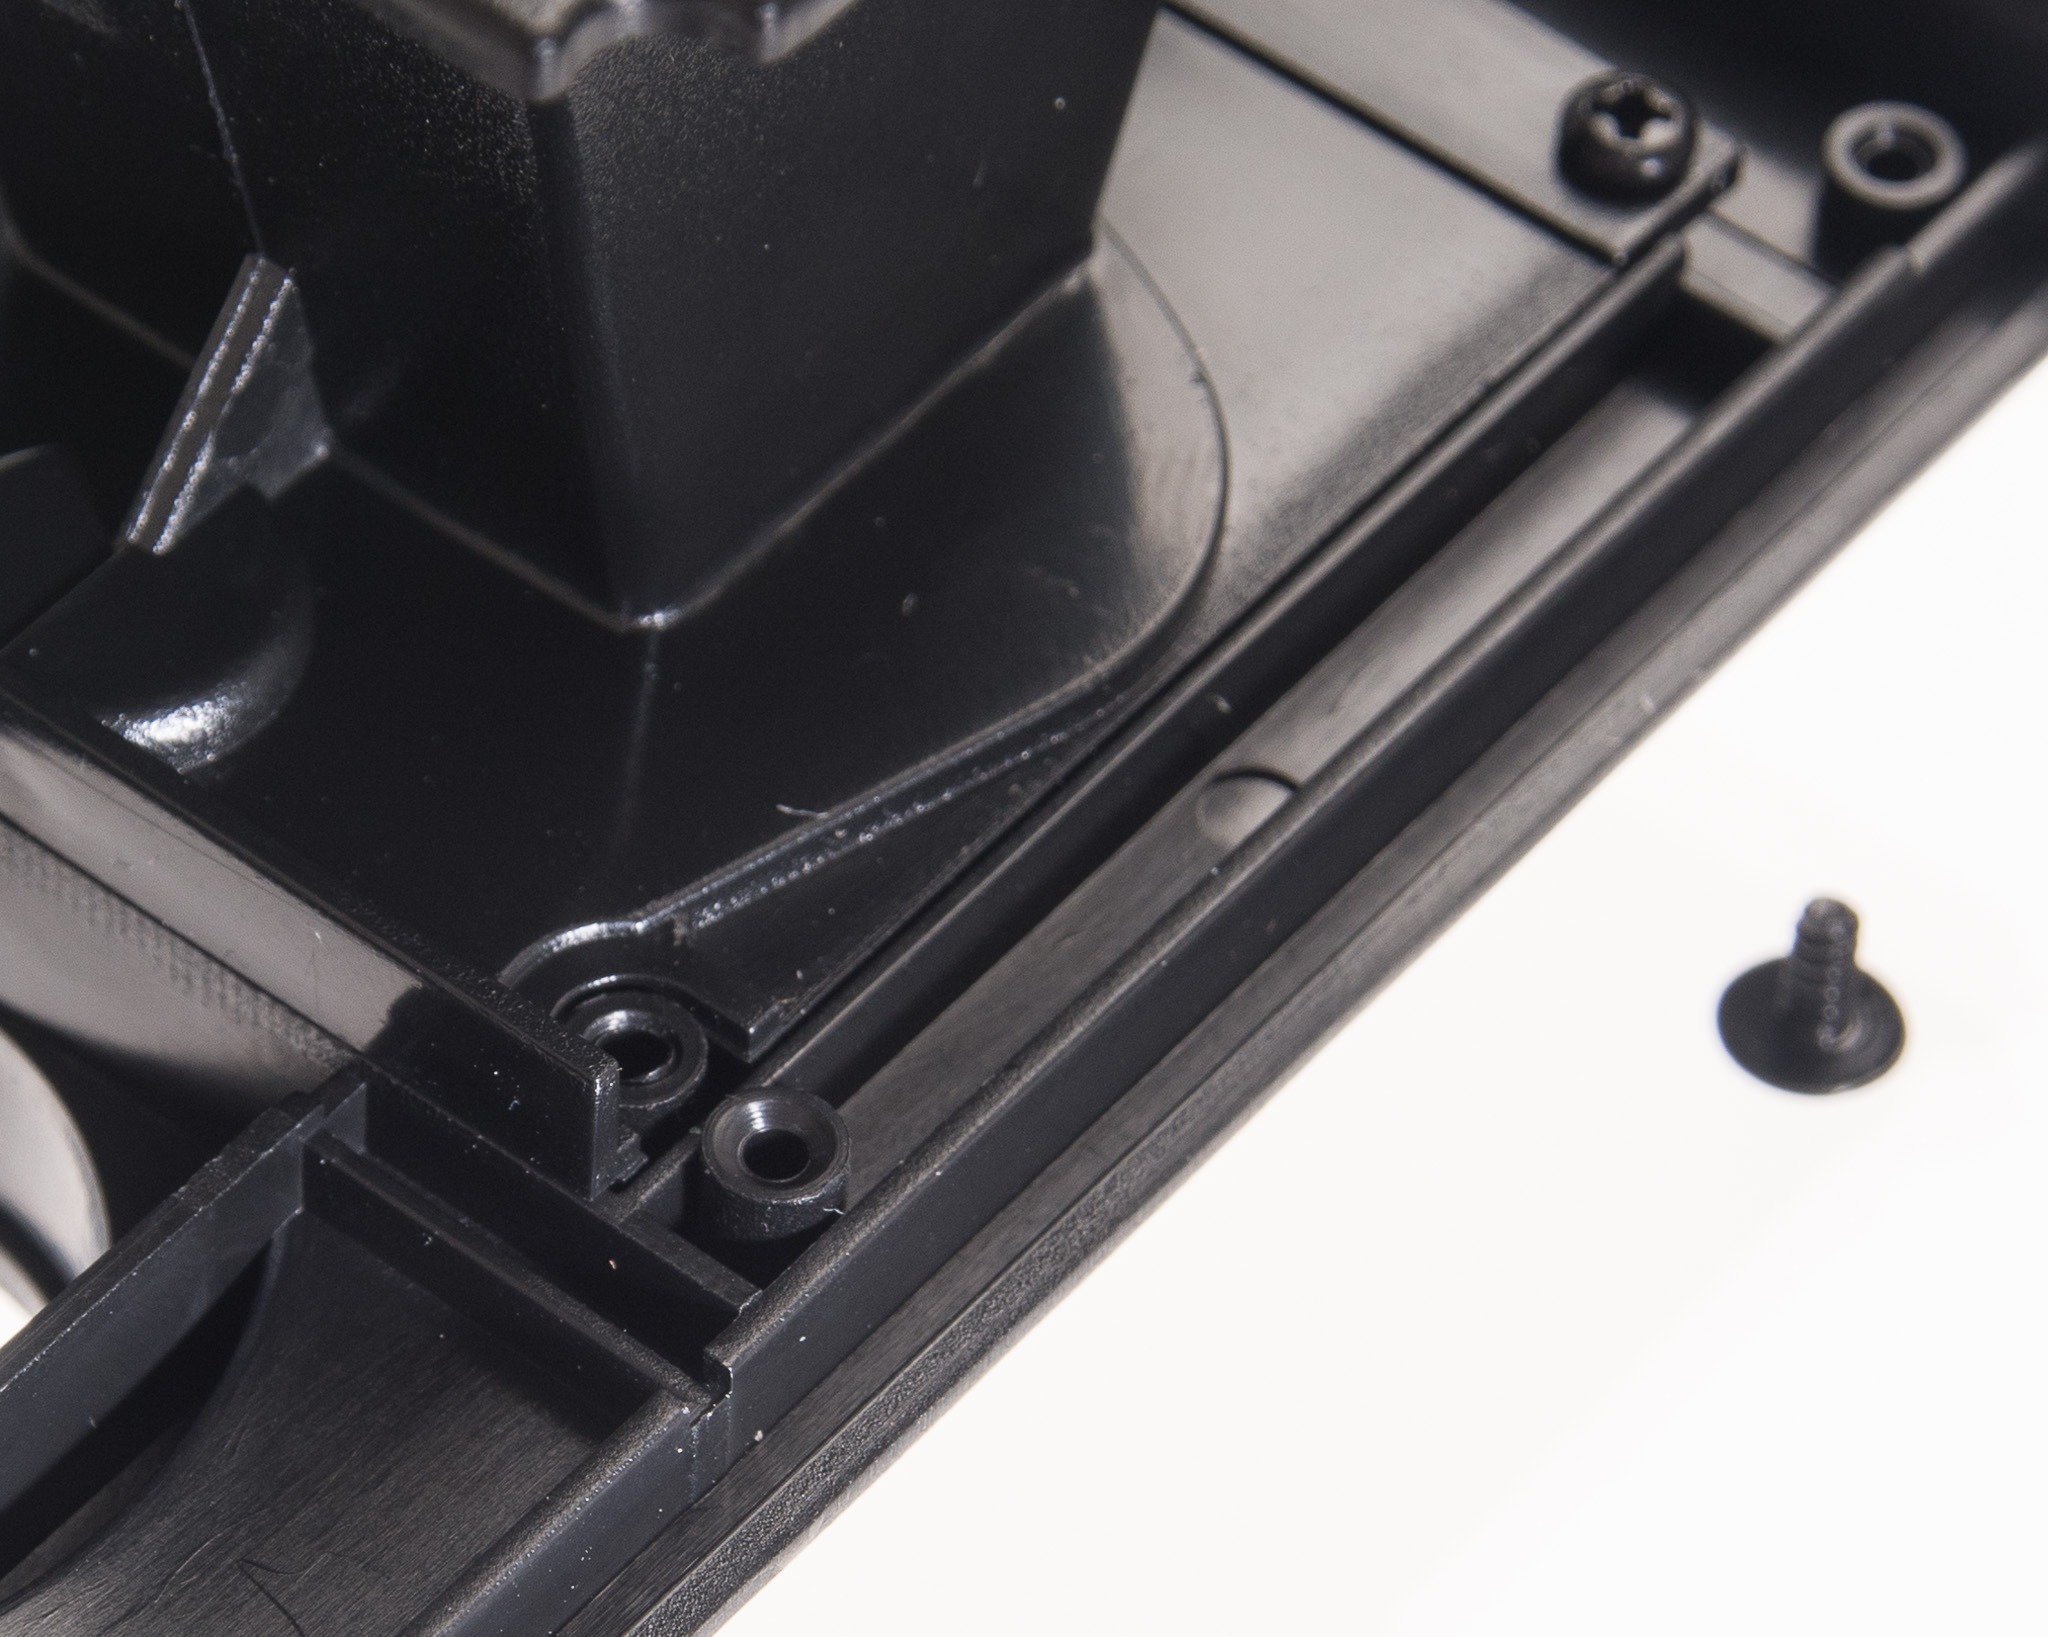
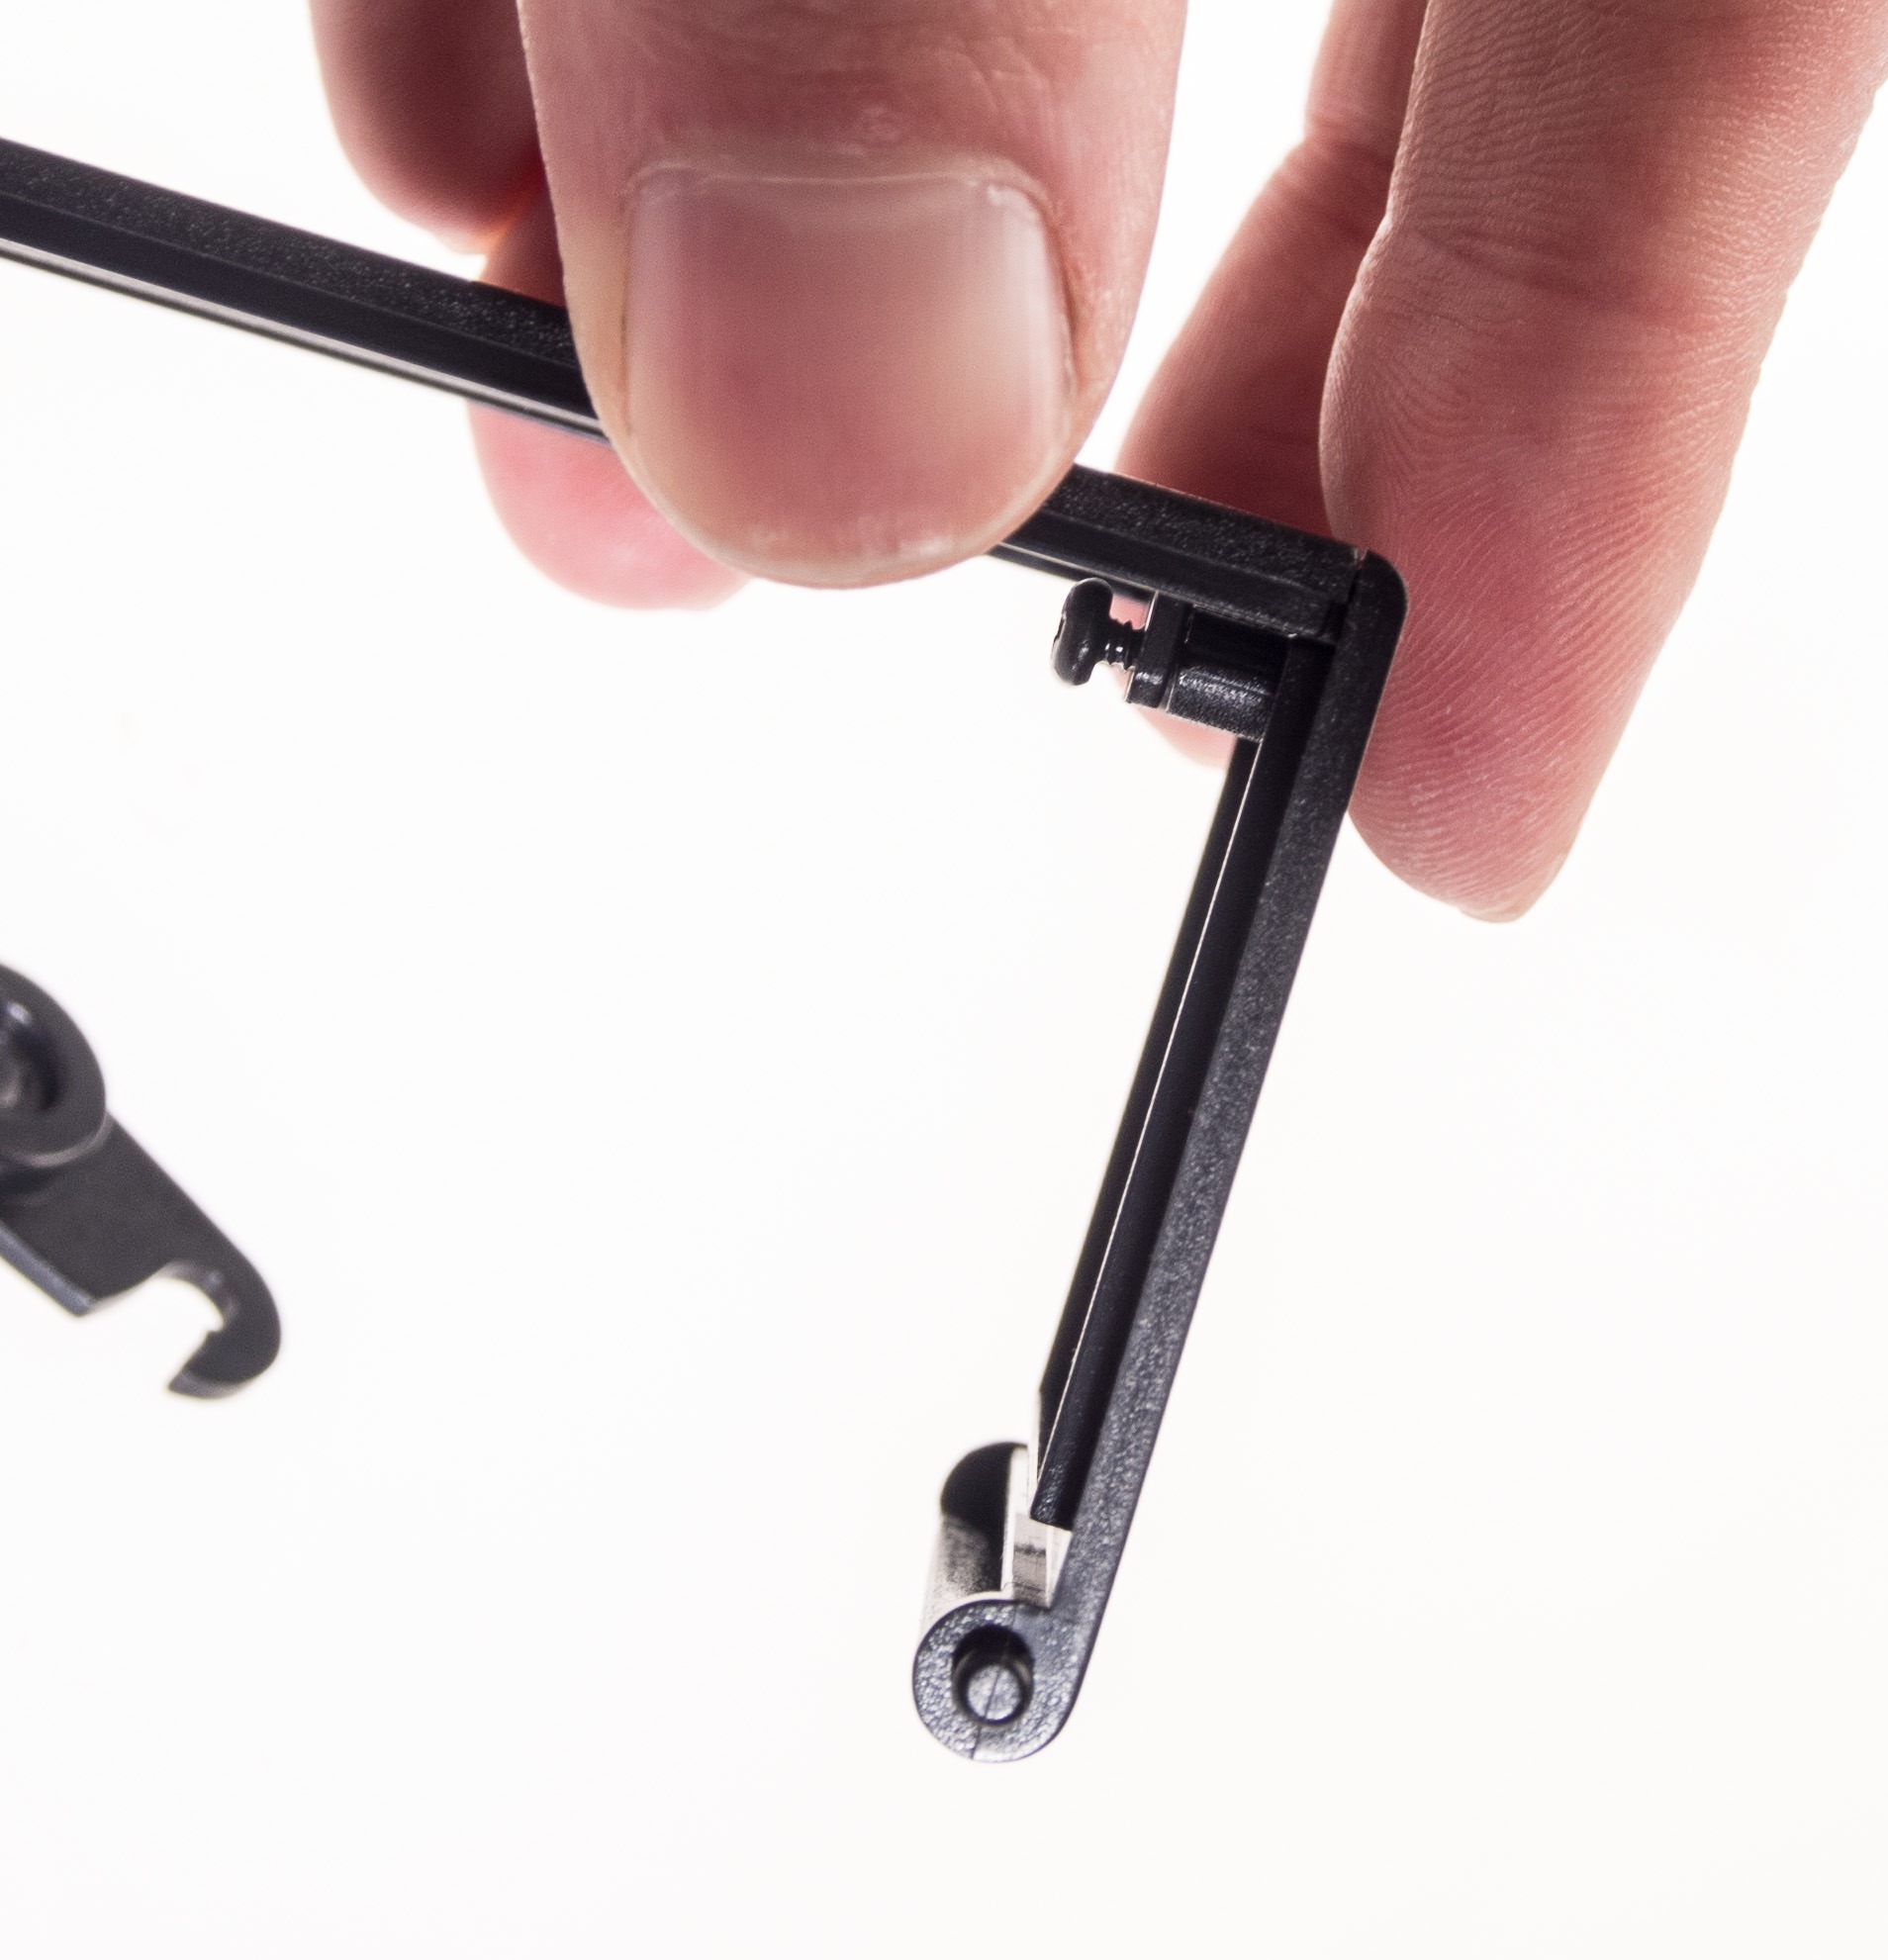
To avoid cracking the plastic, align them carefully and tighten the screws slowly. If you apply just moderate force, you’ll feel when the plastic has been tightened enough and it’ll ensure the camera fits together without problems.
Plus, it’s a lot easier to tighten everything a little more before final assembly, than to back off screws that have cracked the posts…
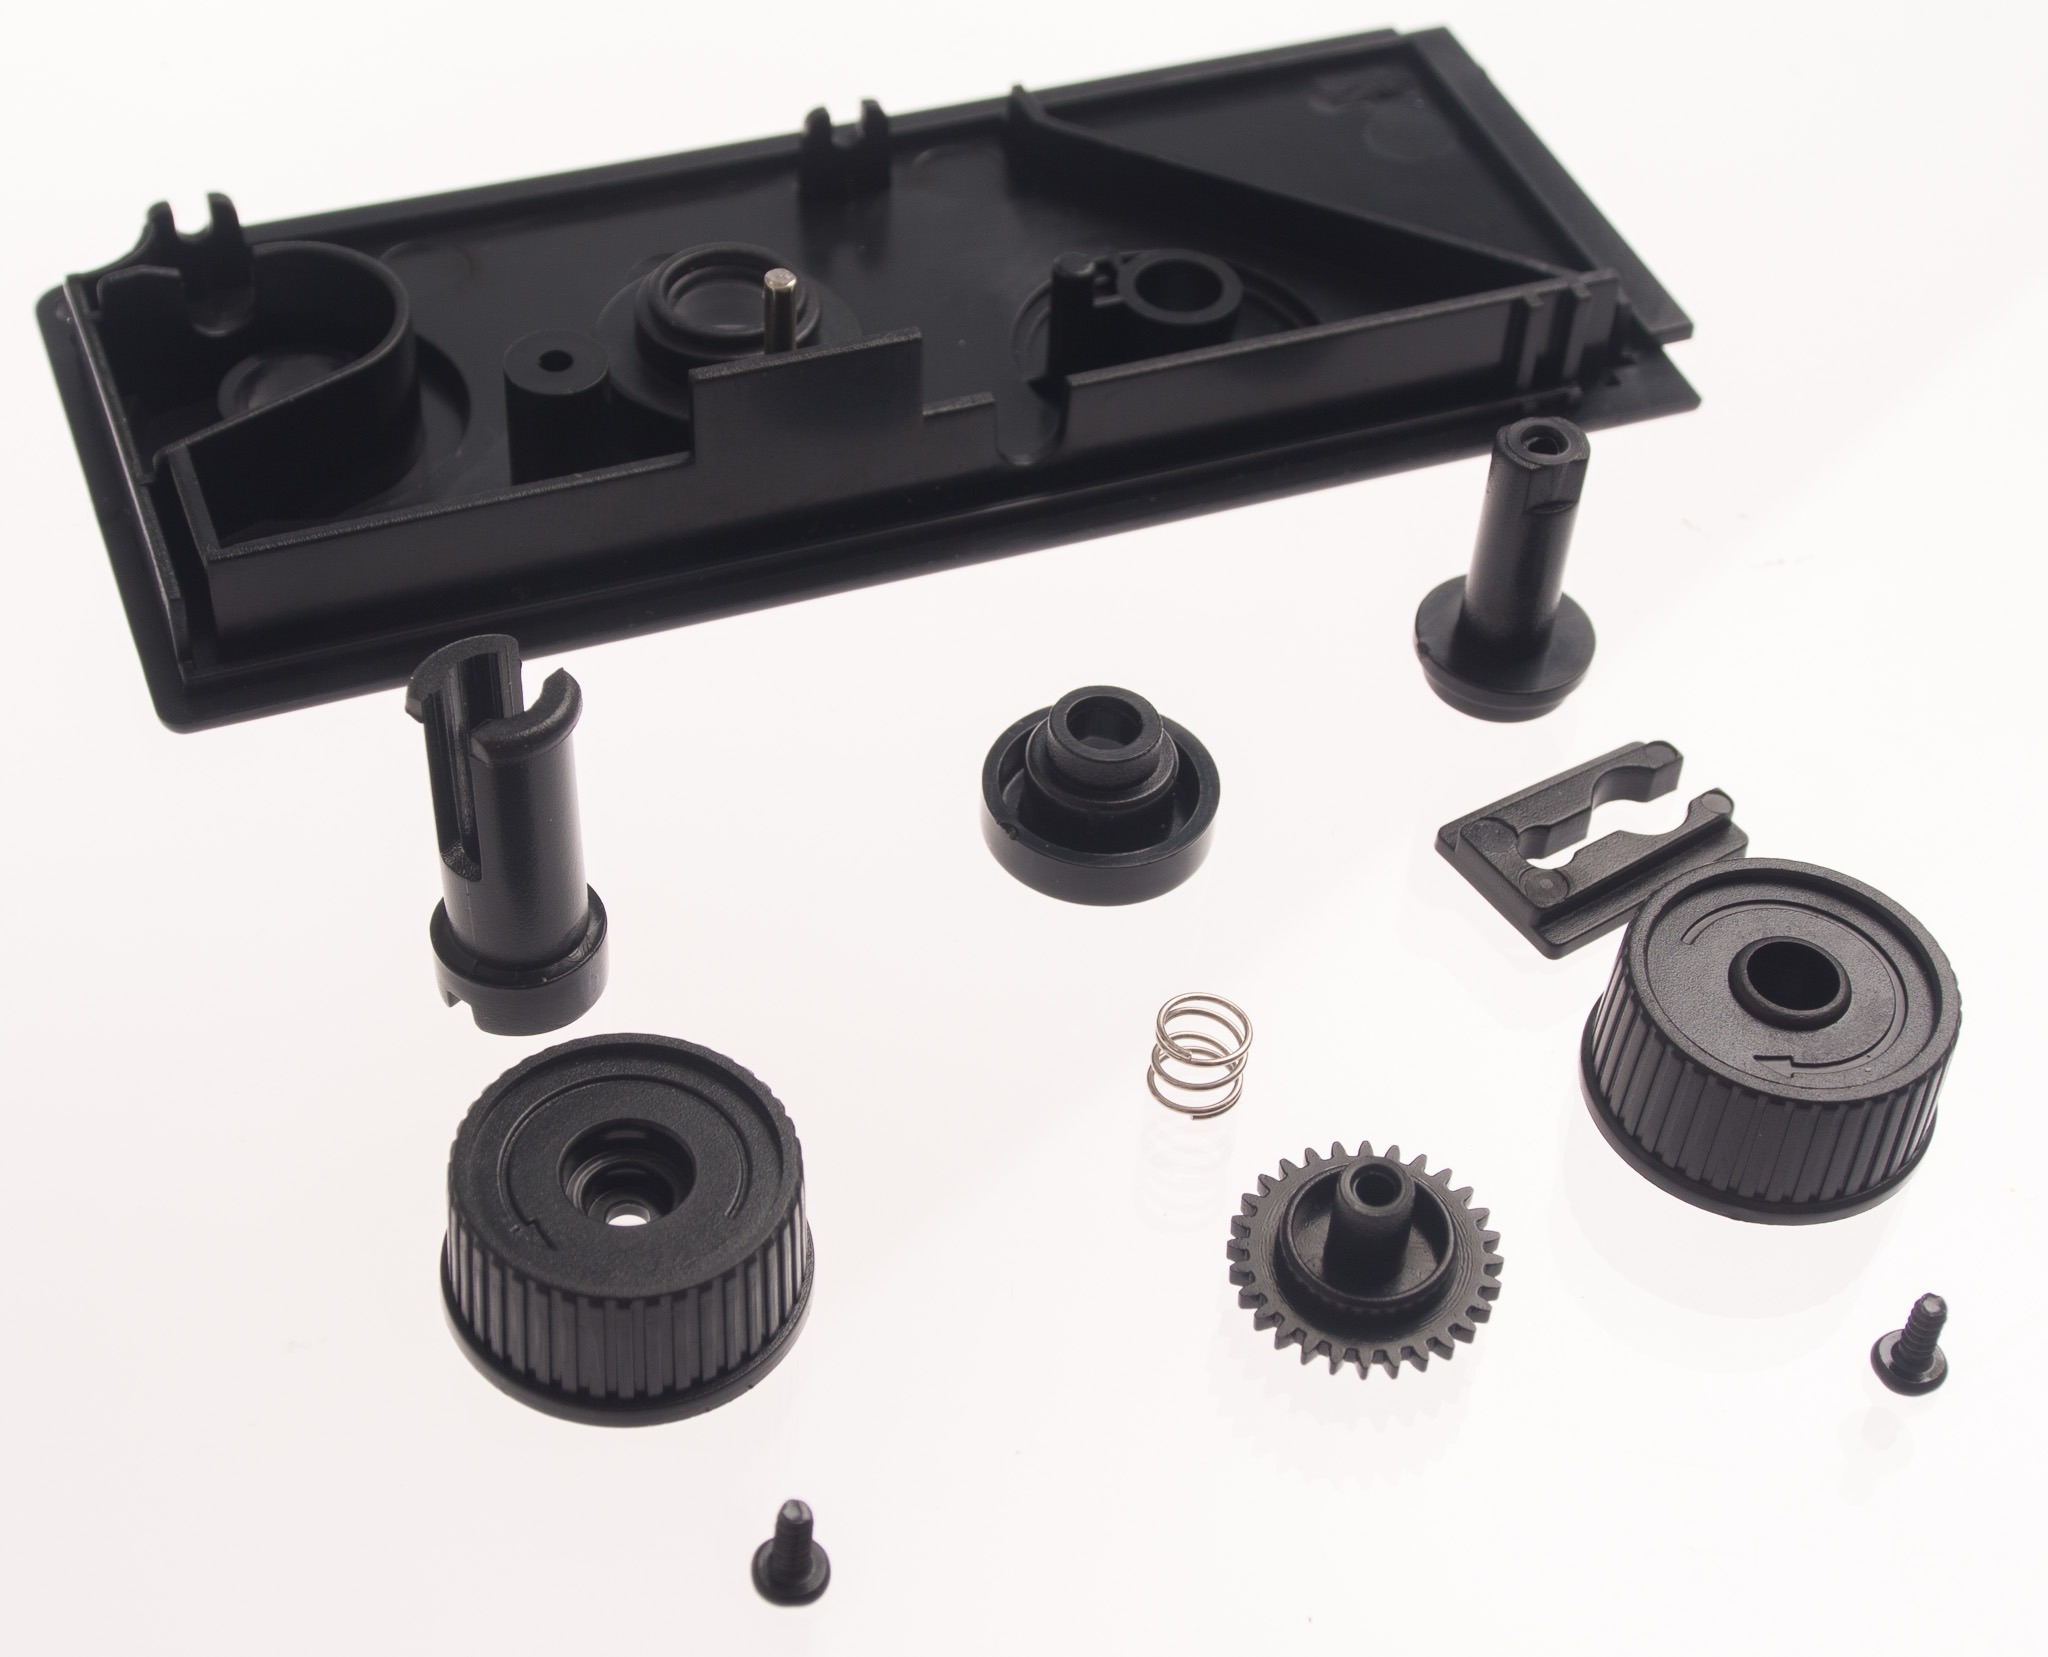
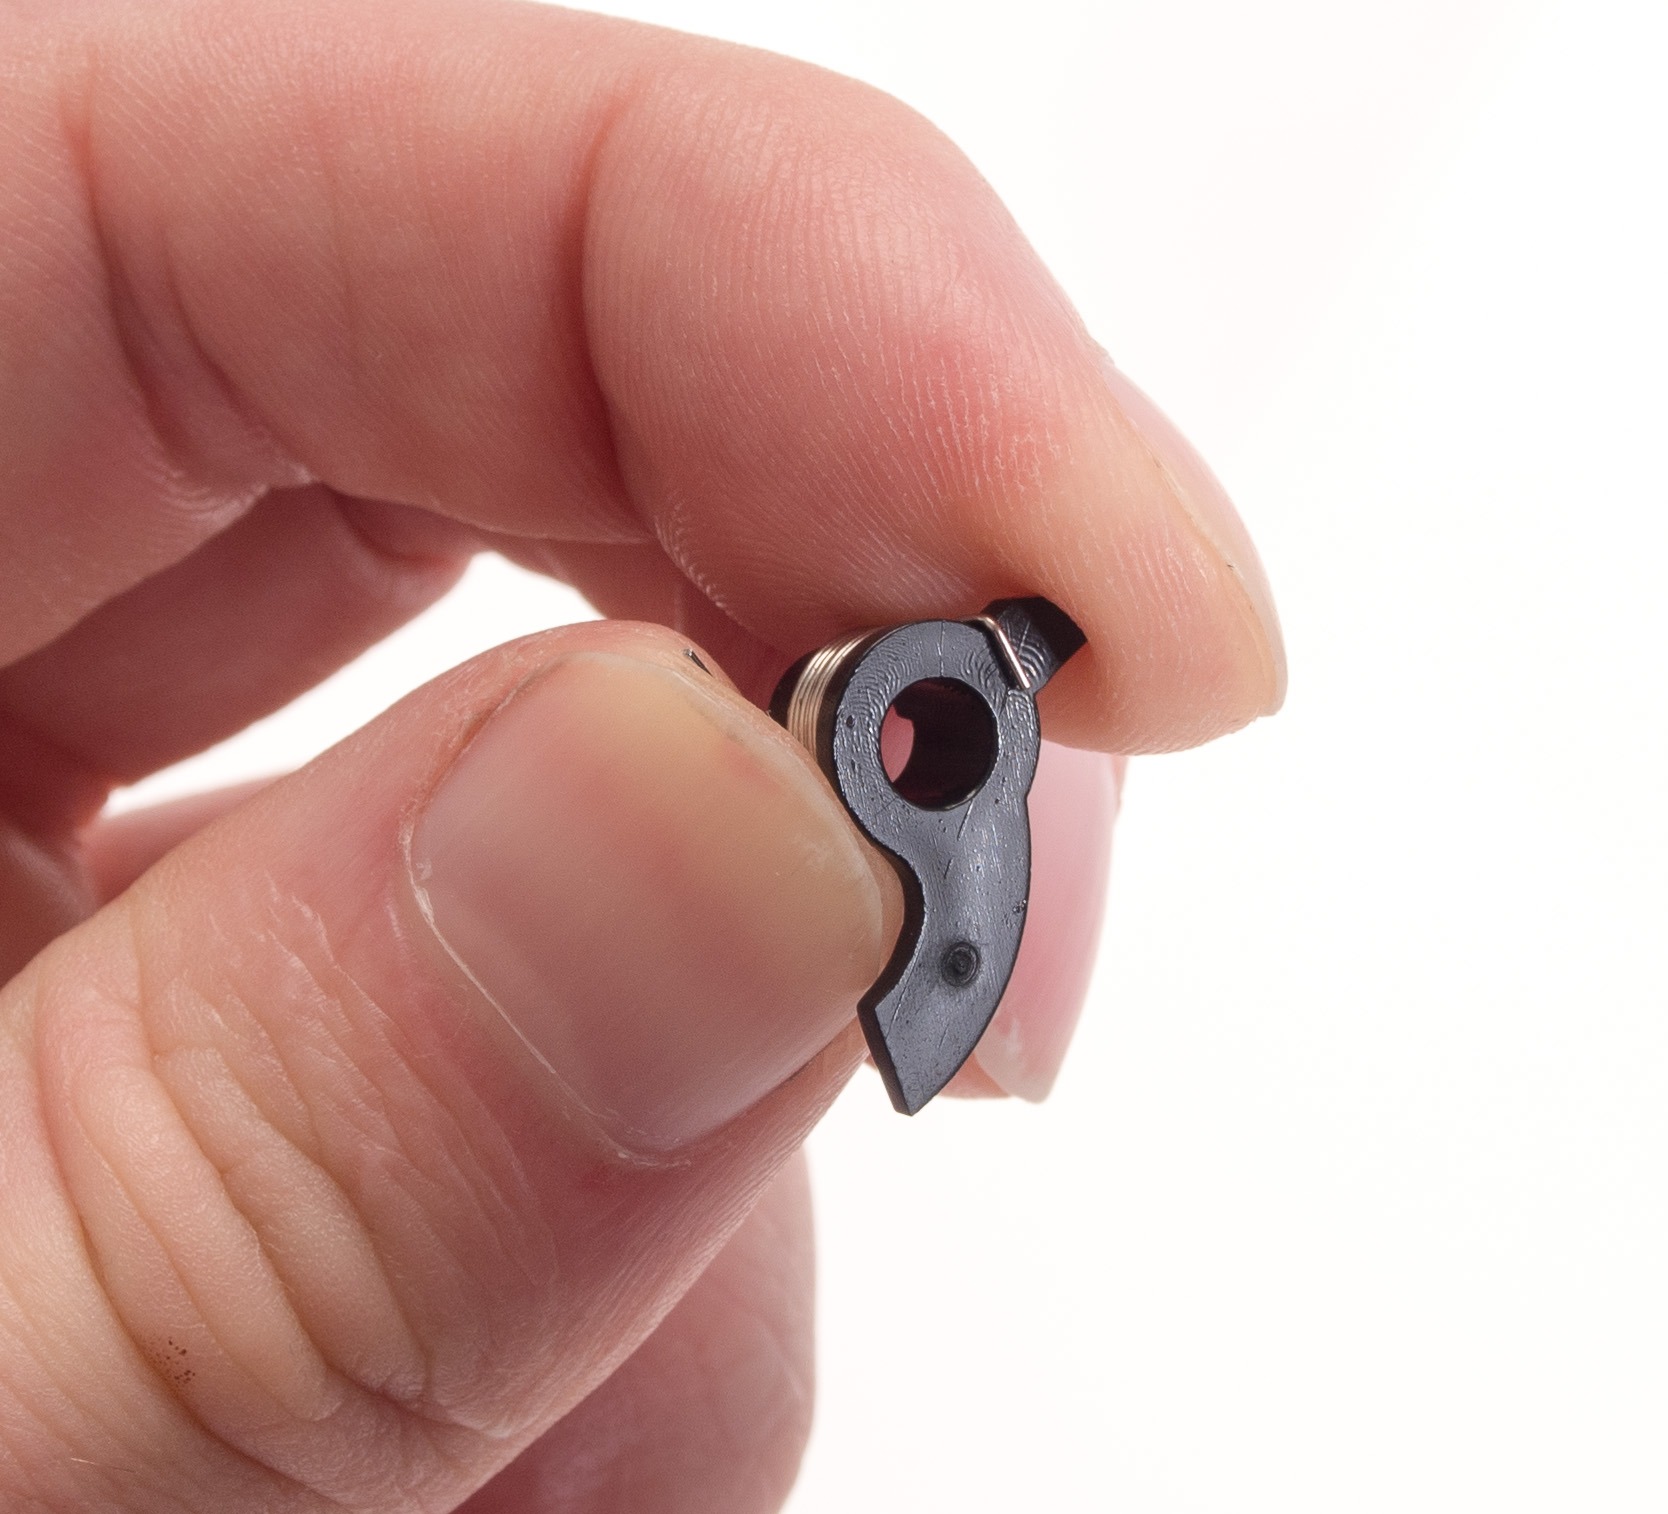
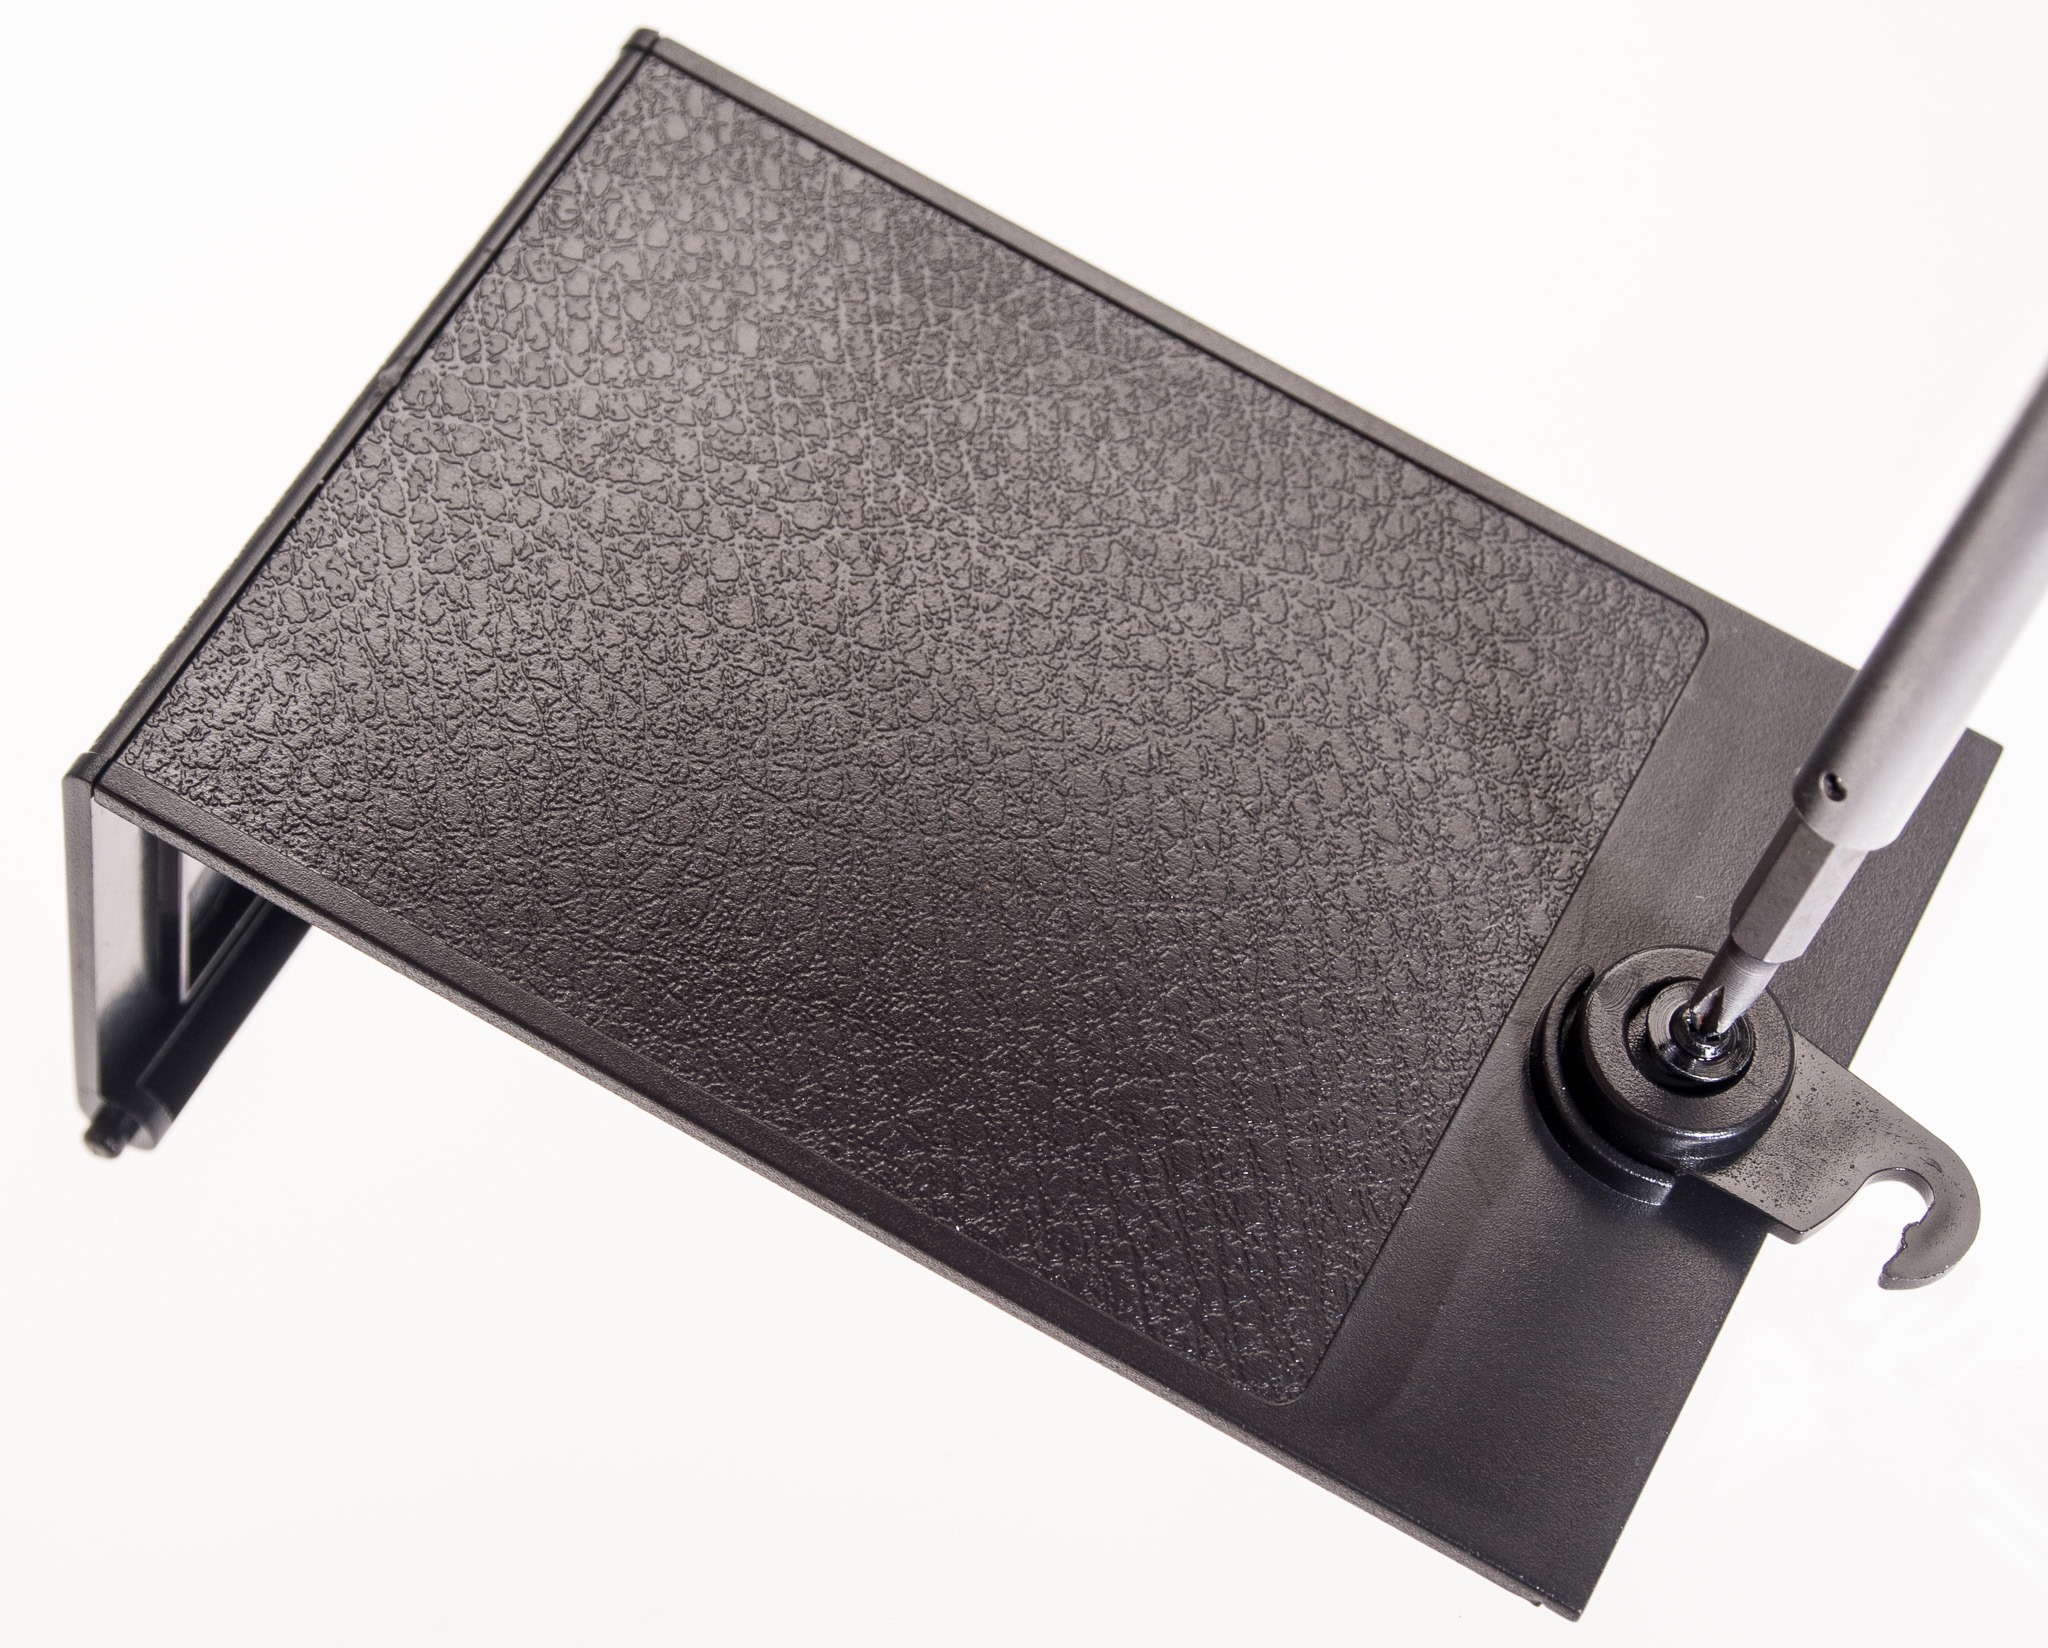
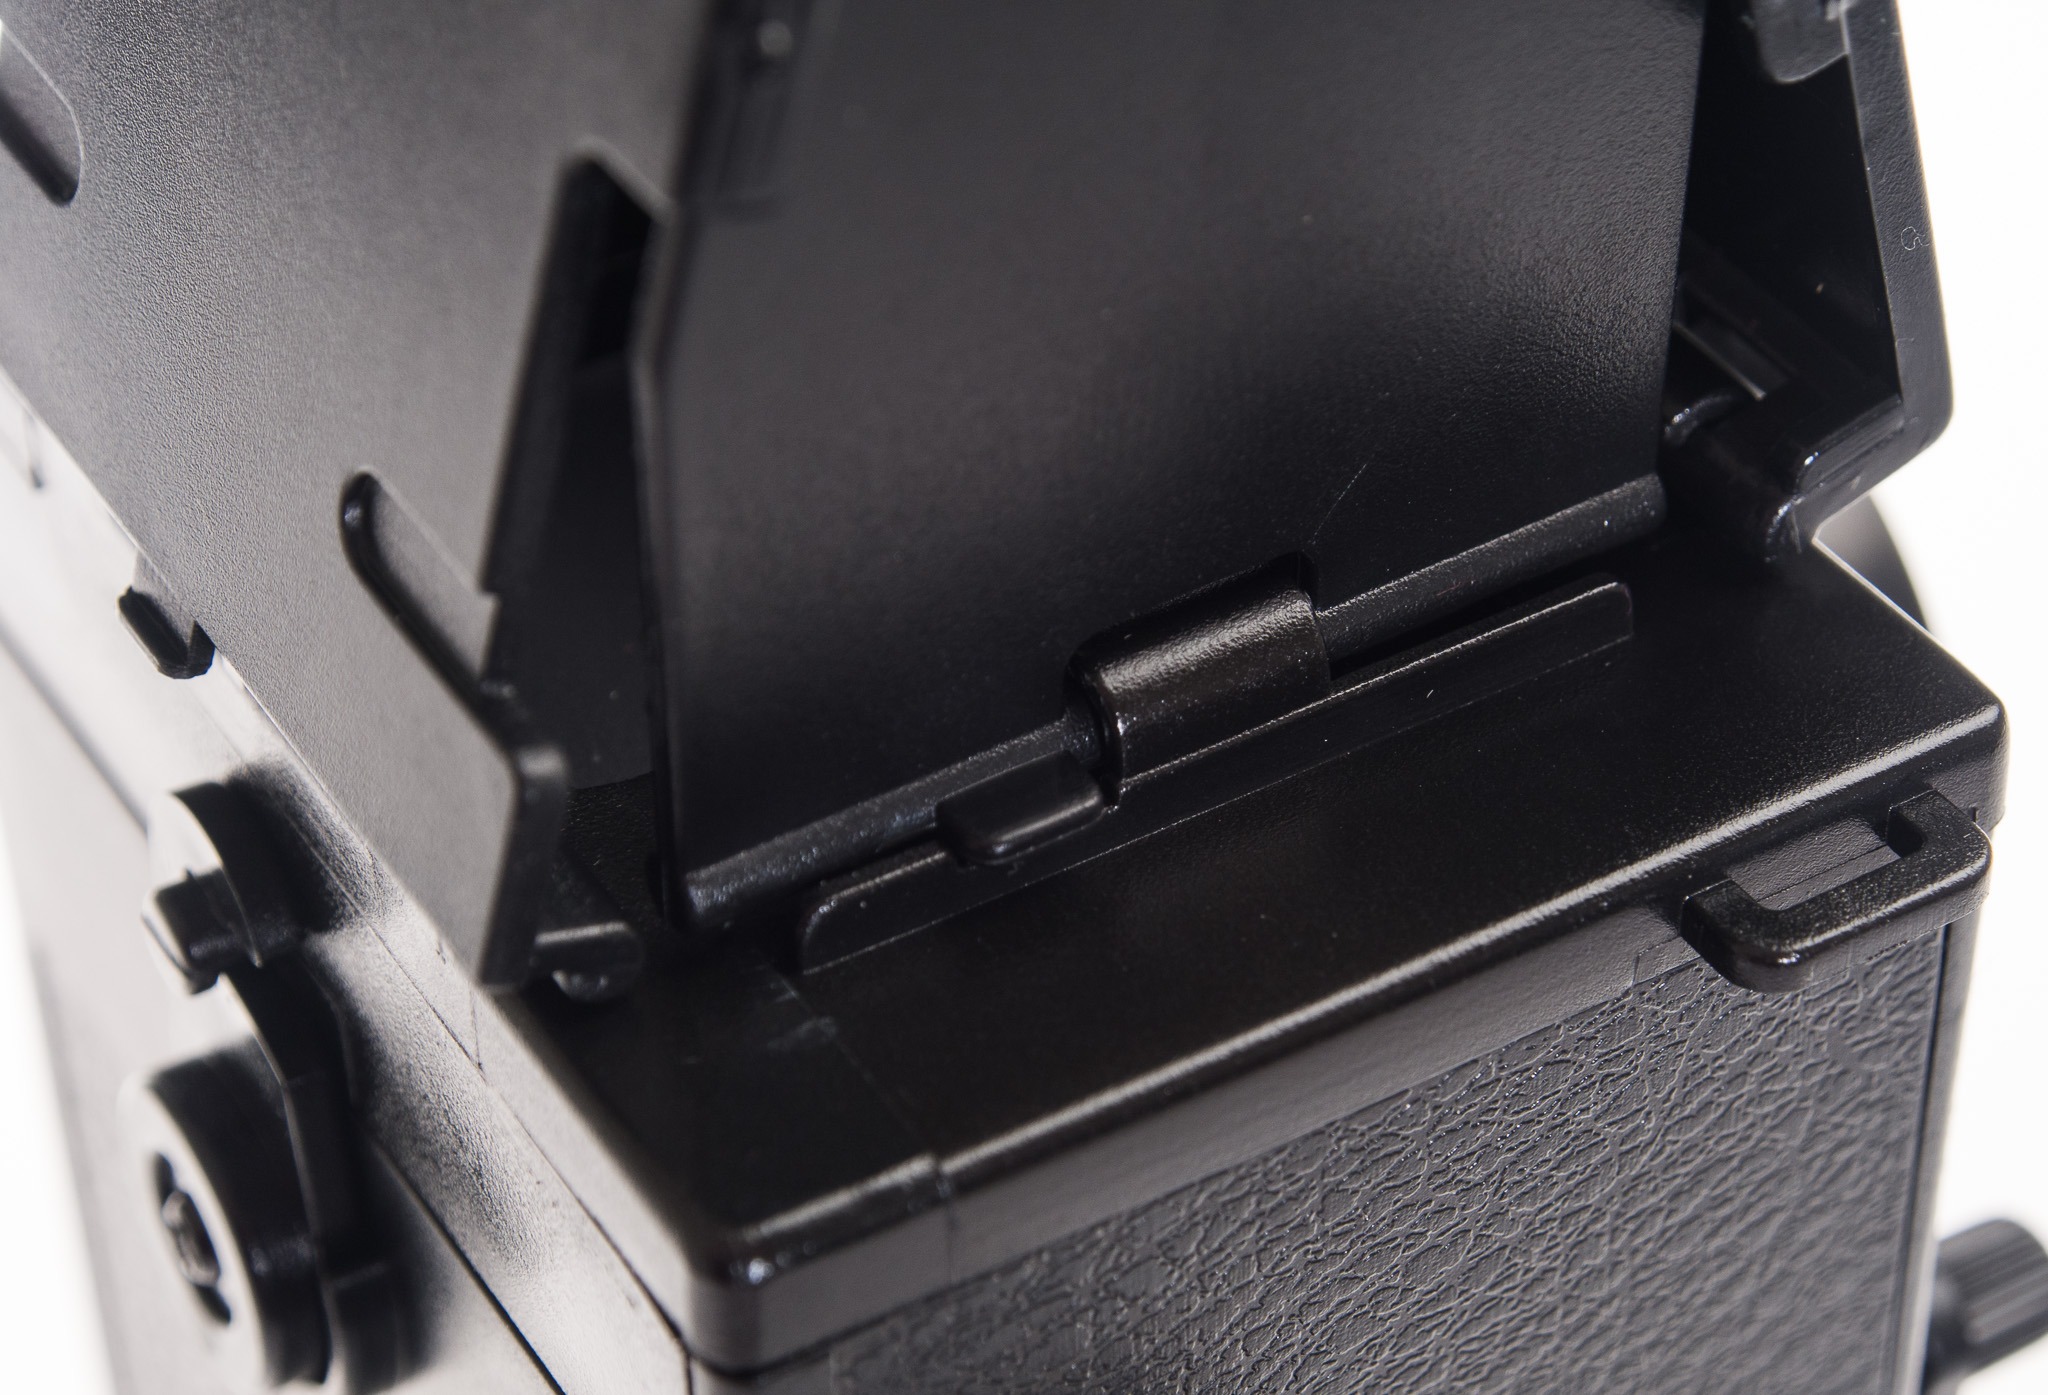
Most of the assembly is along these lines and just as straightforward. Putting the shutter together is the only mechanical part you need to worry about – make sure you use the washers and apply a small amount of grease on the surfaces where they touch.

